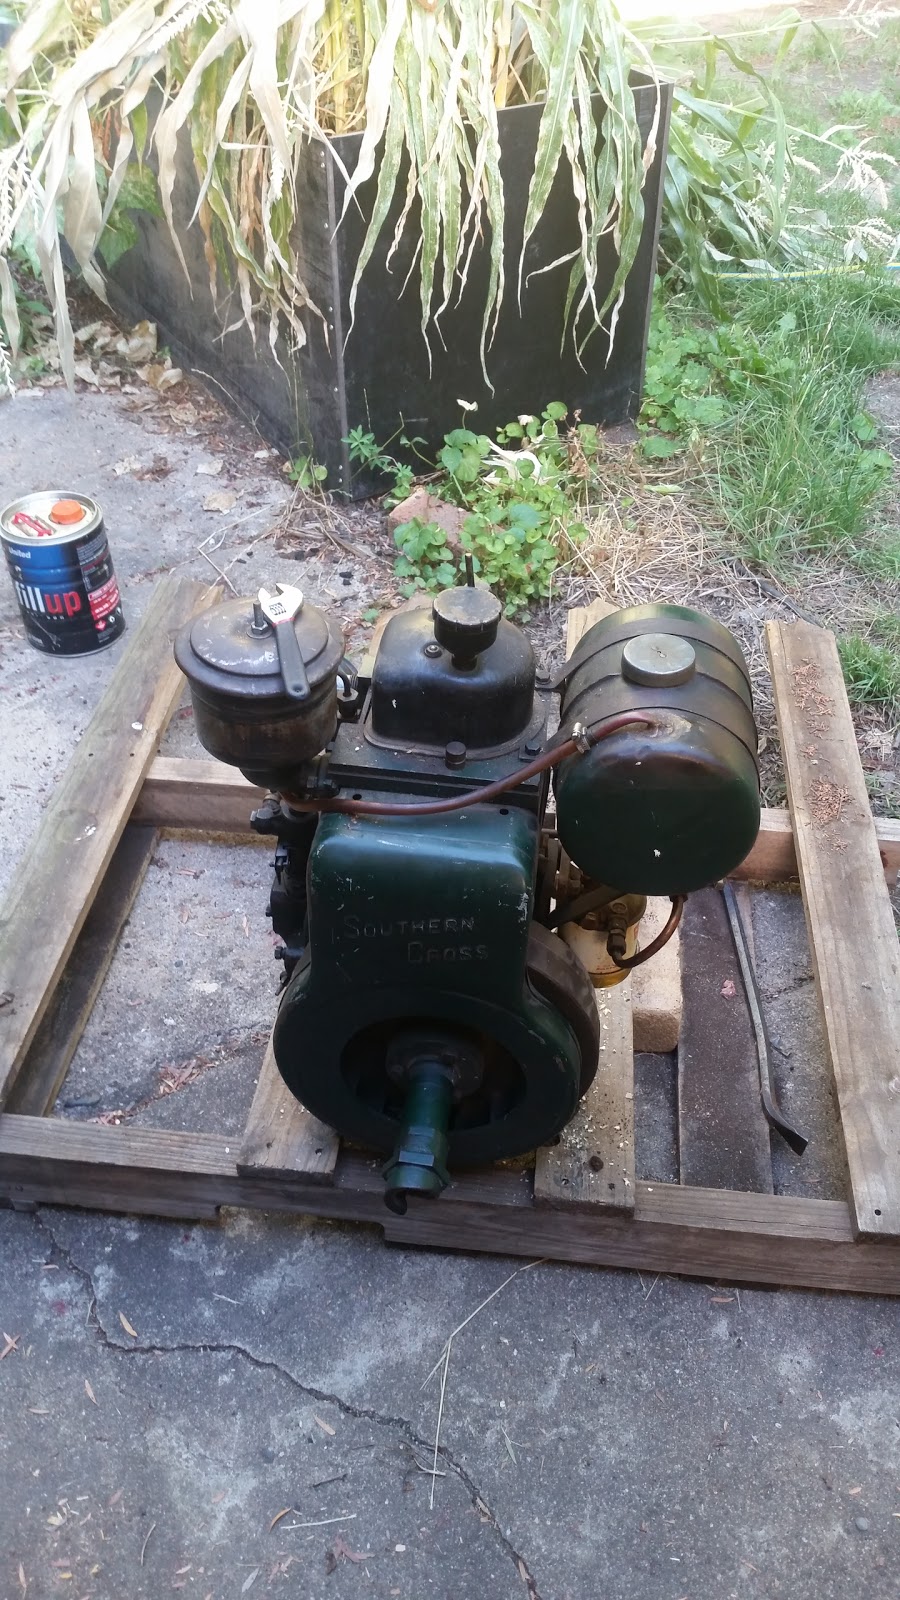
My Brother bought a small stationary engine the other day and has it at my house for now. It is a Southern Cross 3 1/2 HP Diesel model EF-D. I found it on a buy/swap/sell group on Facebook and mentioned it to him. A couple of days later and here it is.
The bloke he bought it from gave us a little instruction on starting it. However we were unable to get a demonstration as it didn't have a base at the time. So with a couple of bolts holding it on to an old pallet I had at home the process began.
First we tried to bleed the pump. This worked really well, after I opened the correct bleeder valve. At this point diesel started to run out quite fast. Then bleed the high pressure line to the injector. Crack the nut and pump until fuel comes out without any bubbles. This done we poured oil down the hole we were told to pour it down then time to start it up.
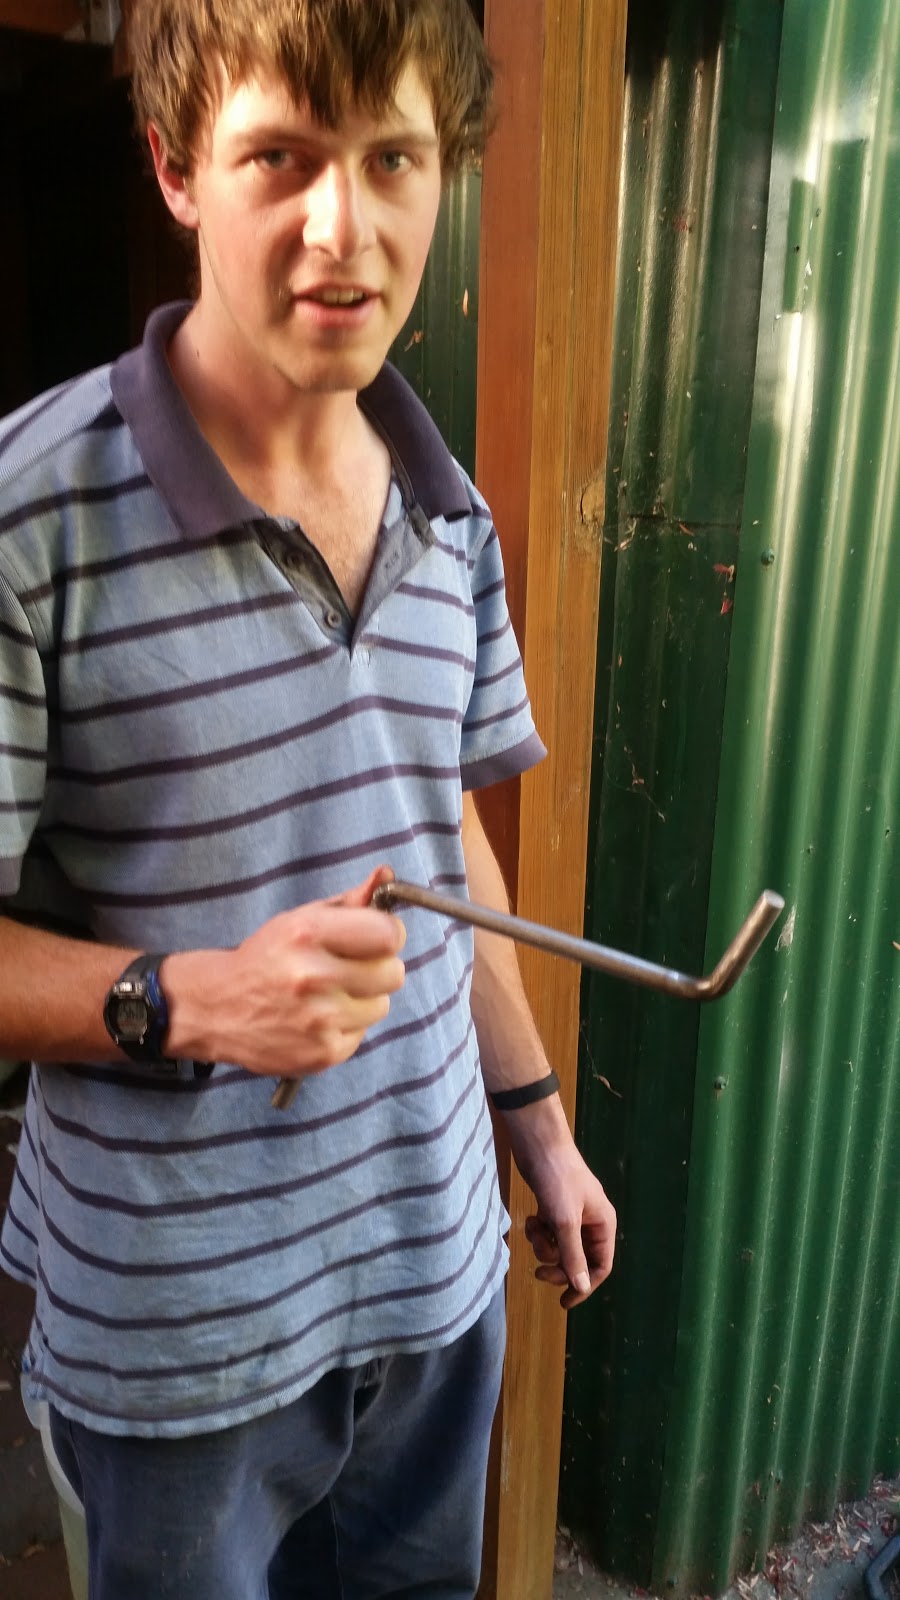
My Brother with the key. No fancy electronic start here.
Maybe electronic start isn't such a bad idea. He managed to clonk himself on the knee then the chin. Drawing a little blood. On the safety of starting these engines. The nut that the crank handle engages with has a slope on it so that if the engine starts then it will push the handle out. It will not throw it if you don't let go but it will push it away from the engine. Also some of the similar engines were actually able to run backwards if you didn't get it started right. These ones have had a slight modification to the head to stop them from doing this.
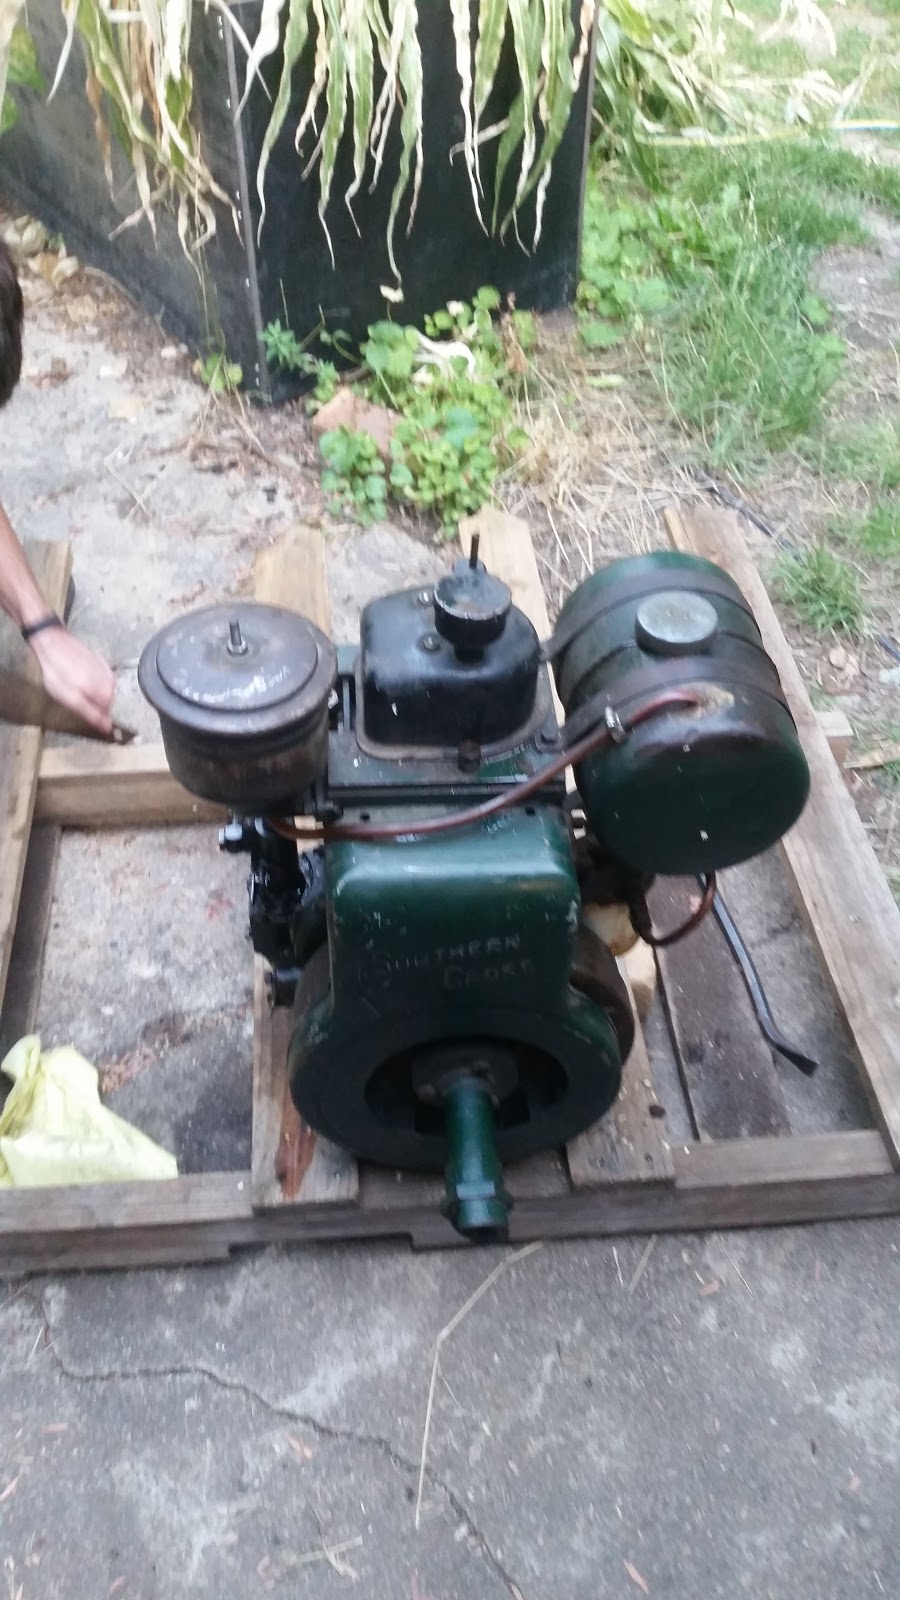
After a little break I decided to have a crank. I managed to get some puffs of smoke out of the exhaust but it never even coughed.
Being that we were both worn out we decided it was time to pack up and try another day so here it is sitting in the naughty corner.
After this I ended up finding a manual online and discovered that we had the governor set wrong for starting. Hopefully this is what has been causing it to not start and we can start it next time.
Tonight was a very significant step forward in the development of the new control system for the Mill. I have now reached a point where I trust the setup enough that I can start finalising the control parameters and start tuning the motors and so on.
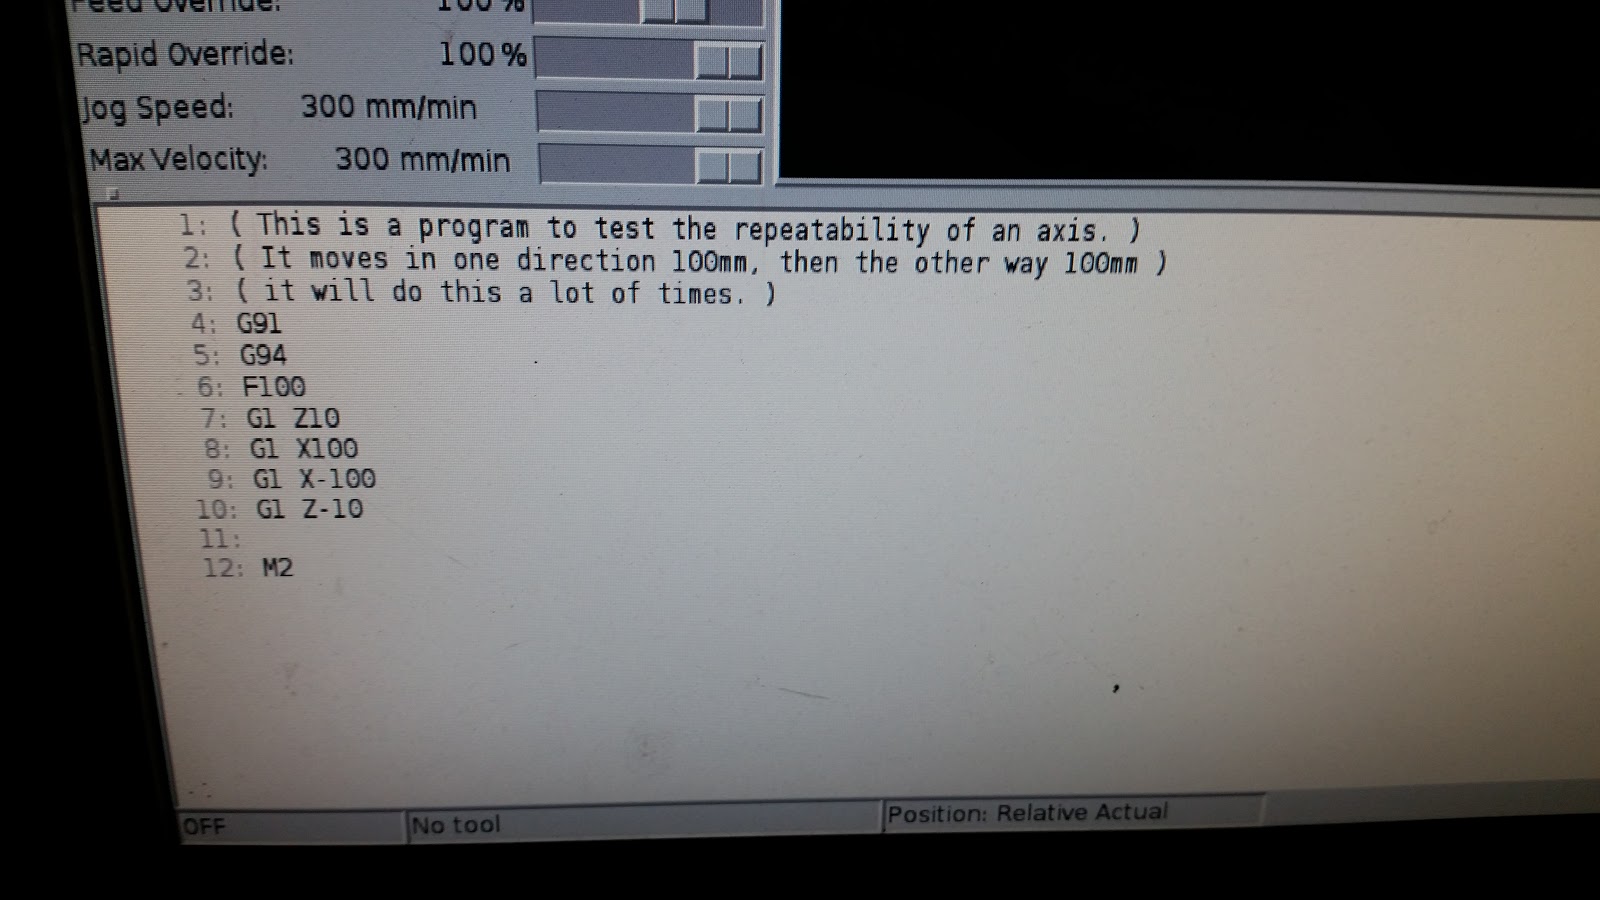
I wrote a little G-Code program with some help from the Machinekit documentation so I can run some tests that will help me with this tuning. The main thing I am worried about at the moment is loosing steps because of incorrect speeds or acceleration. To test this I am going to set up a program that will cycle for about 10min or so just making movements in one axis to see if it drops any steps. If I note it's position when it starts and compare that to the position it returns to then I will know if it has lost any steps.
A very basic program so far. It only runs once but all it will be is a replication of this program many times to get the cycles needed for confidence in the setup.
This is a video of running this program. It is using a feedrate of 100mm/min which the motors seem to like. So this should be a good starting point that I can improve on.
I'm thinking about different ways I can share the programs between different computers. I am probably going to set up a Github or similar account that I can store the machine definitions in. Then if the SD card this is running from dies I still have the configurations and they can easily be transferred to other machines or shared. For the G-Code programs I am probably going to set up a Resilio Sync installation on the controller. This way if I want to edit the files on a different, faster computer I can. Then once I'm finished editing the files it will be quite quick to move across to the controller.
The end is in sight. I got some more work done on the Mill upgrade over the weekend and am now at a point where I am happy to start making chips.
Last time I tried to get some work done on the mill I was defeated trying to get a fan set up. This time I found a fan in my junk pile that works.
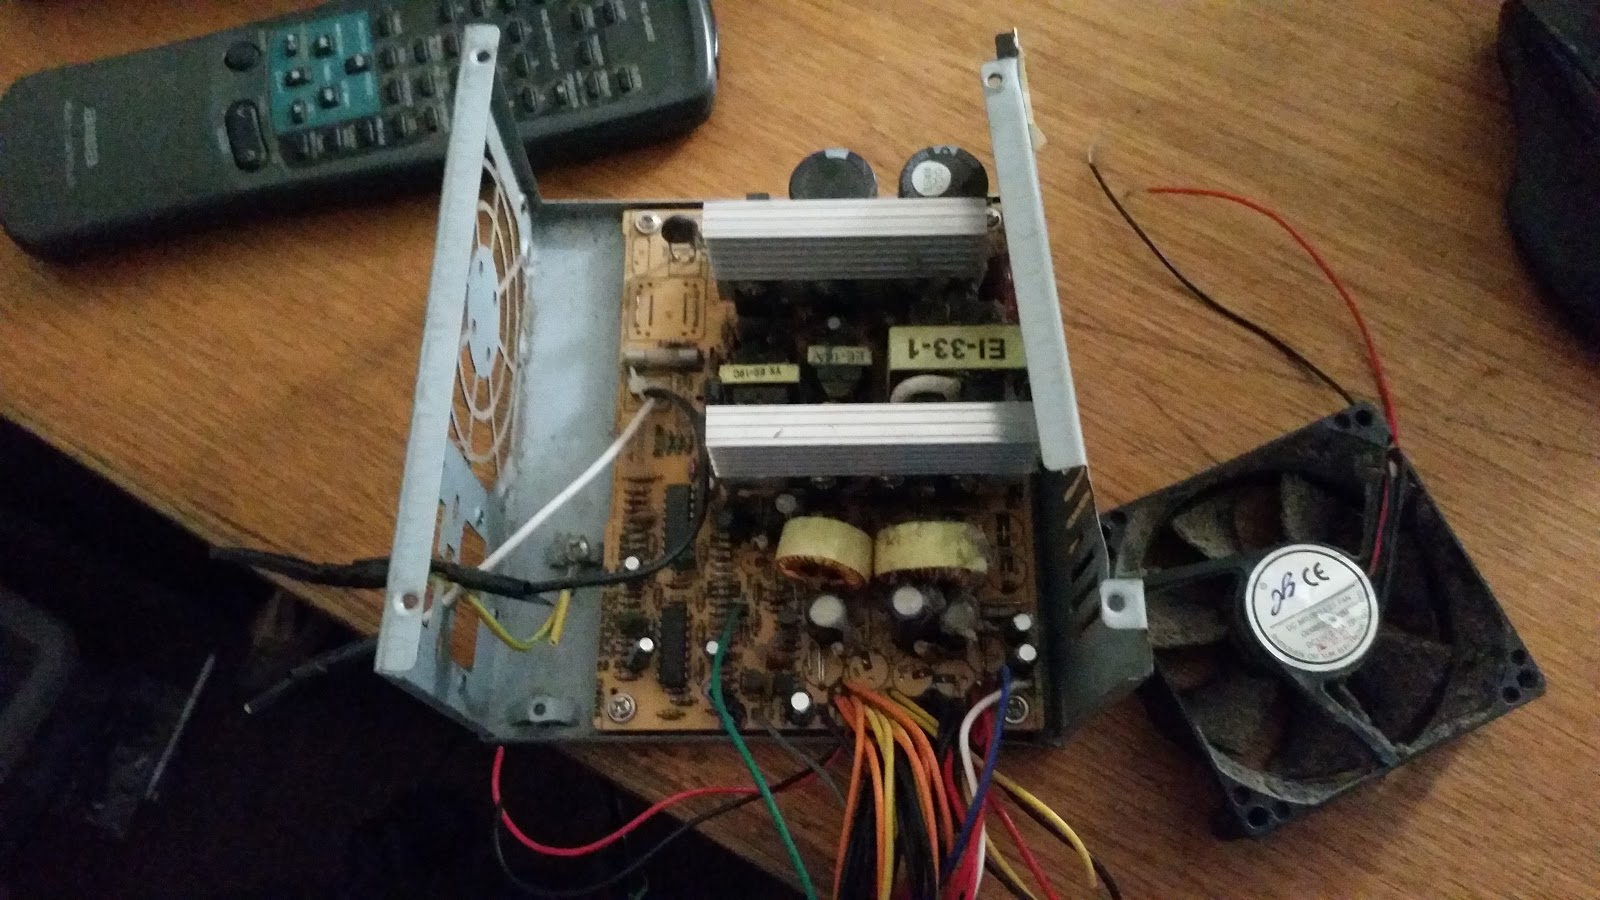
This is the old power supply that I installed in the control box here. Then I replaced it here. Although it has been sitting for over a year the fan still works from it. It is labelled as a brushless fan but I figured that the designers wouldn't have gone to the trouble to drive the fan with some kind of waveform and it could be driven with plain DC.
It turns out my guess was correct. So I now have a fan to go in the case. It was even exactly the right size for the mounting holes.
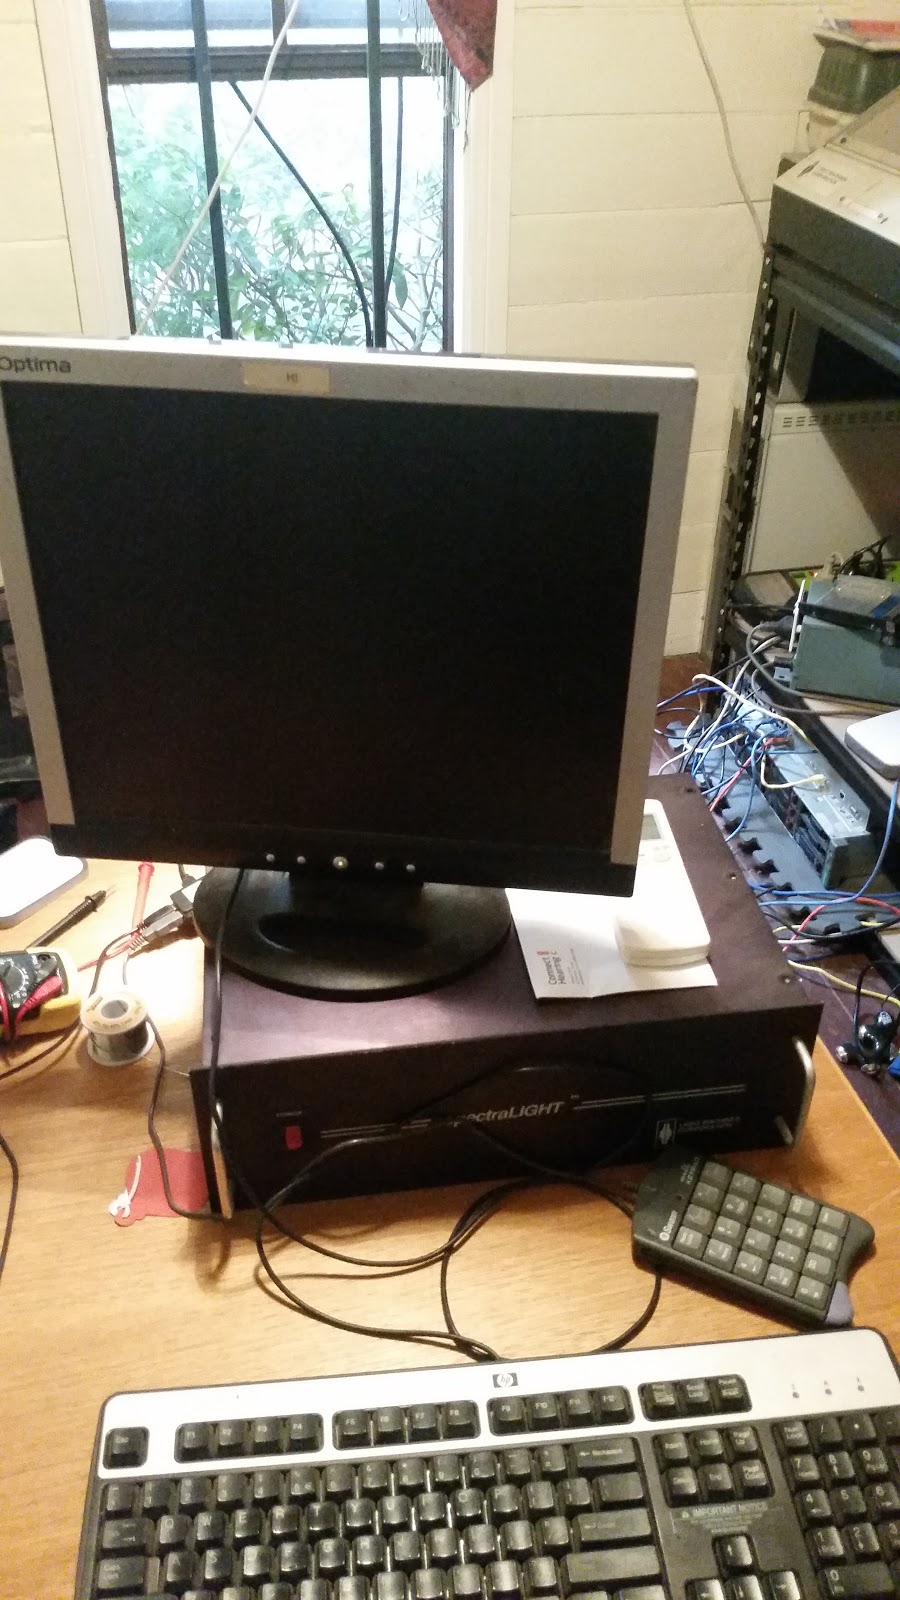
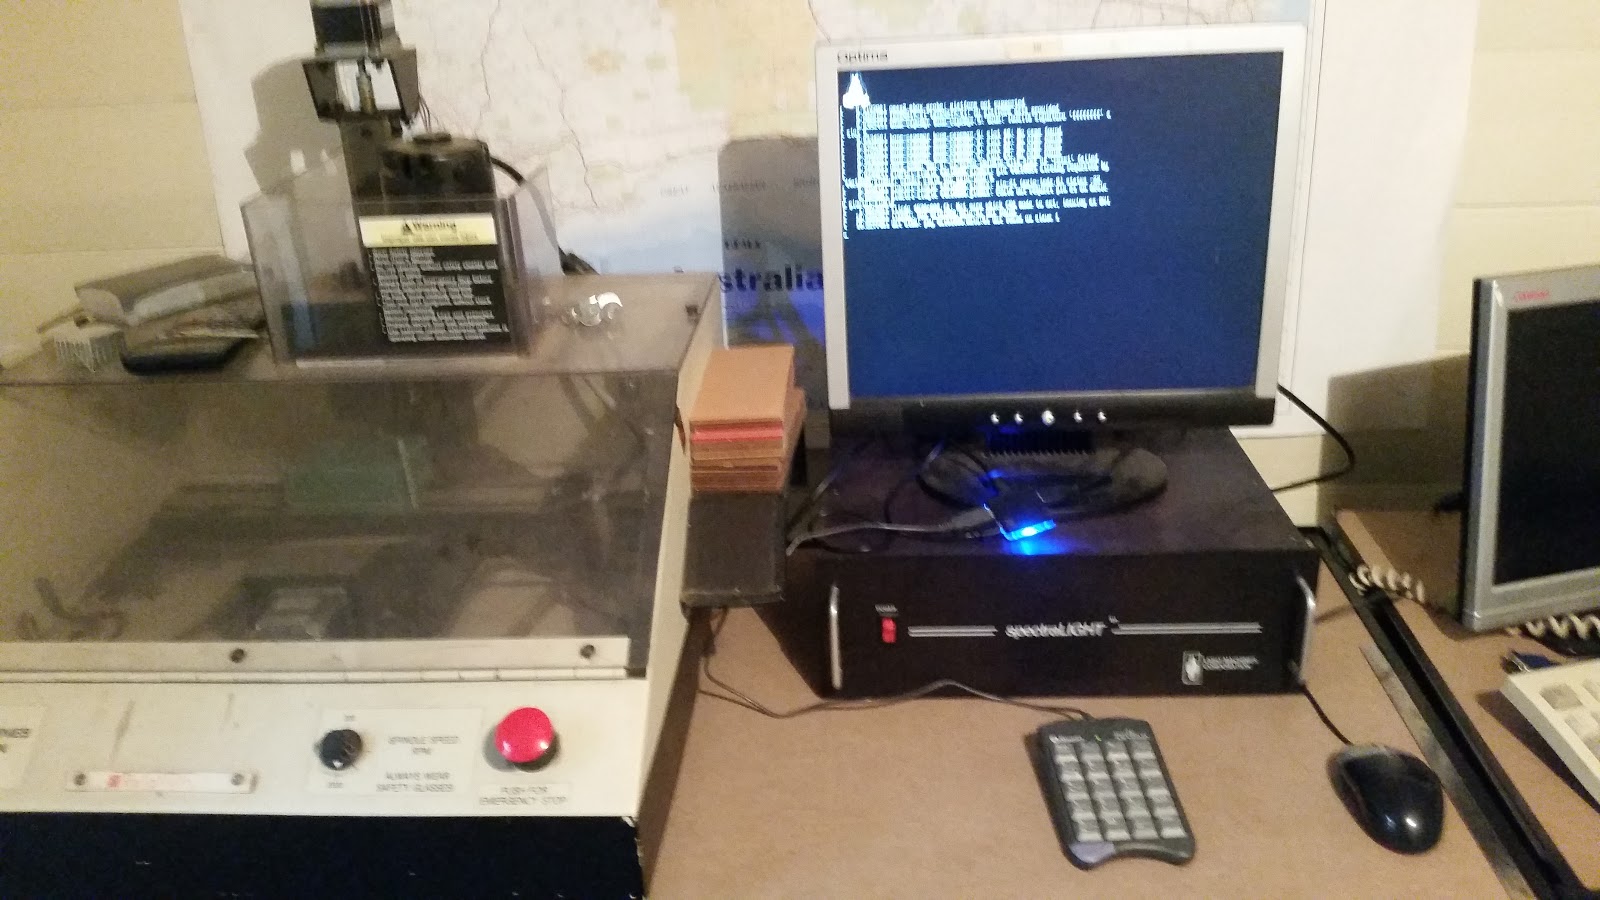
Here it is set up in the black box testing phase. I had it rigged up on the desk without plugging in the machine just to get this stuff sorted. Now that I have the fan and everything sorted it is time to move it off the desk onto it's home on the CNC bench.
Here you can even see the penguin power. I am planning on using just the mouse and the little numpad pendant as the interface for this as there won't be much call to type stuff in and this will keep the fairly crowded bench clearer. For now however while I am setting up the parameters for the stepper motors as a proper keyboard makes this much easier.
Now I just need to work out the toolchain to turn a CAD drawing into code to run on this machine. Getting it onto the machine should be fairly easy as it runs a quite up to date version of Linux so I can just set up an NFS share or similar for loading up programs.
Yesterday I got some more work done on the Land Rover. I wanted to do something a little cleaner than stripping the axle further so I decided to get some work done on the wiring.
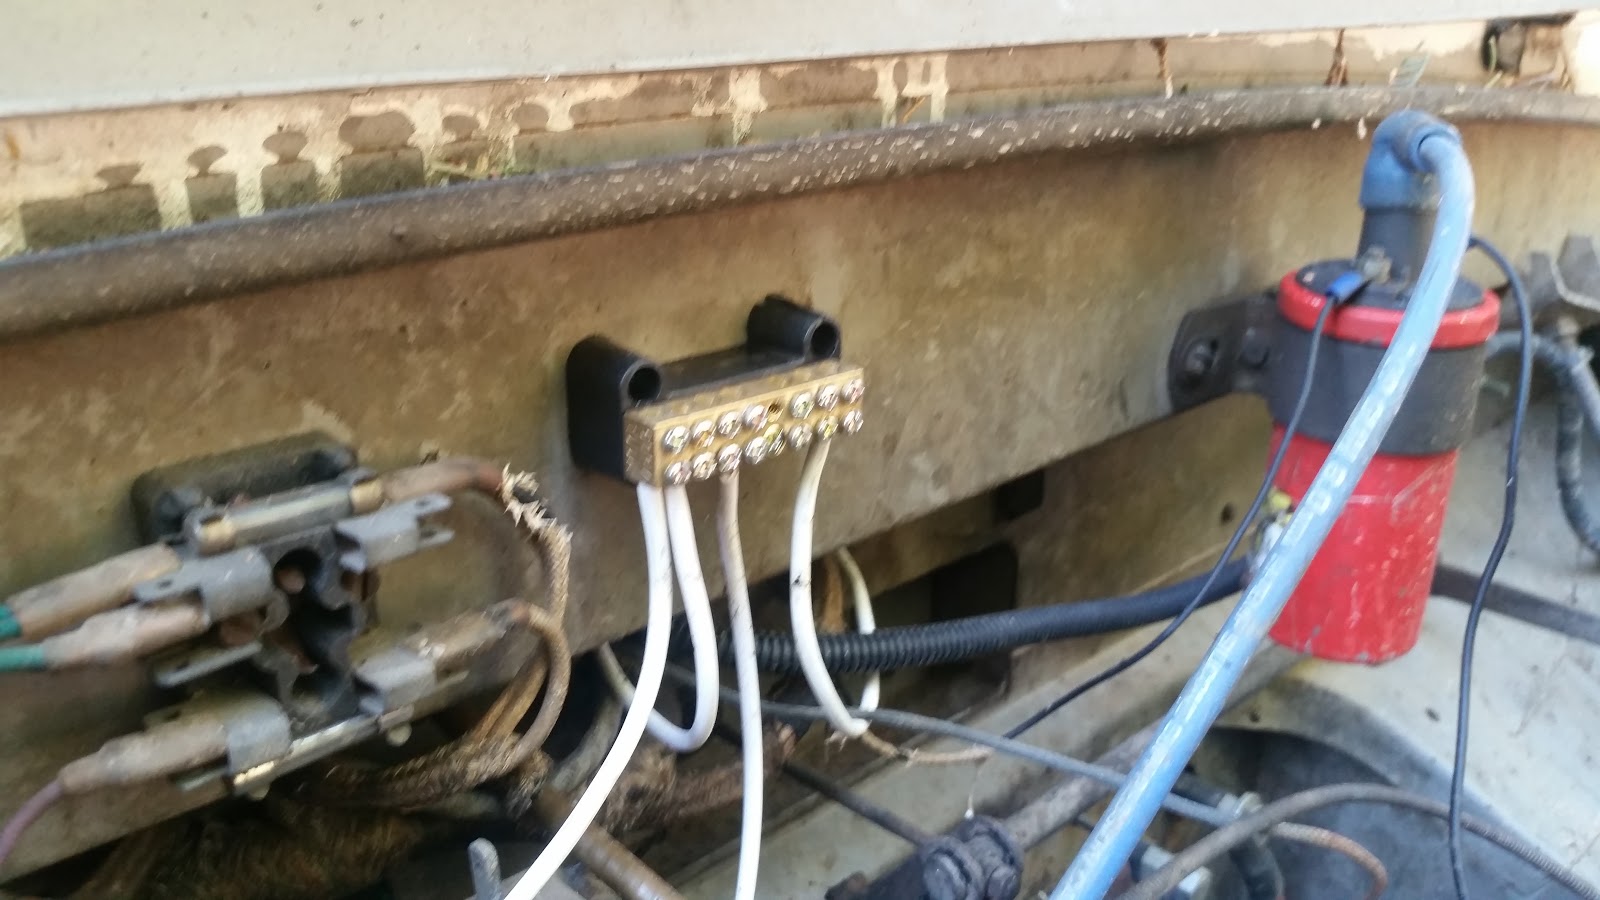
Originally the only fuses in these cars are the 2 you can see in the left of this picture. I had added the terminal block in the middle to make life easier for connecting stuff up. But it still wasn't fused.
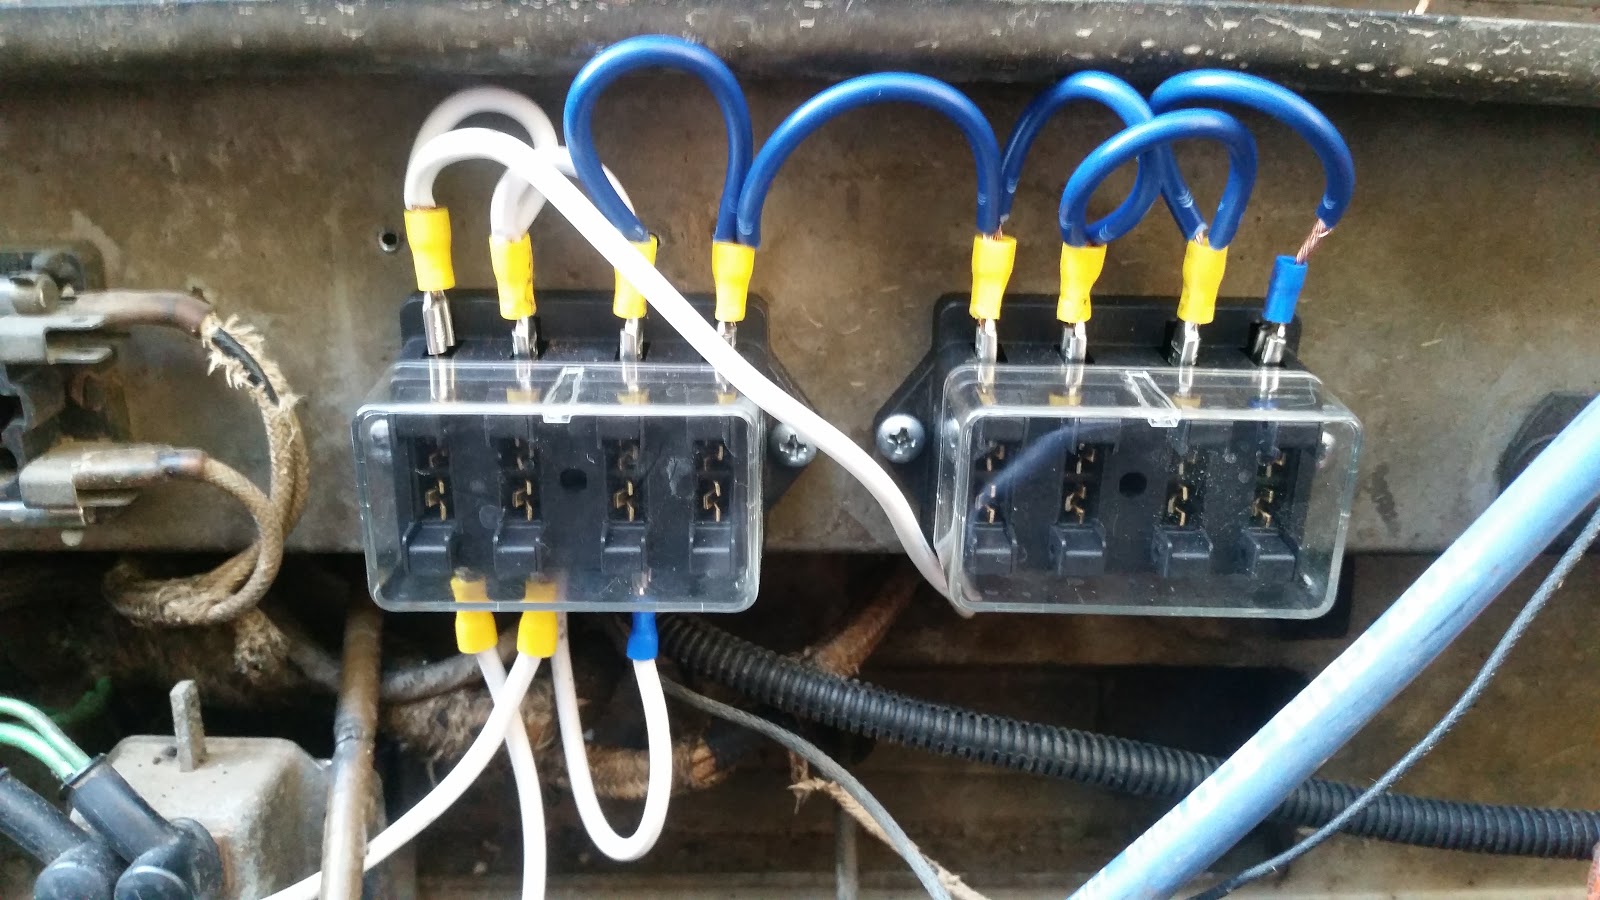
So I removed the terminal block and added these fuse boxes I got from AliExpress. They were quite cheap and you can see and feel it in the build. But they are solid enough that I have no doubts they will suffice.
When I ordered them I thought that not having a bus bar connecting all of the fuses would be an advantage. However as I started to wire in the stuff I already have that needs to be fused I realised that really it does all need to be connected to positive supply. So I just daisy chained together the top pins so they are all live and the devices will connect on the bottom.
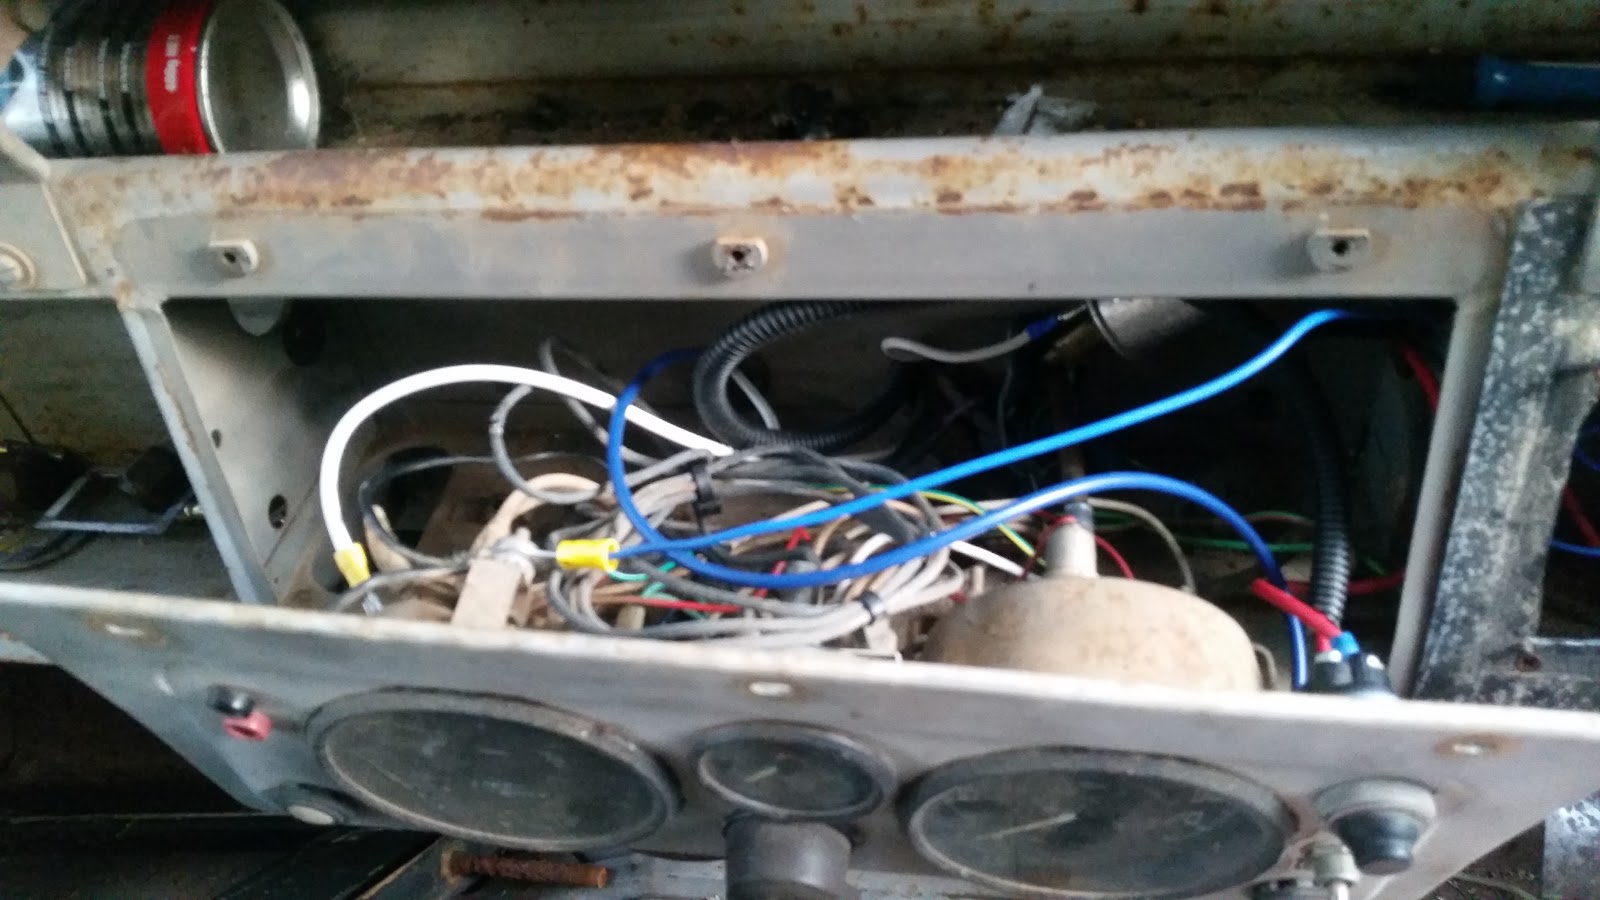
This is one of the reasons I want to add my own fuse panel. This has been added by a previous owner and seems to have been set up for running spotlights and such from. However I do not need the switches there and the fuses can be moved elsewhere. This will clear up a heap of space so I can build a gauge cluster there.
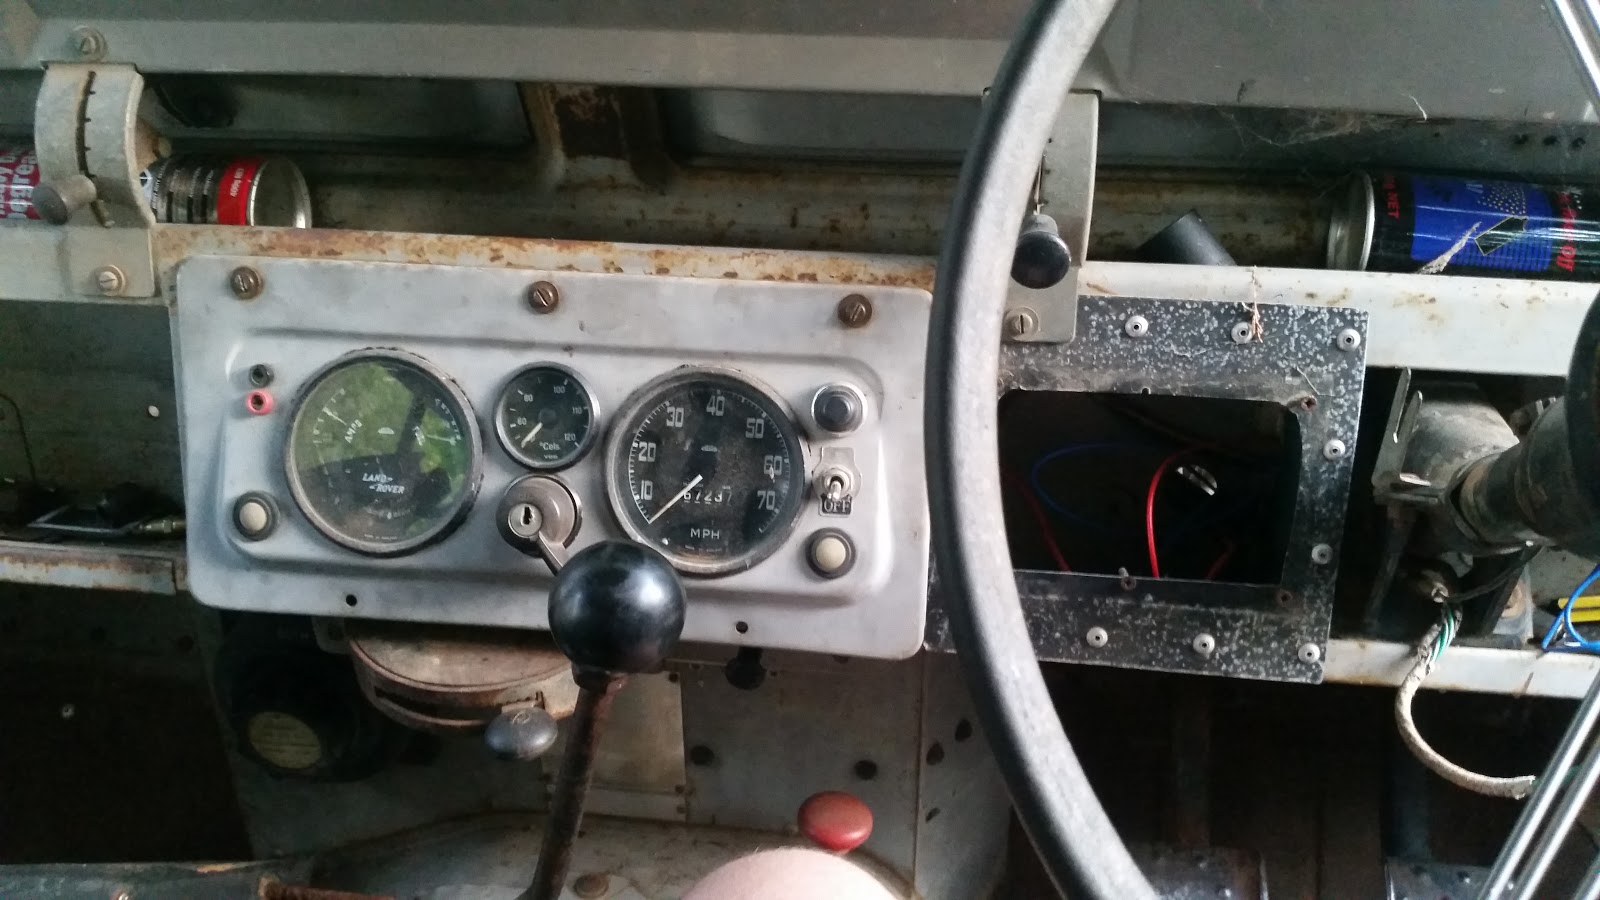
Anyone who has been around me for a little while knows I like to be able to see what the car is doing. Particularly considering that work I am putting into this I want to be able to monitor it's behavior so that if something starts to go wrong I can start taking it easy or something to help it along. At this stage I am looking to add a voltmeter, tacho, oil pressure & probably manifold vacuum gauges. I may also add an oil temp gauge, but that can happen later; Particularly if I start working this a bit harder.
It does look pretty bad in here. But if you pull it out all the way with the speedo cable removed then it is all quite clear. Though with the fuses wired up now hopefully I will be able to leave this as it is for quite some time.
This is where I got up to. I still need to drill out the rivets that hold the plate on for the old fuse panel. But it was starting to get late and the mosquitoes had come out so it was time to call it a night.