

 |
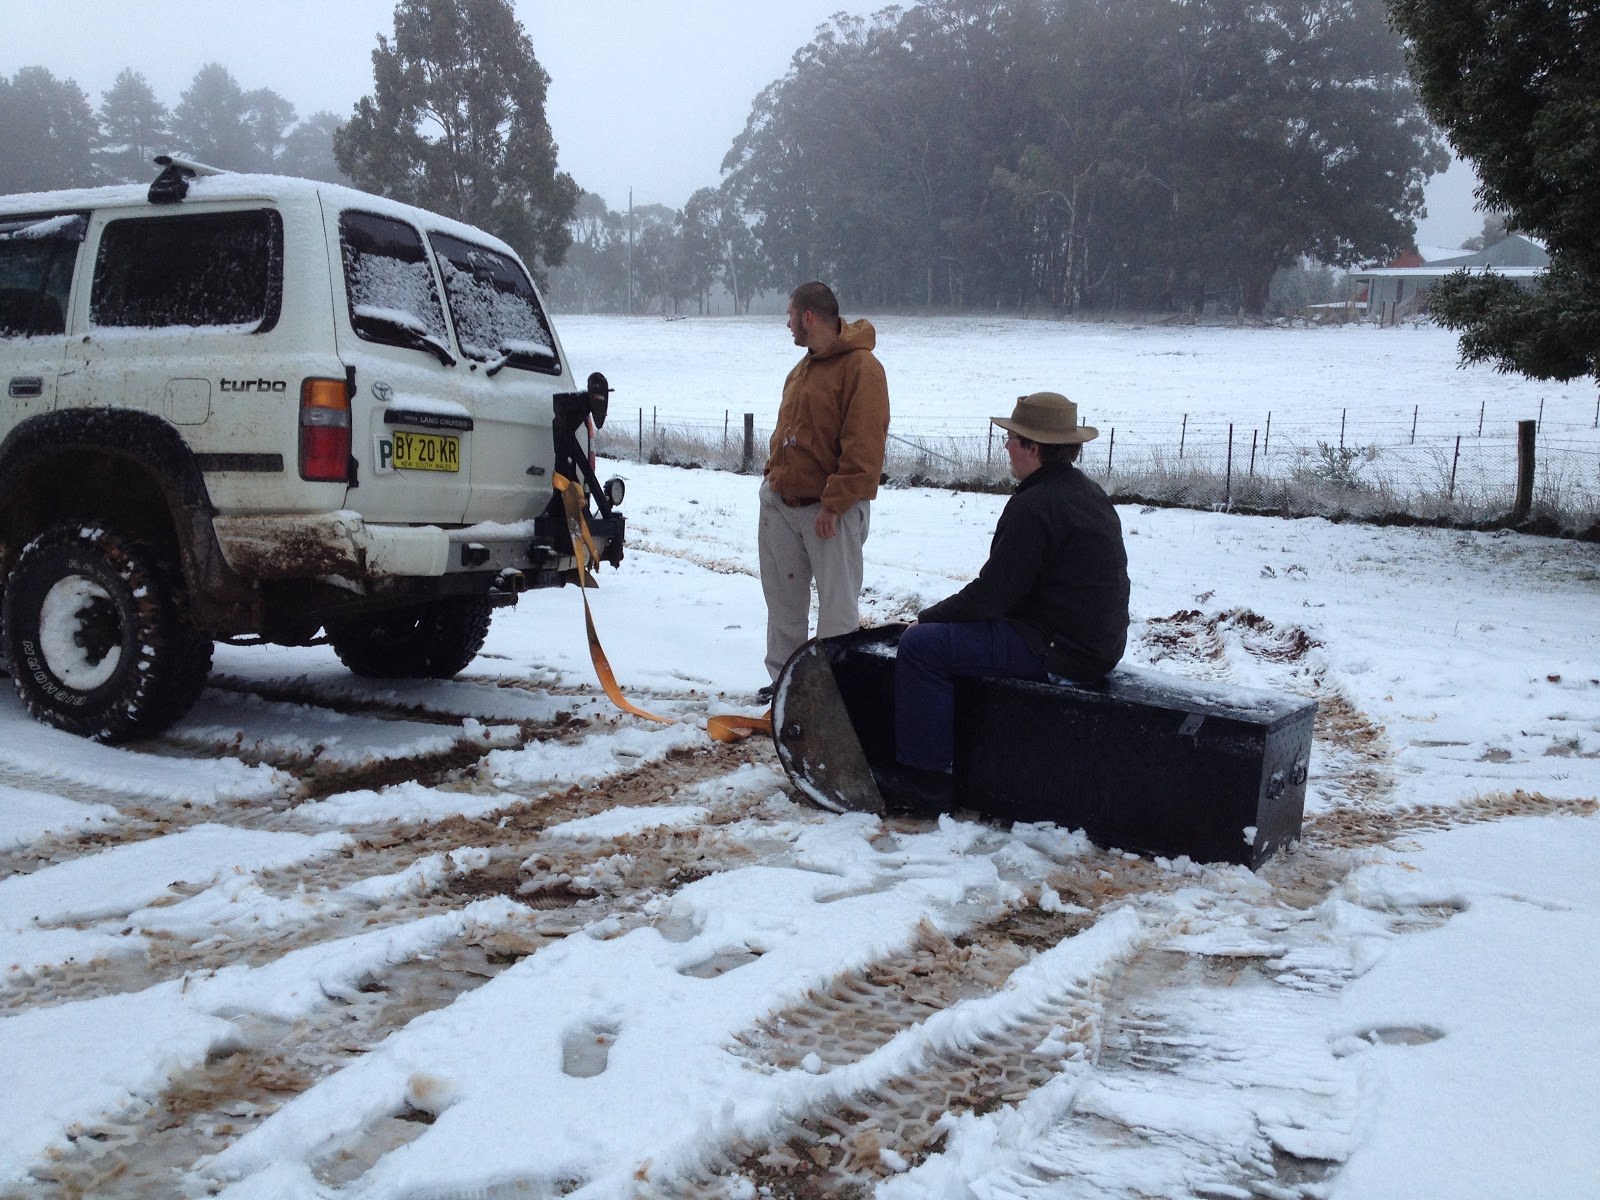
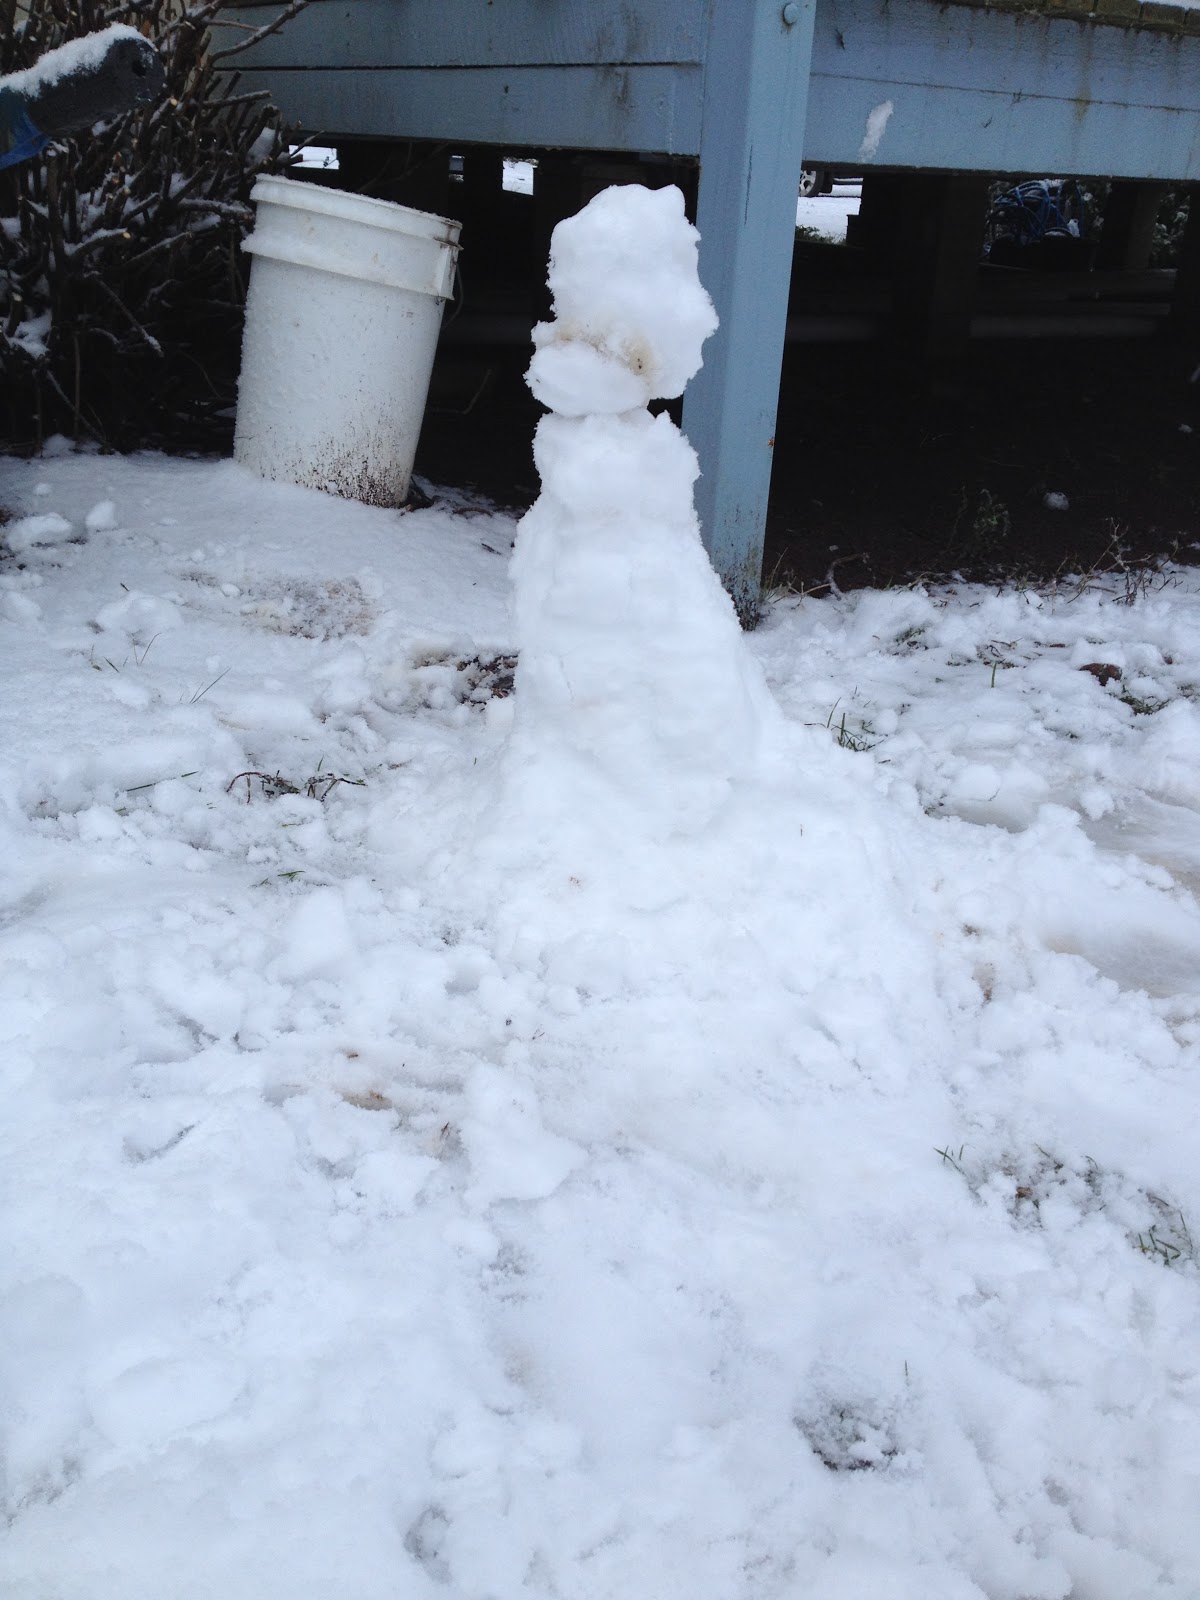
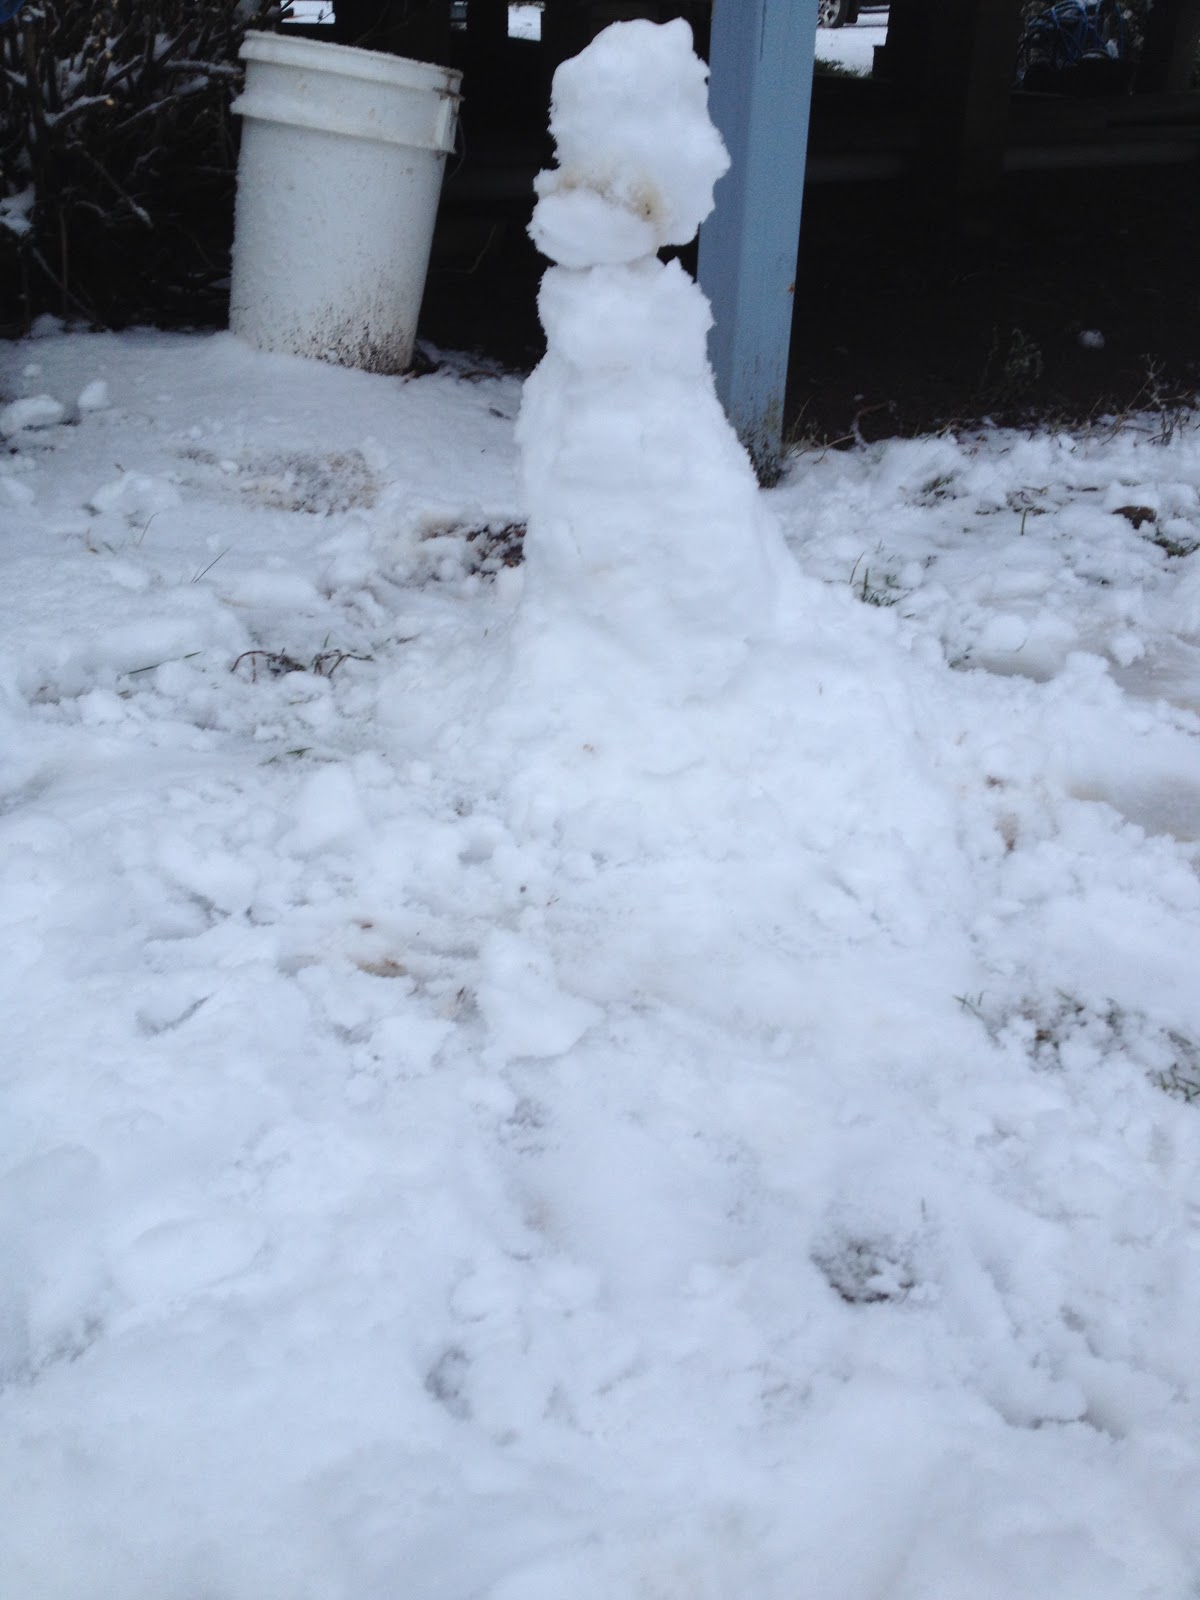
| Lets see what I can stay on while being towed. It's a shame we didn't get a picture of me on the snowboard. That actually slid. |
 |
| It was a little chilly, probably should have put on another jumper. |
 |
| Now the jeep has a hood ornament. They actually nearly lasted the whole way home. |
 |
| There's a lot of heat coming up from that bonnet. I might see if I can put some vents in to help it keep cool. |
 |
| Nice and warm at home before we left. Sort of. |
 |
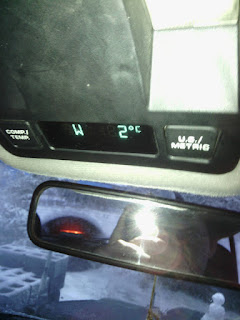
| Cold and wet, not much fun. |
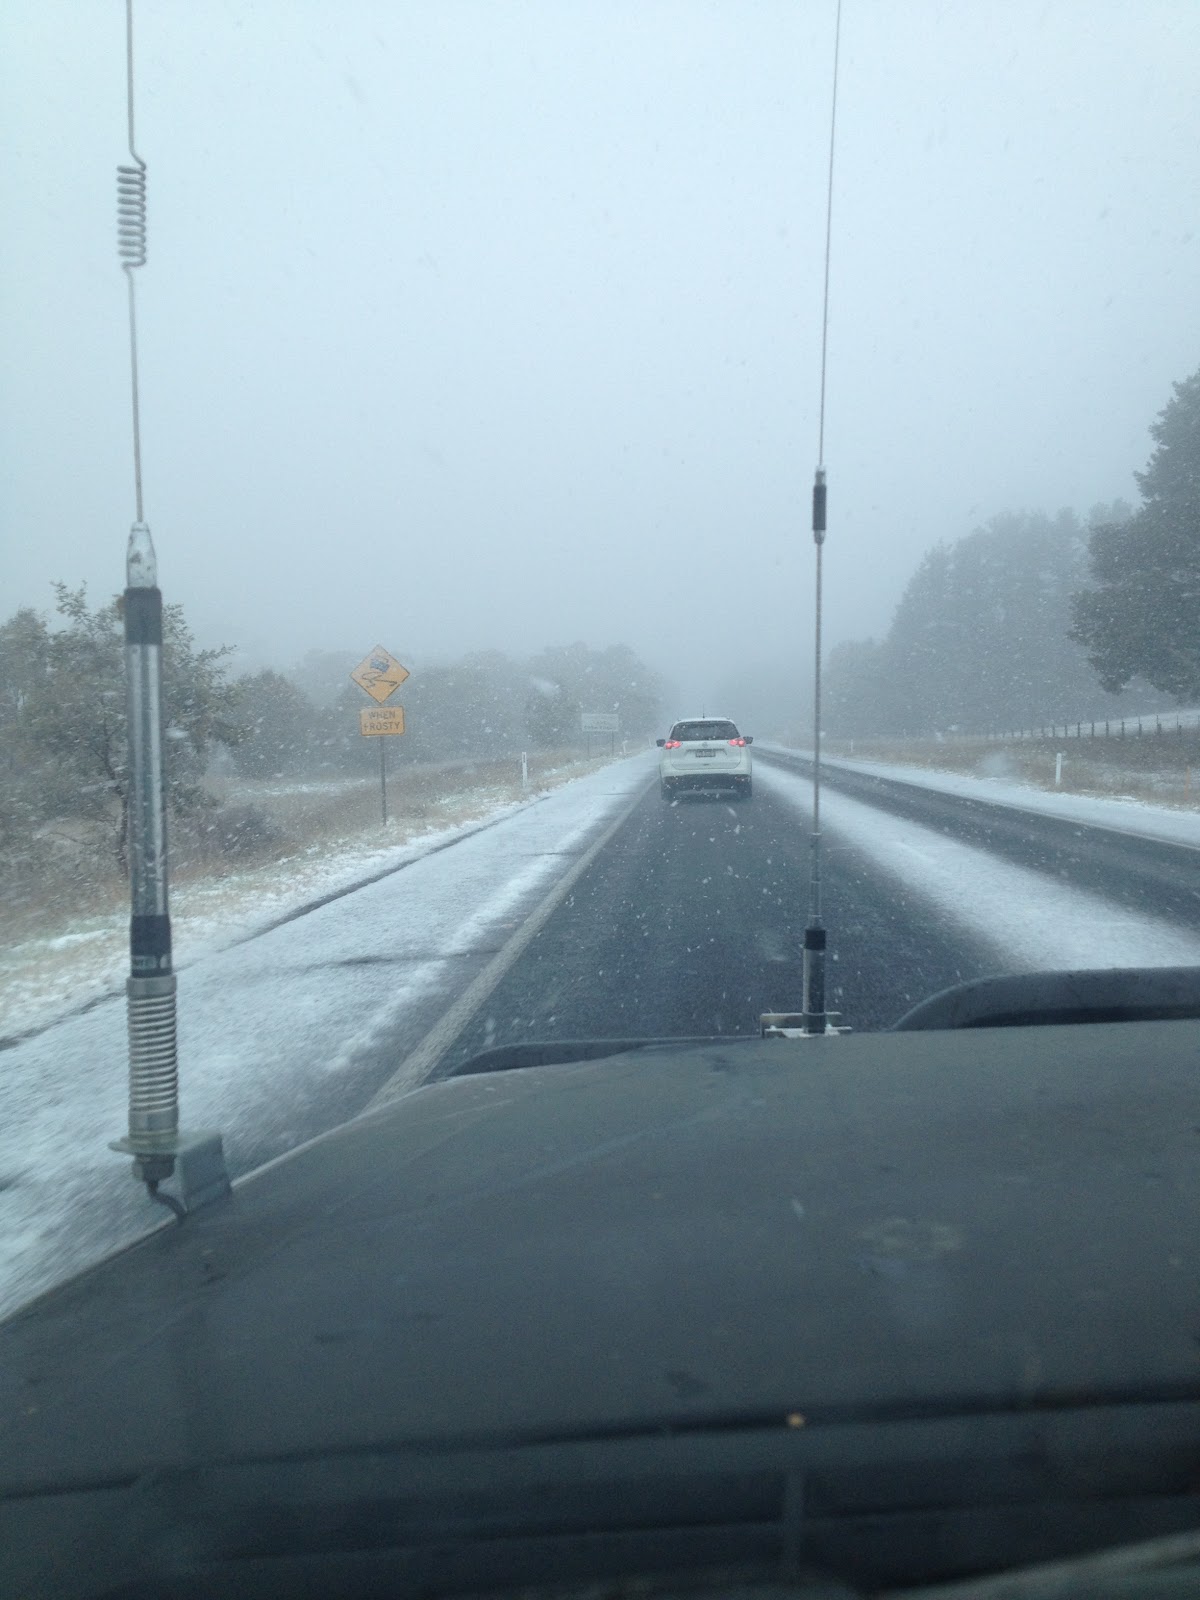 |
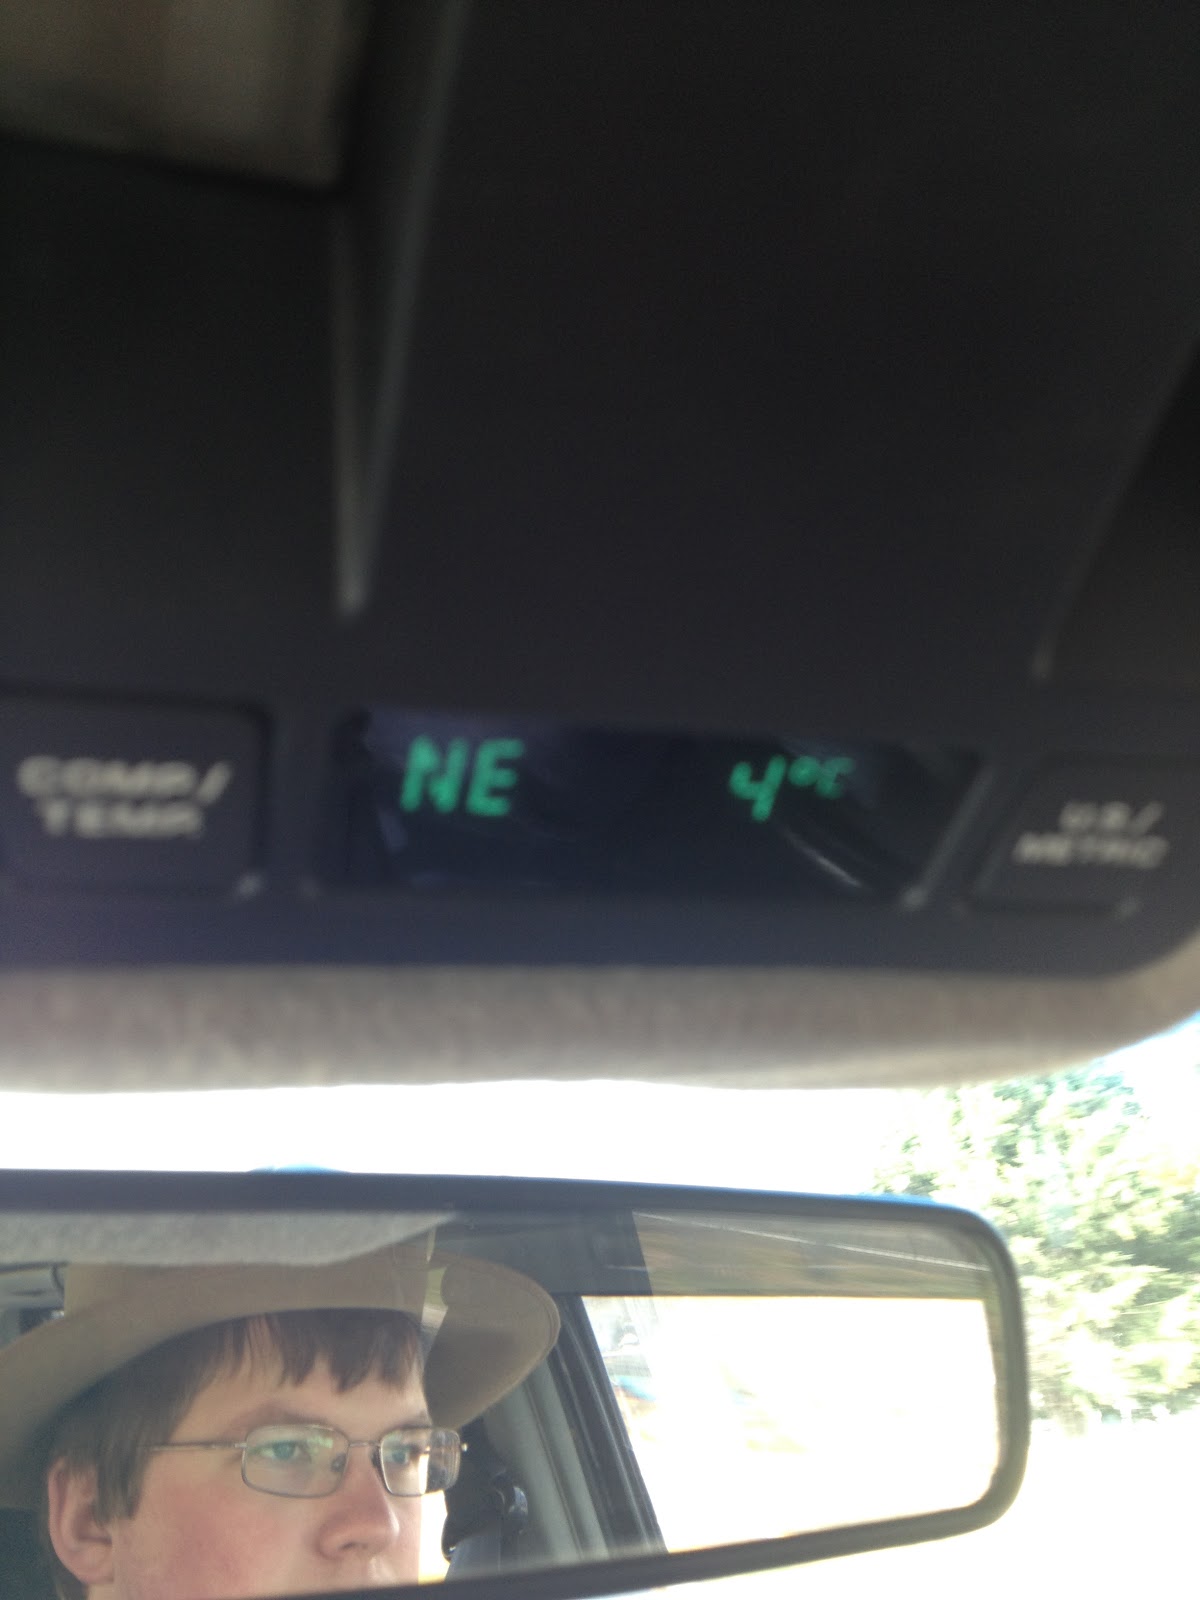
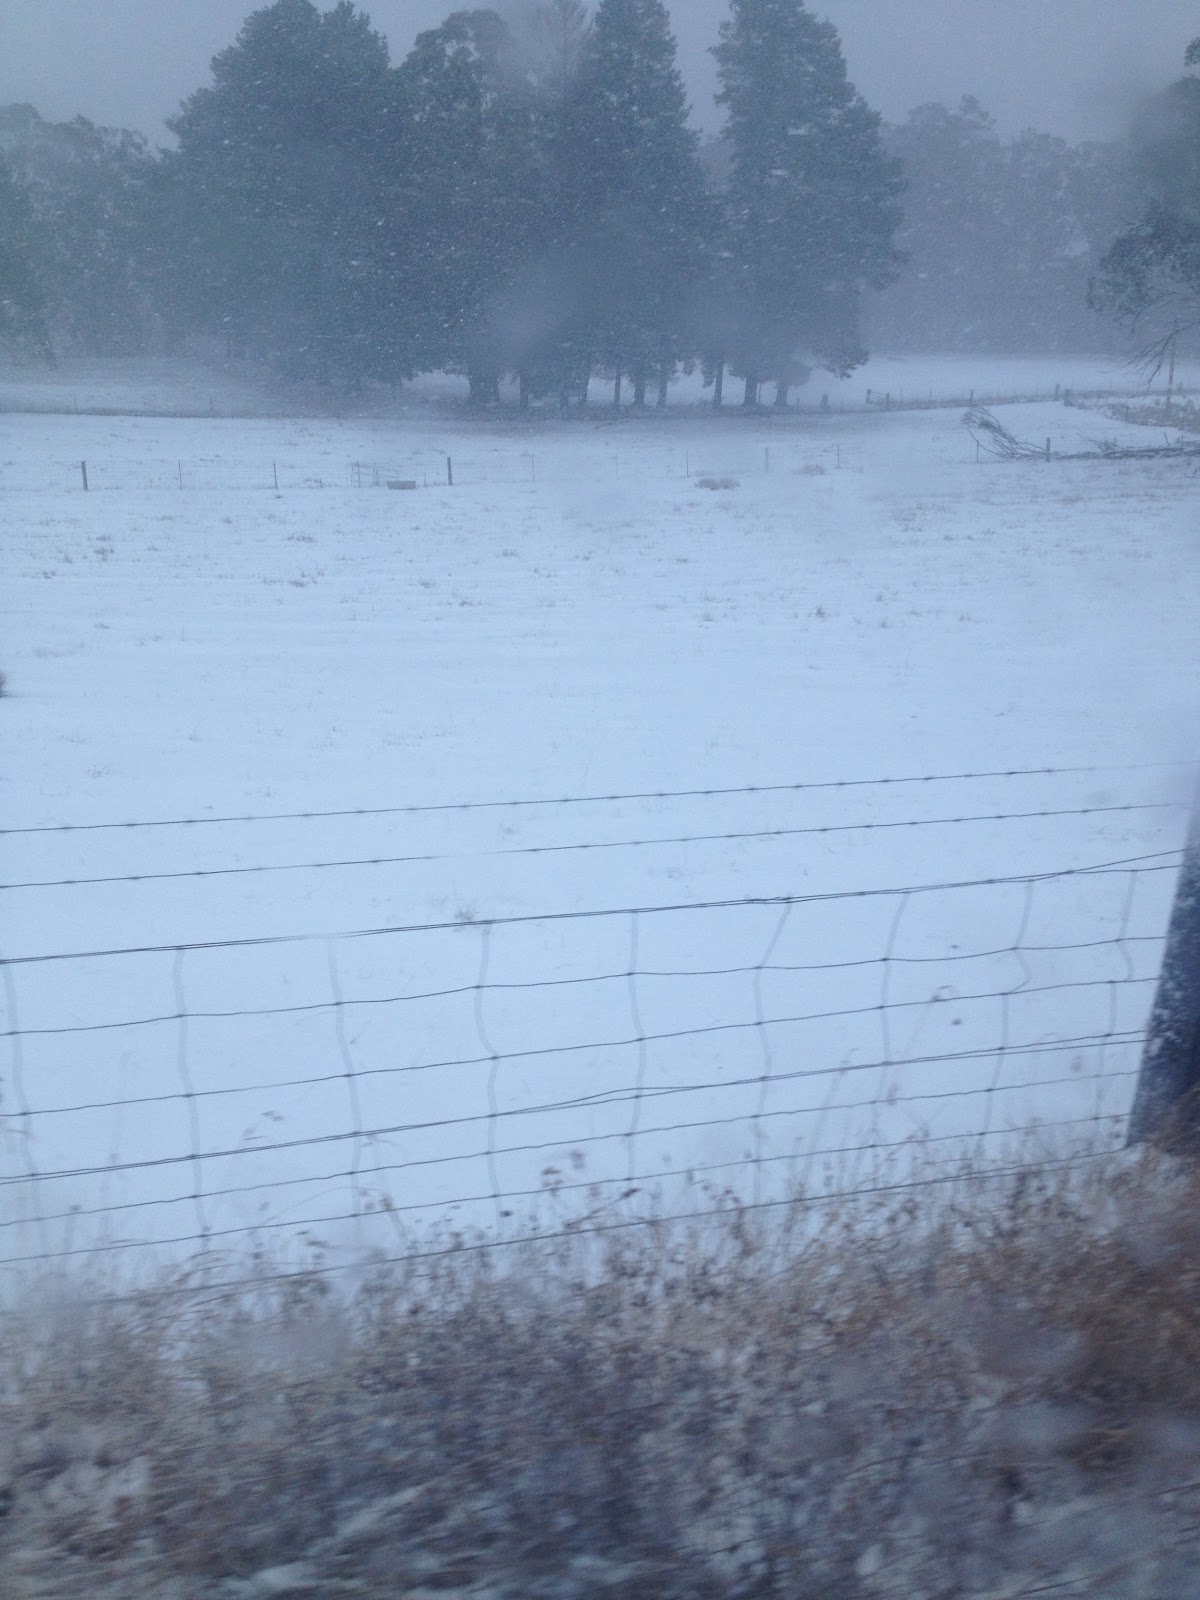
| Cold and snowy, more fun than cold and wet. |
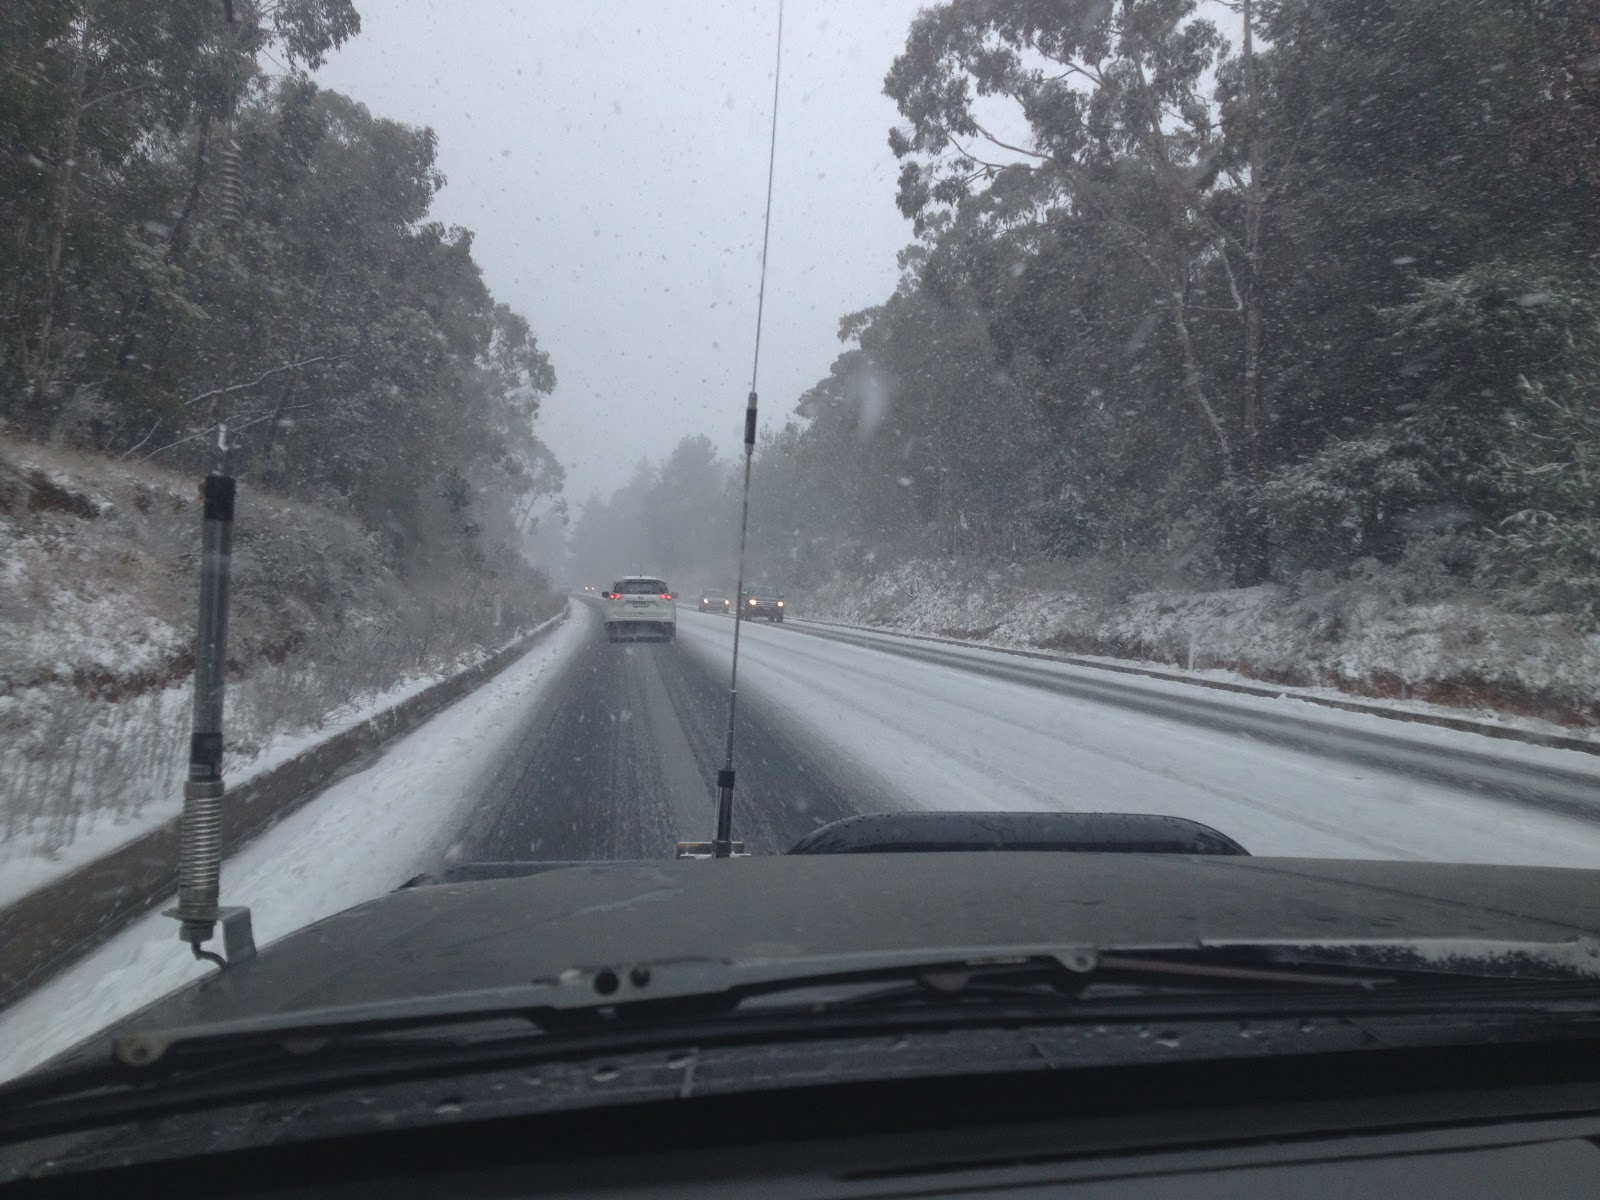 |
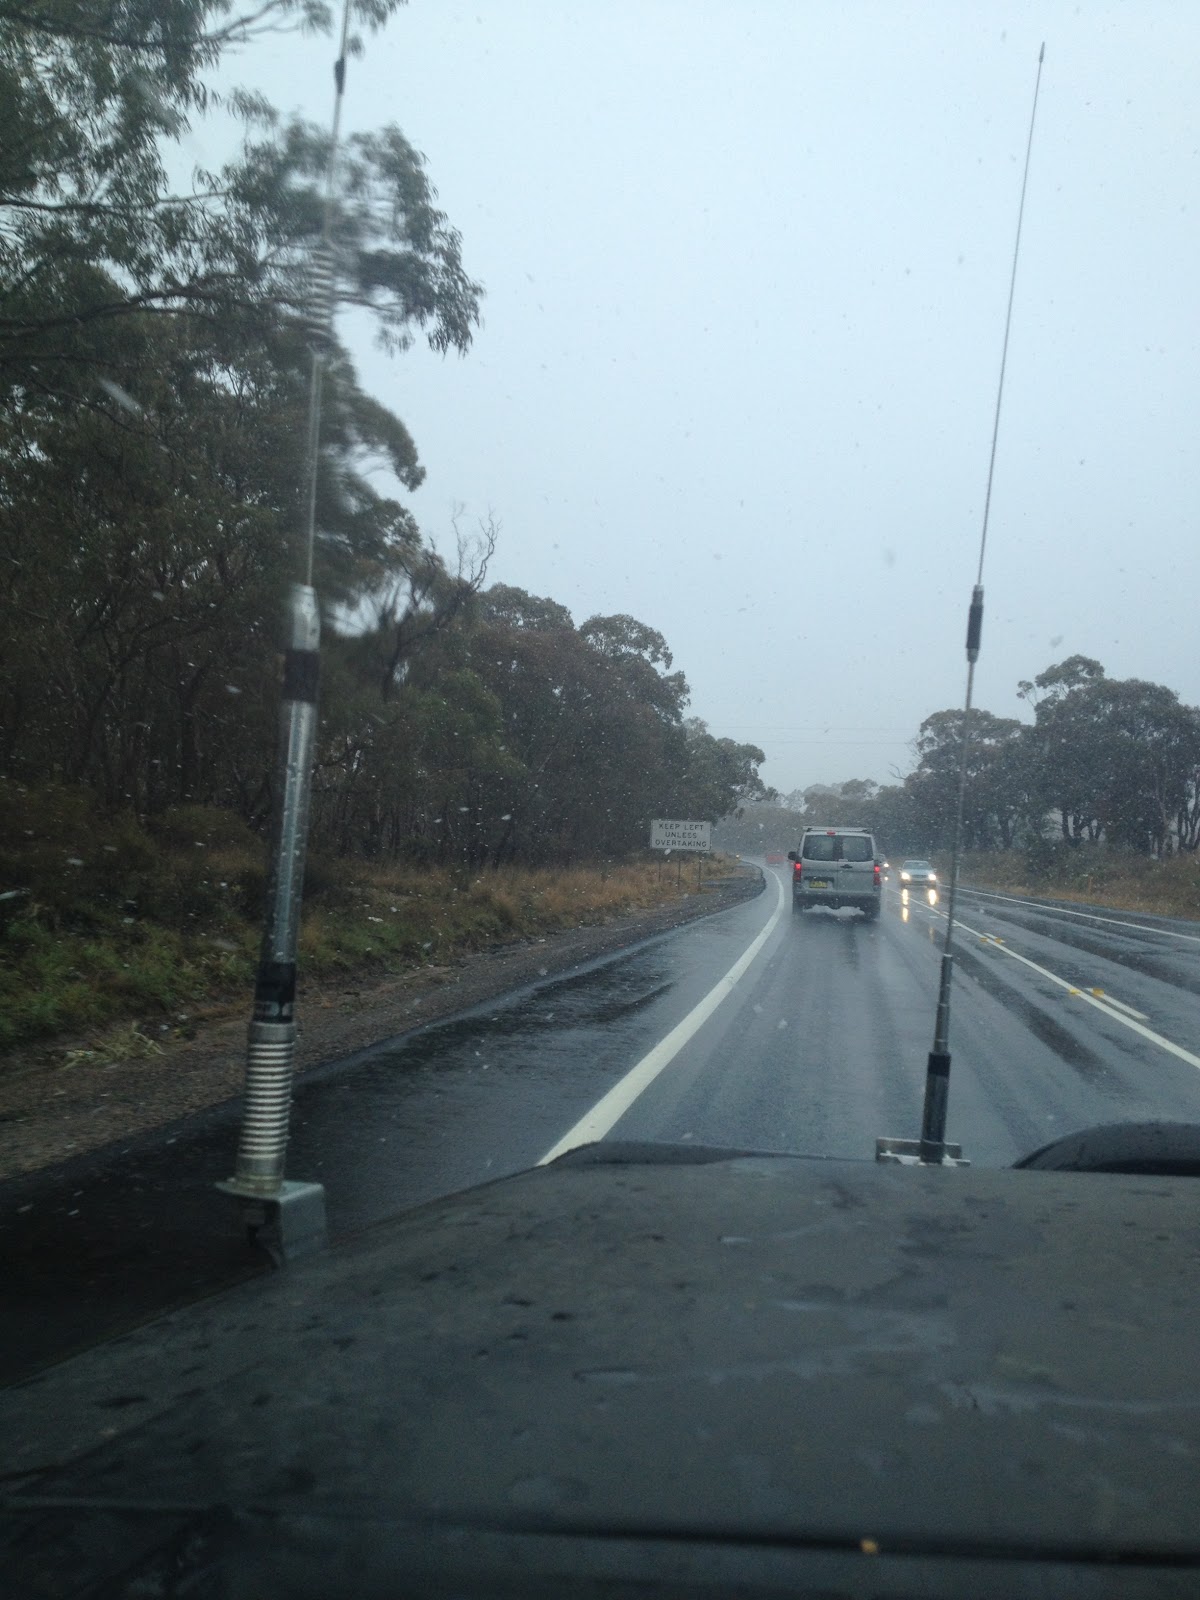
| Not many people were overtaking on the highway. |
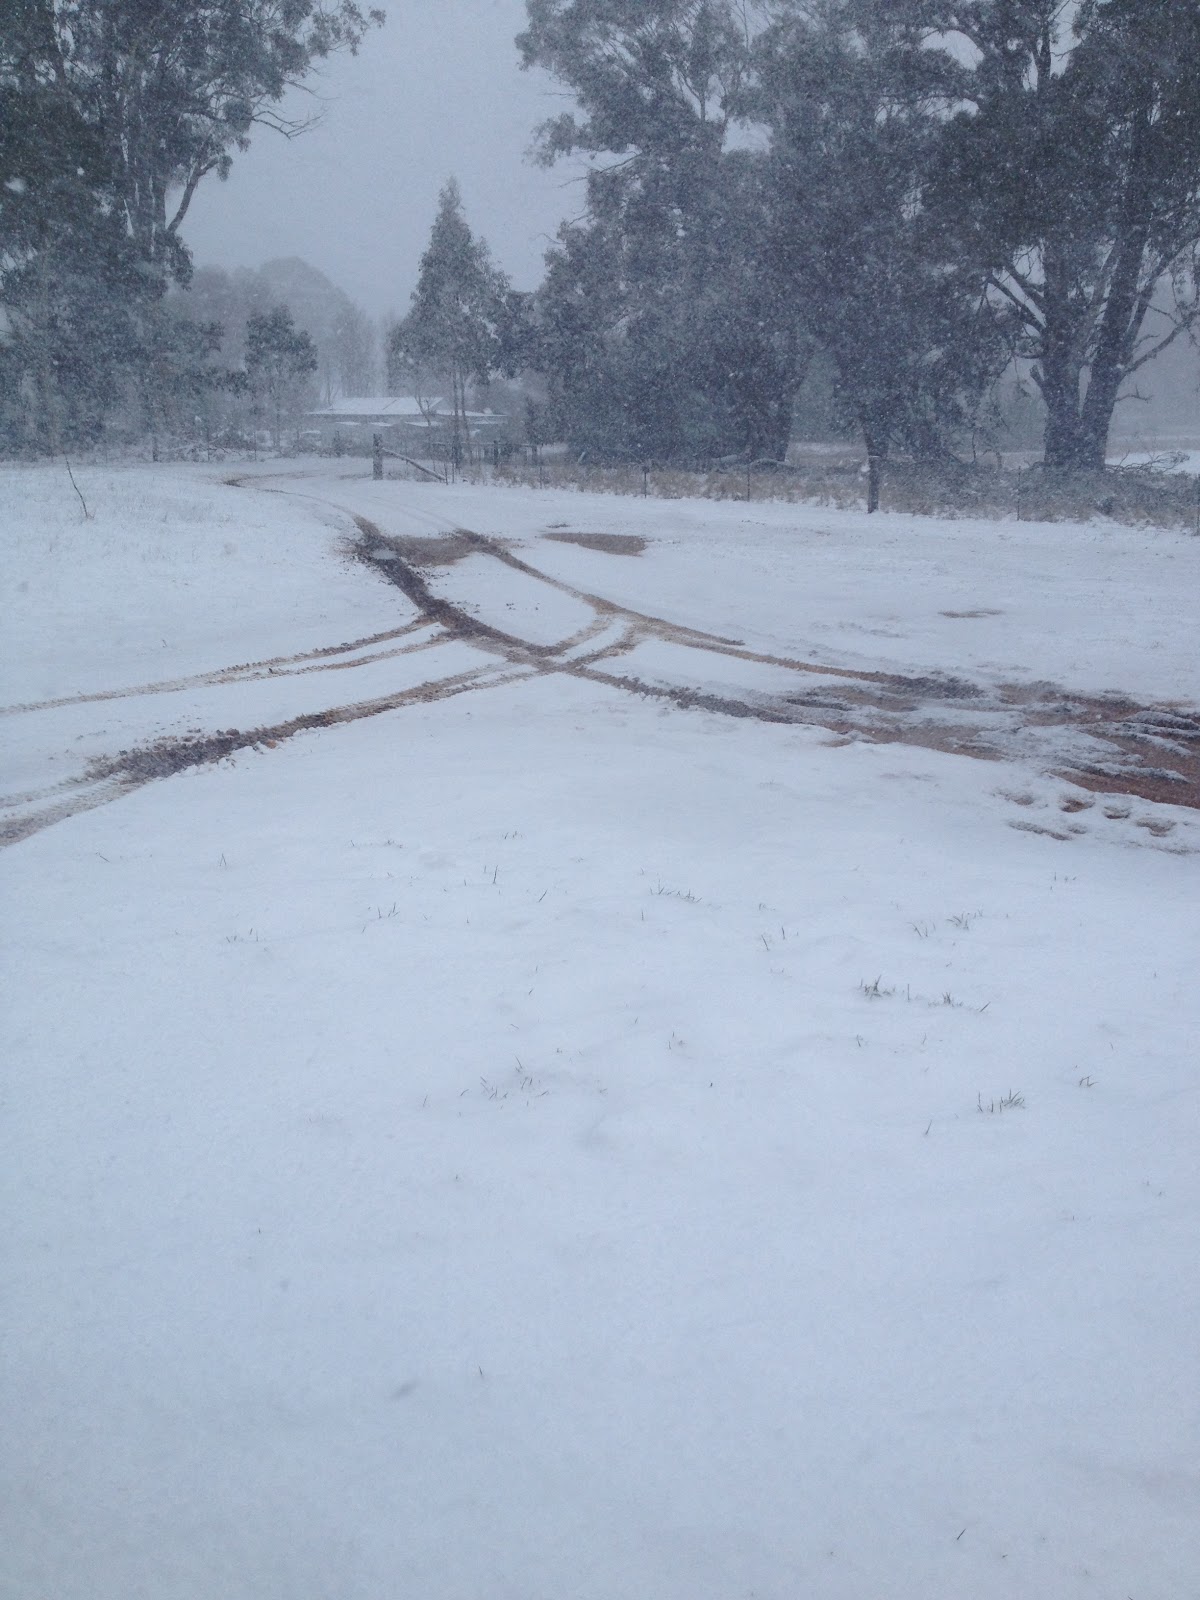

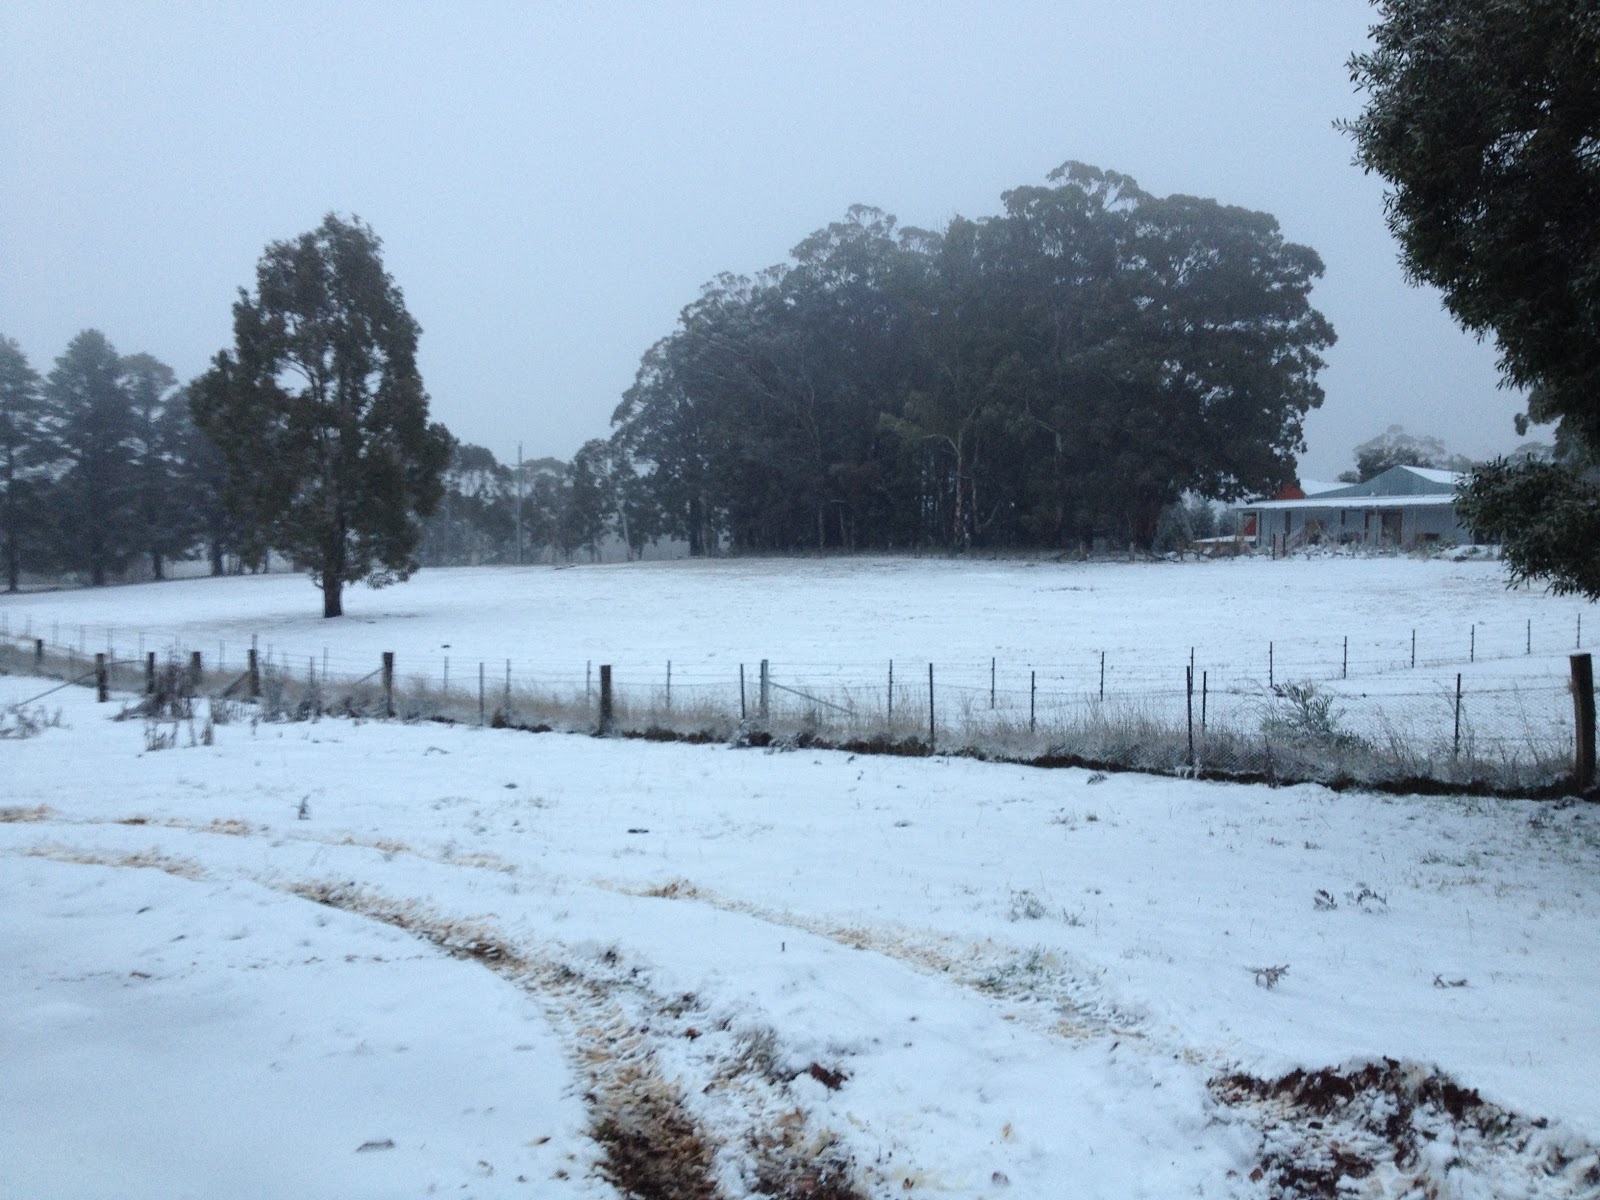
We had a good afternoon and proved that the Jeep can handle a little snow at least. If it stays this cold there may be some pictures coming up of it in muddy snow.
Cheers,
Rex
- Details
- Written by Rex ORegan-2
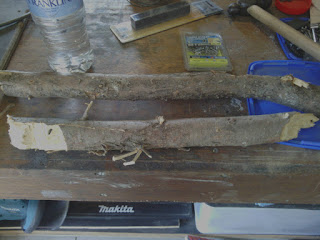 |
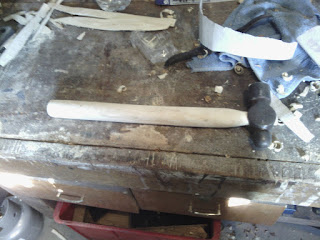
| This is what we started with. |
I decided to start with the piece that had less protrusions and junk although it had a bit of a bend to it. I started by trying to clean the bark, that still had a lot of sap in it, off with a combination of a spokeshave and some small planes.
 |
| The beginning of something wonderful? |
I got a rasp and started to make the narrow end a little more oval shaped, to help to work out where some material needed to be removed I jammed on the head, then removed it, rasped a little and repeated. This was working quite well until disaster struck.
 |
| Disaster, or a blessing in disguise? |
 |
| A much better idea I think. |
Looking back, to make it easier, using a draw knife or something like that to remove the bark would have given be a good place to start with the planes and spokeshave and would have probably eliminated most of the problems I had. Maybe I can make one?
I will be doing a writeup soon on how I built my forge and also there will probably be some posts coming on things I have made with it.
Cheers,
Rex
- Details
- Written by Rex ORegan-2
This is the razor I've been using. It's very similar to a straight razor, however it uses replaceable blades. This means that I don't have to worry about honing or stropping to have a nice sharp edge.
 |
| The stuff I ordered. |
Just quickly, on the styptic pencils. I had to look a little to find instructions on their use. So here is my method from what I found. After cutting yourself you wet the end of the pencil so it will leave a little of itself behind when rubbed on the skin. Then just rub the tip of it on the cut. This will sting a little depending on how bad you've nicked yourself. Once you've rubbed it around for a short time just rinse the blood off the pencil and put it somewhere to dry.
So apparently the way they work; is when the pencil is wetted it leaves a little of itself behind in the cut when you rub it in. The main thing that does the job is called Alum which I believe is an aluminium oxide of some description. It works by causing the tissue in that are to shrink. In particularly the capillaries that have been broken. This shrinking is what stems the flow of blood.
Once I get a brush and soap I will write a followup and discuss any differences I find with that as well.
Cheers,
Rex
- Details
- Written by Rex ORegan-2
 |
| The problem mirror. |
Here is the sum total of the tools I used:

I know cars need a lot of tools right?
- Remove this little bit of trim from inside the car. This will allow access to the back face of the mirror mount. The way I did it was by sliding it upwards and bending it a little over the leading edge of the door frame. It took a little force but not enough that it felt like it was going to break.
- This will give access to the 3 screws that hold on the mirror. As well as the cable that controls the tilt motors.
- Now you just need to unplug the cable, remove the screws and the old mirror will practically fall off. From here you just need to offer up the new mirror from the outside and put in the screws. Once the mirror is secured solidly the cable can be plugged back in. With the cable in and the tilts tested just put the black plastic cover back on. When you do this make sure you get the white plug to slid into it's slot in the back of the plastic. If you don't get that in the cover will flop around and not sit properly.


Cheers,
Rex O'Regan
- Details
- Written by Rex ORegan-2
Page 34 of 46
