So in my experiments with waste oil burning I have reached a new milestone. On Friday night I managed to make something hot using waste oil and compressed air alone.
I can also still break hammers. I think I trimmed too much off when I fitted the head on last time so it has just slid over the taper the wedges put in the wood. I have a few plans on how to fix this so it doesn't happen again. I'll be bringing you along for my experimentation there as well.
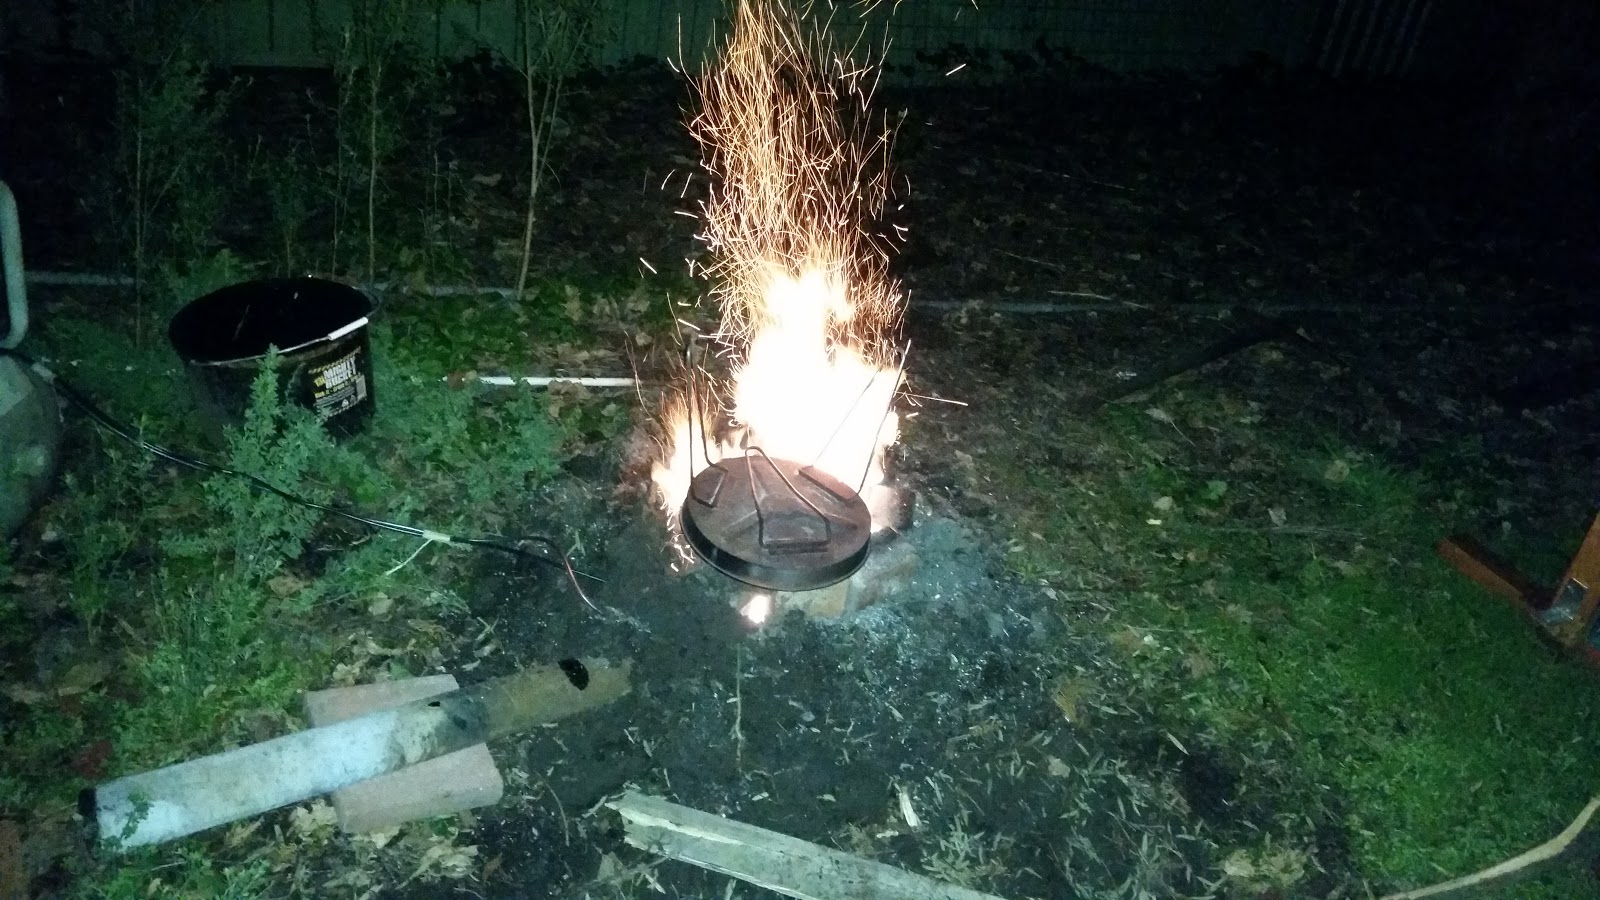
It took me a little while to get the fire going this good. To start with what I was trying was dripping the oil into a stream of air from my shop-vac on blow, atomizing(?) it then carrying it through into a fire that I'd already lit to get some heat into the fireplace. Unfortunately that didn't work.
I had some charcoal in the bottom of the fire to help get a decent bed of hot ashes to be spraying the oil onto. Unfortunately with any kind of draft, even from the hairdryer. The charcoal turned into embers which were getting picked up by the wind a little and heading towards the neighbors yards. Not so good.
The next thing I tried was to just jamb the nozzle from my previous test(here) through a gap in the bricks and backfill with dirt. Unfortunately I forgot to take a photo of that as well.
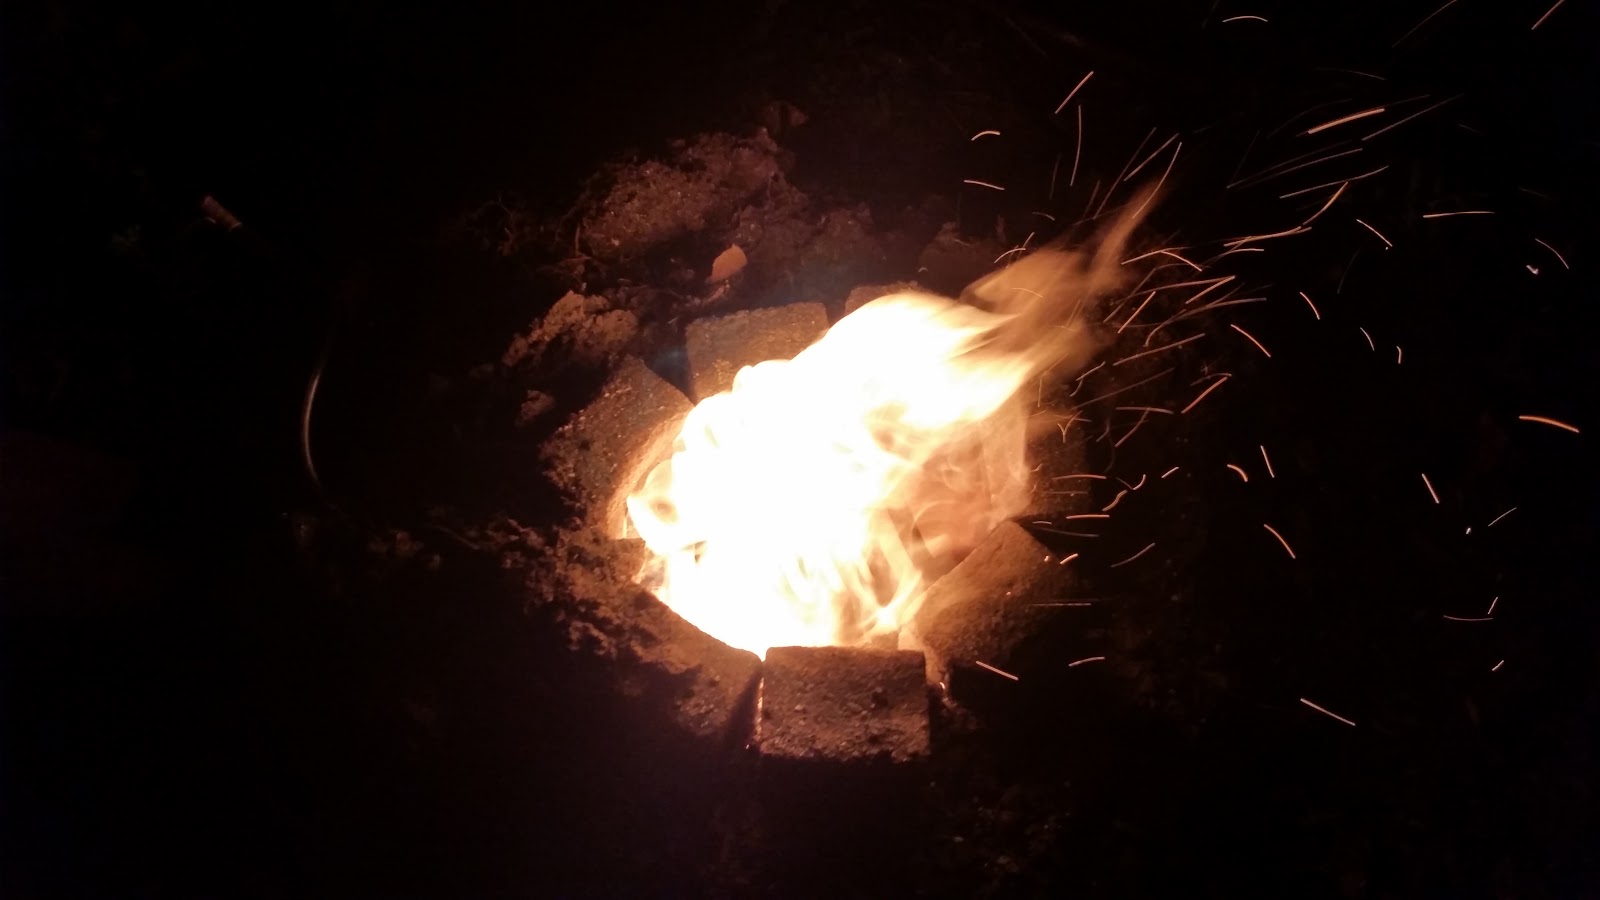
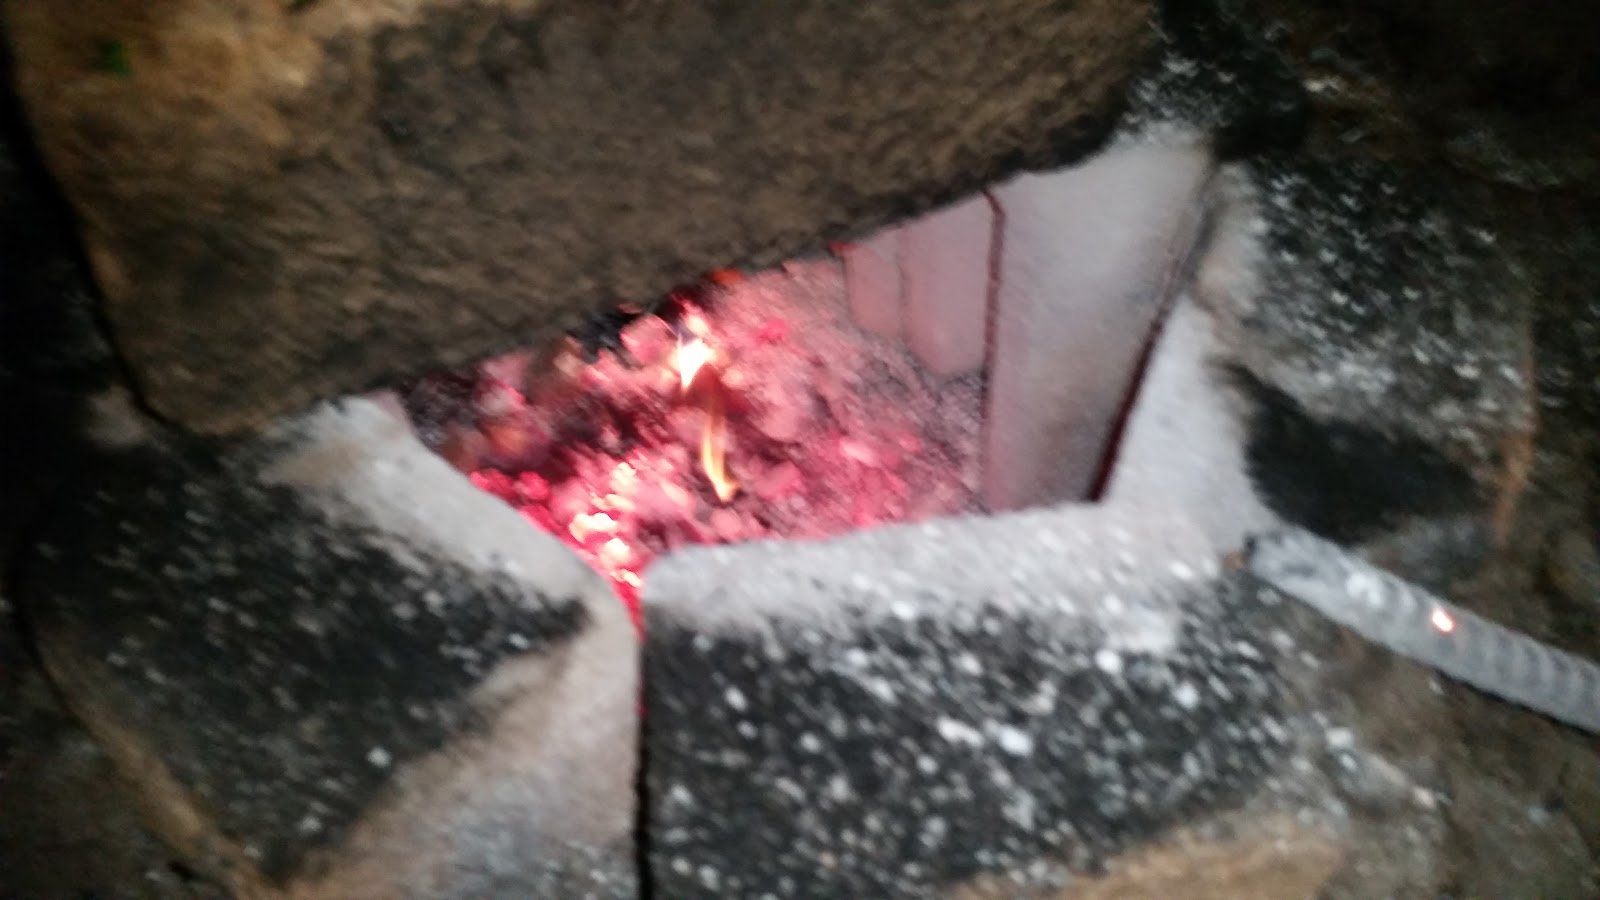
This was the result:
A nice big ball of flame, with relatively few sparks as there is much less air moving. I put a spring in the fire as this is something I have been toying with a bit recently and it did get hot.
It did take a fir while so there is plenty of room to improve but a good proof of concept. It will burn when feeding into a smallish, pre-heated chamber.
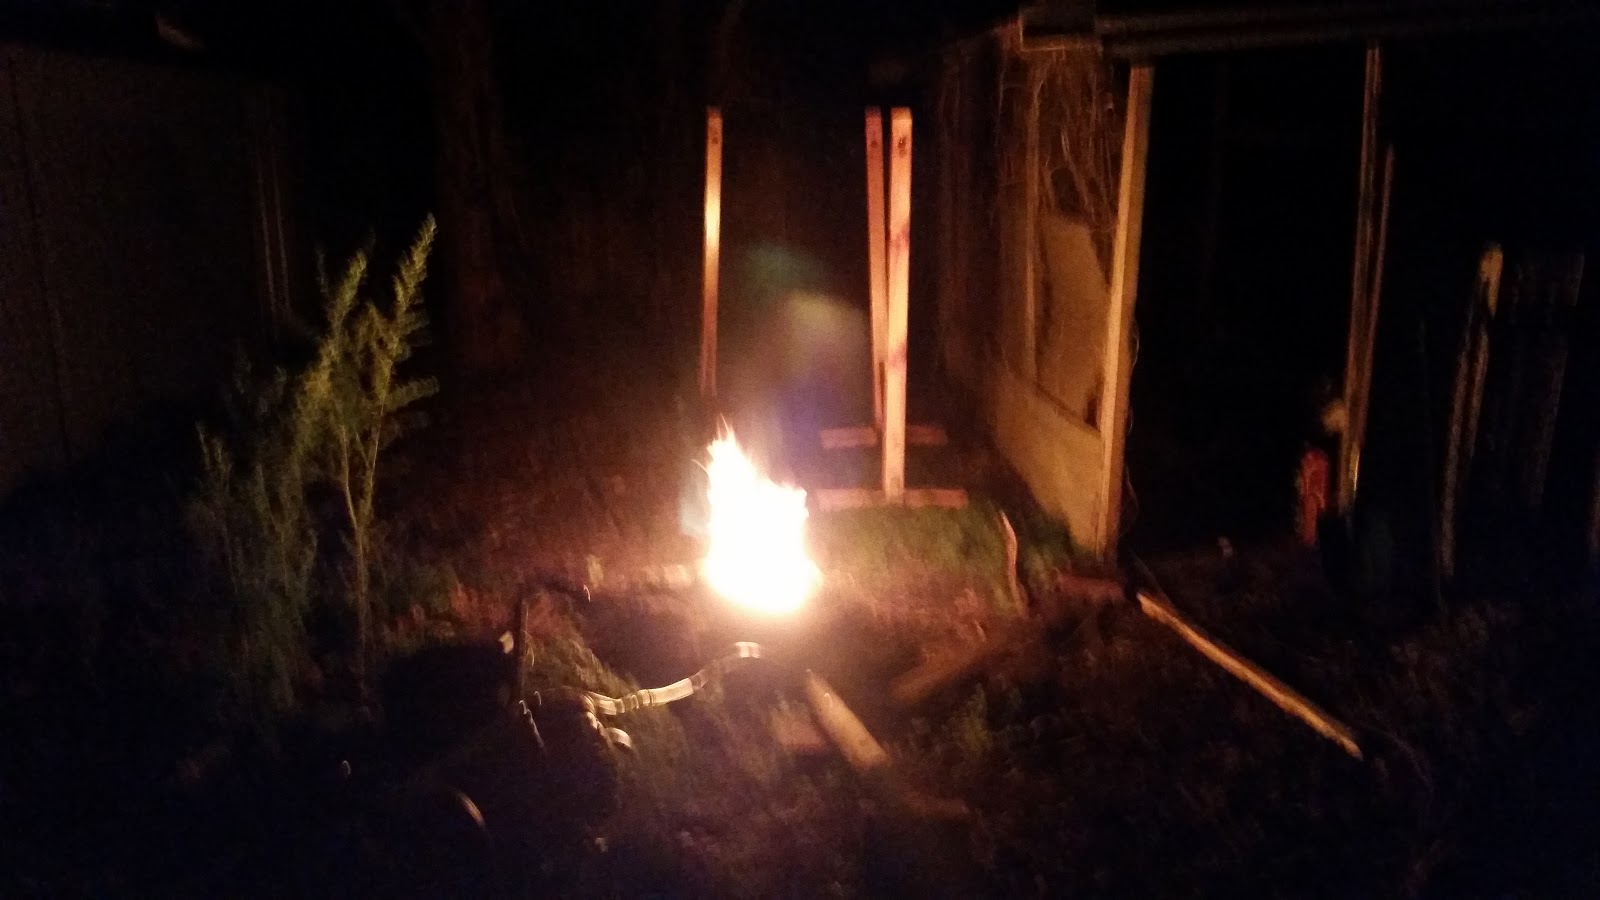
Here I was deliberately running rich to get the big fat flame to come out of the fireplace and shed some light on the surrounding area so I could see what I'm doing.
It's impressive the amount of control I have over this, for a pretty crude piece of engineering.
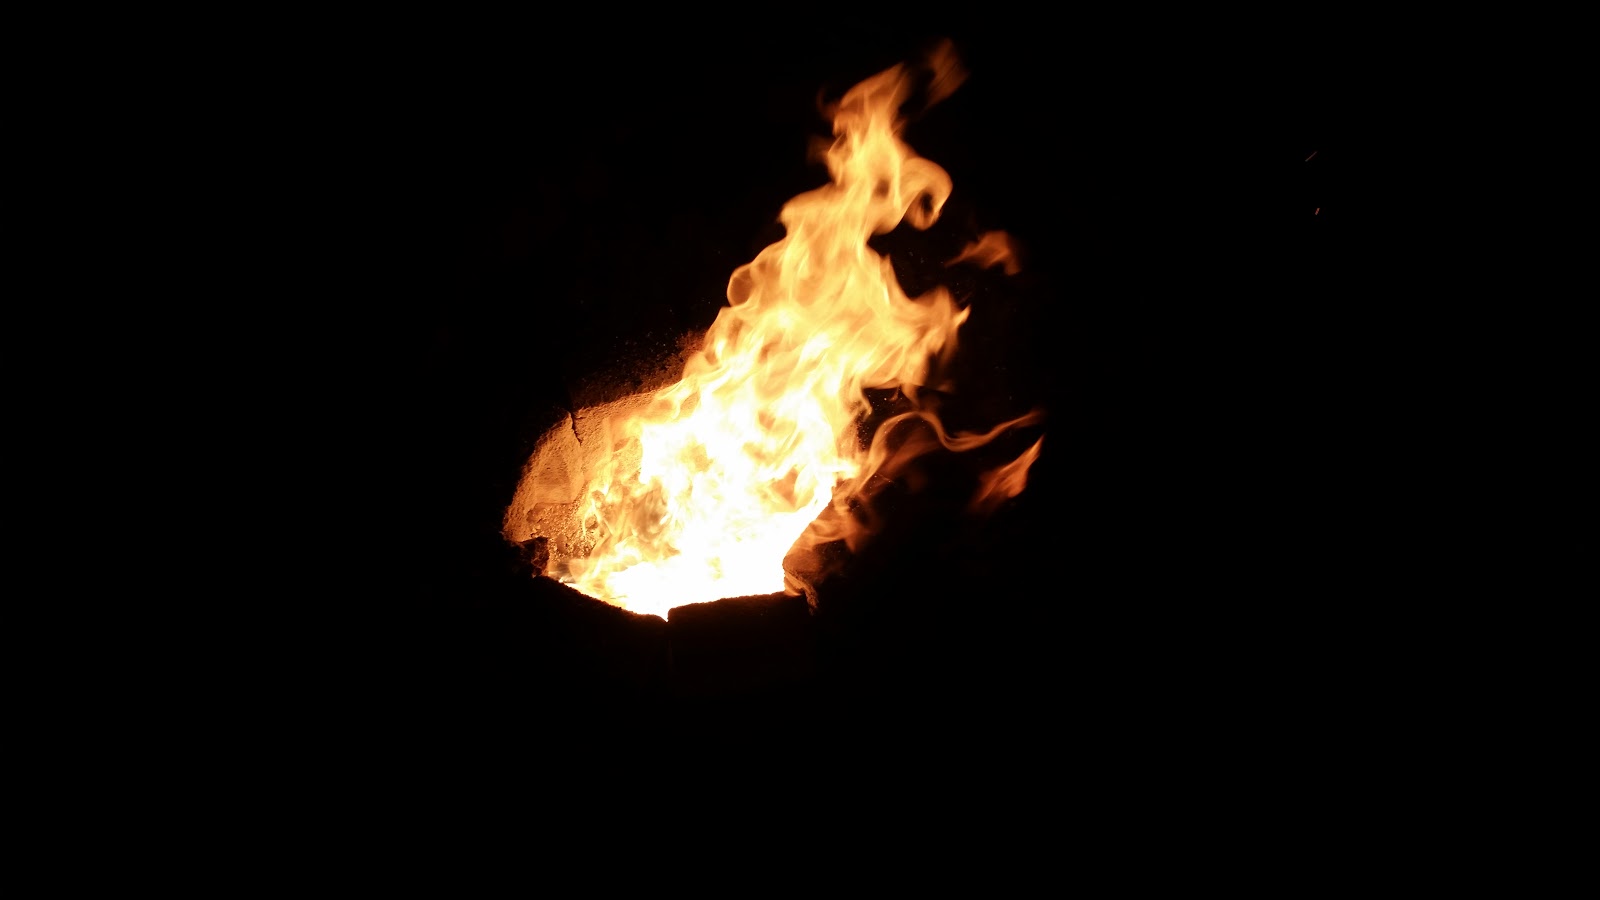
After I turned off the burner this is what it looked like inside the fireplace. I put some bricks on top as it was spitting a little and I was hoping to stop the bricks surrounding the fireplace from cooling too quick and cracking. The glow is what's left of the fire I was using to get everything started, scraps of wood and charcoal mainly.
This is what was left a few days later. The burner is over on the left and can't quite be seen.
I took a little video of this and I will share that as soon as I have it edited together. I am going to play with this fireplace as it is for a while and see if I can get a bit more heat out of it, then I have a small gas bottle that will probably become my new forge. I will probably be lining that with some kind of fireproof material to help stop the steel from burning out.
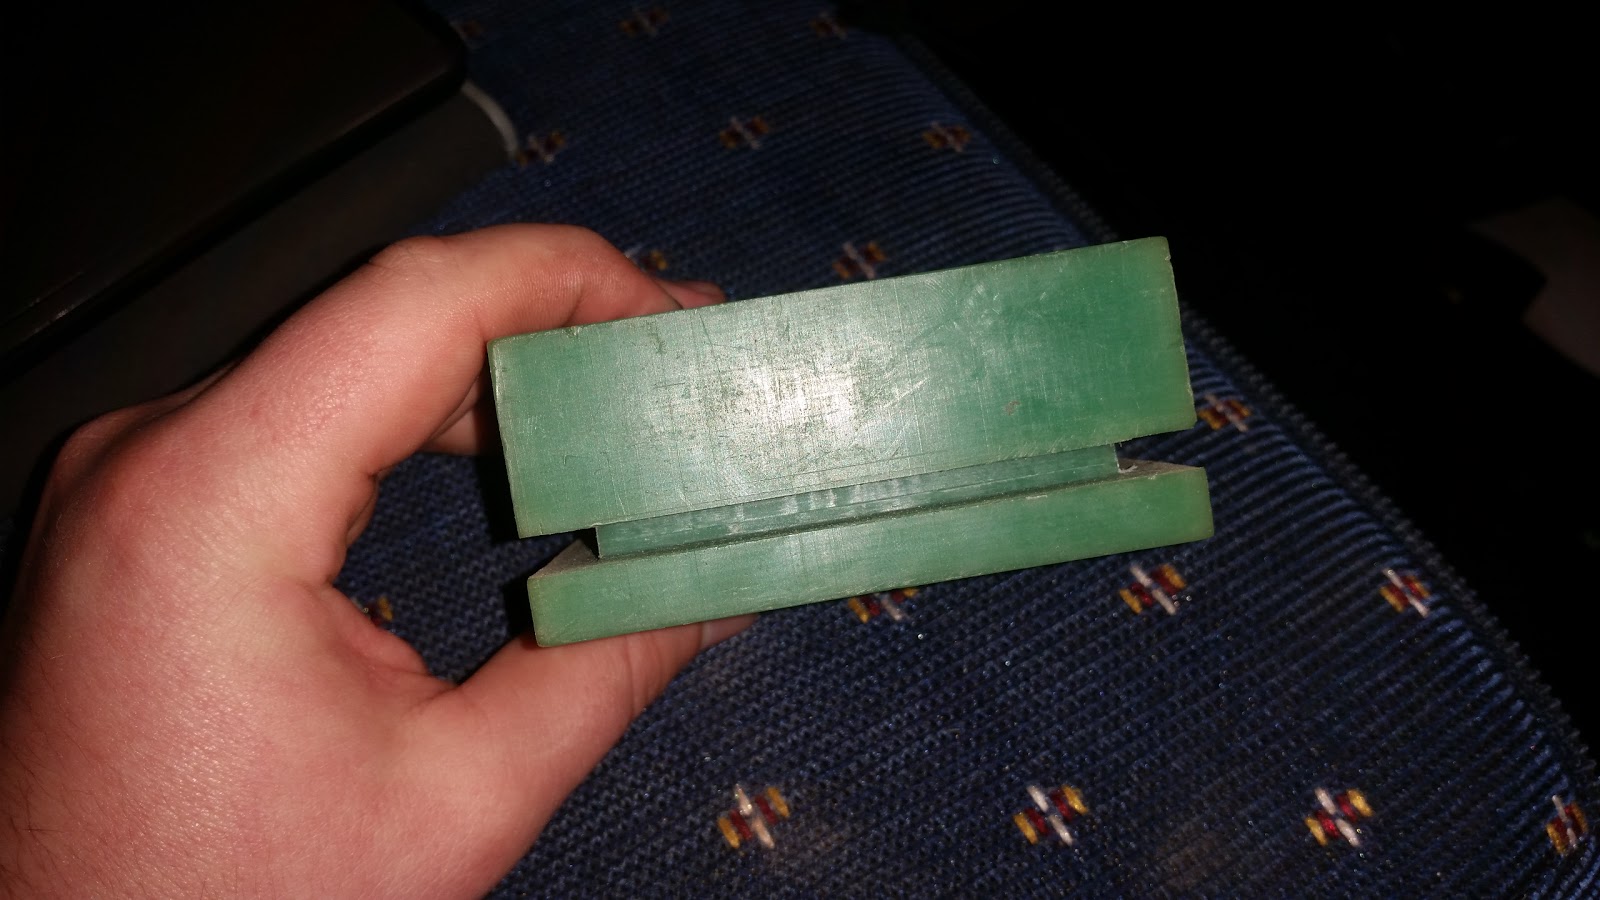
After going through building the stock for this part I'm going to make with the mill the other day I tried to work out how I am going to hold it in the mill.
As you can see there is a groove all the way around which I had planned to use to hold on to with some clamps and T nuts.
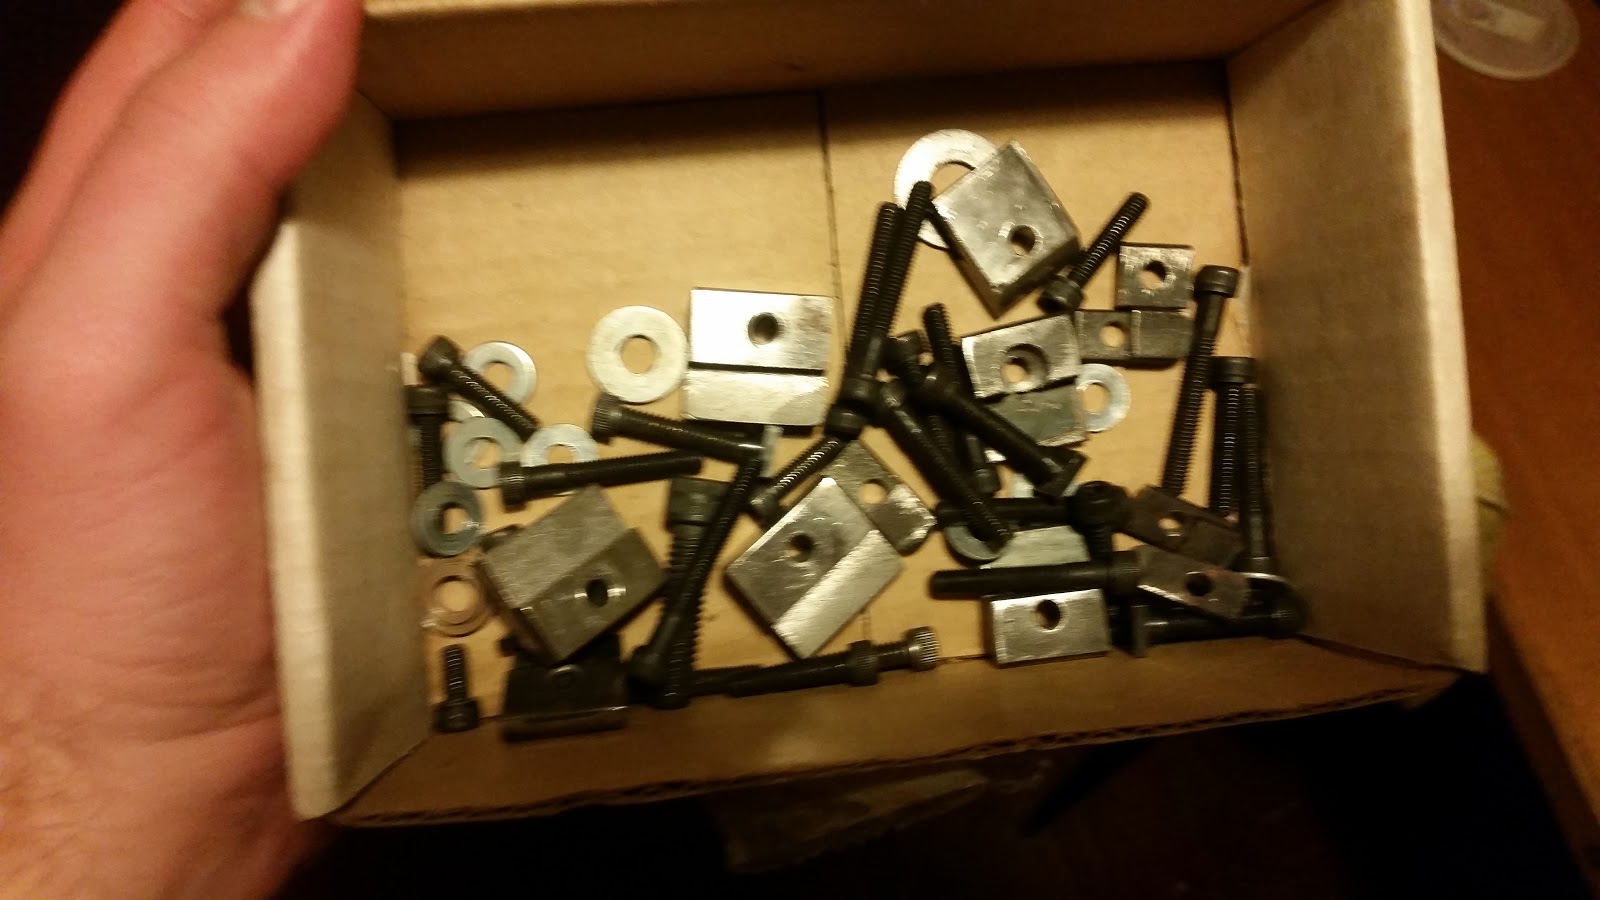
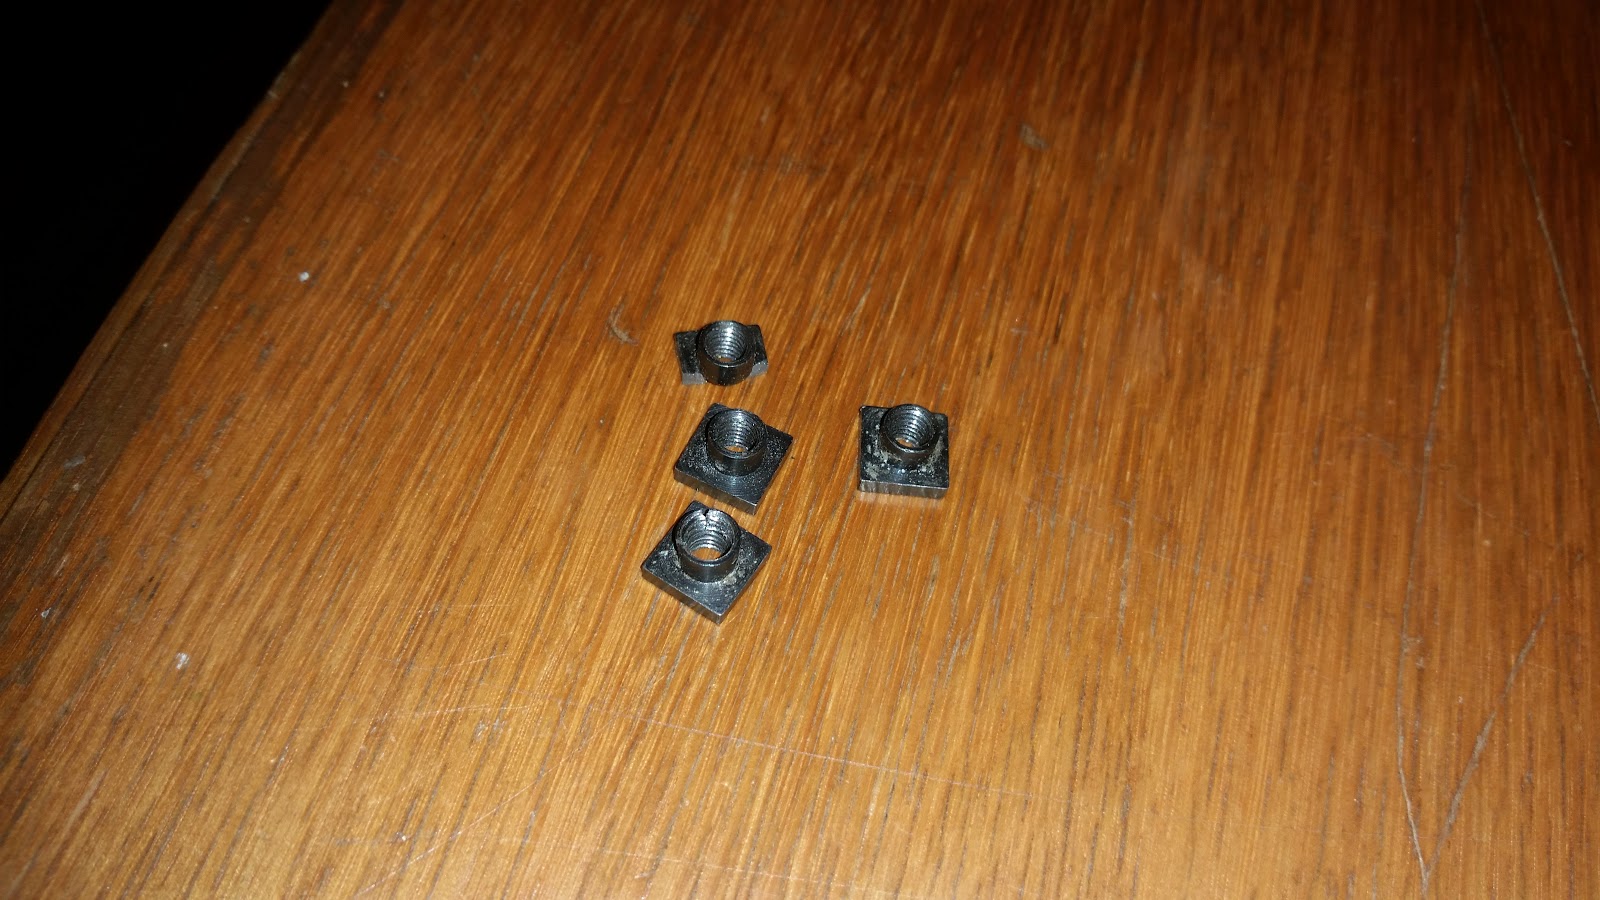
These ones in fact. However what I discovered is that all of the shorter screws that I have are a much coarser thread than what the nuts have so I'd need to pack underneath the longer ones quite substantially. Not impossible but I'd rather avoid that if I can.
So I figured I'd use the little vice that came with the mill. Some comprimises there also, but better than having to space it out by a mile. However do you think I could find it? Option C it is then.
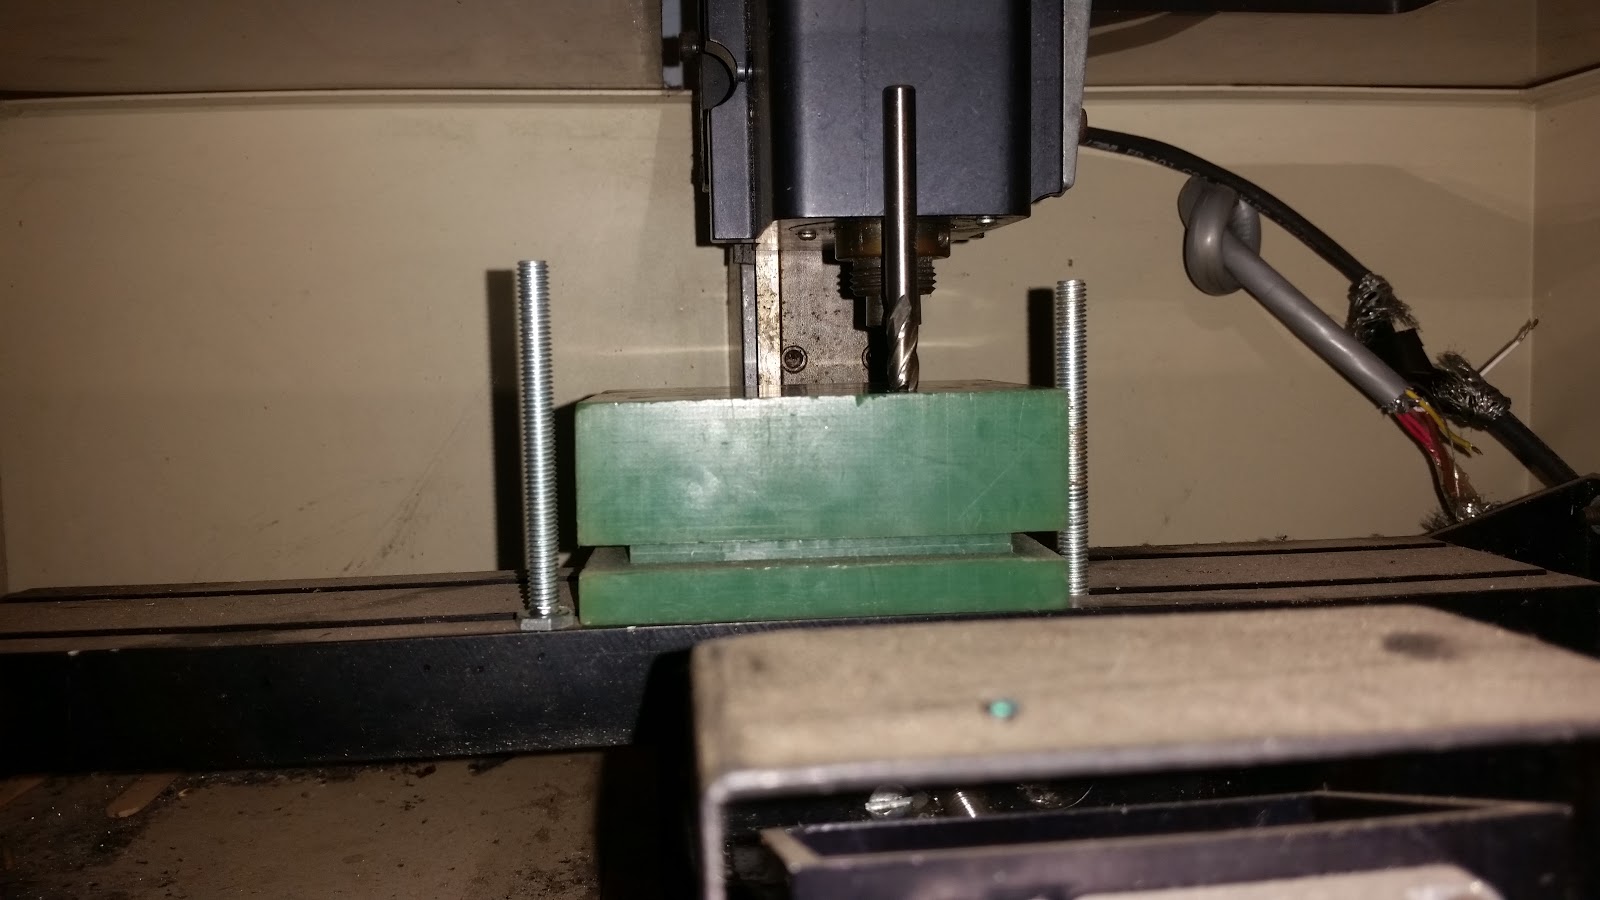
Here we have some longer bolts that we faced the head down a little so that they will fit in the T slots. It isn't ideal as they have a hex head rather than a square head but they do lock in the slots nicely enough. The only problem is that the cutter is sitting on the block and the spindle is pretty close to the ideal height now so it would probably crash into the hold down bolts. Less then ideal.
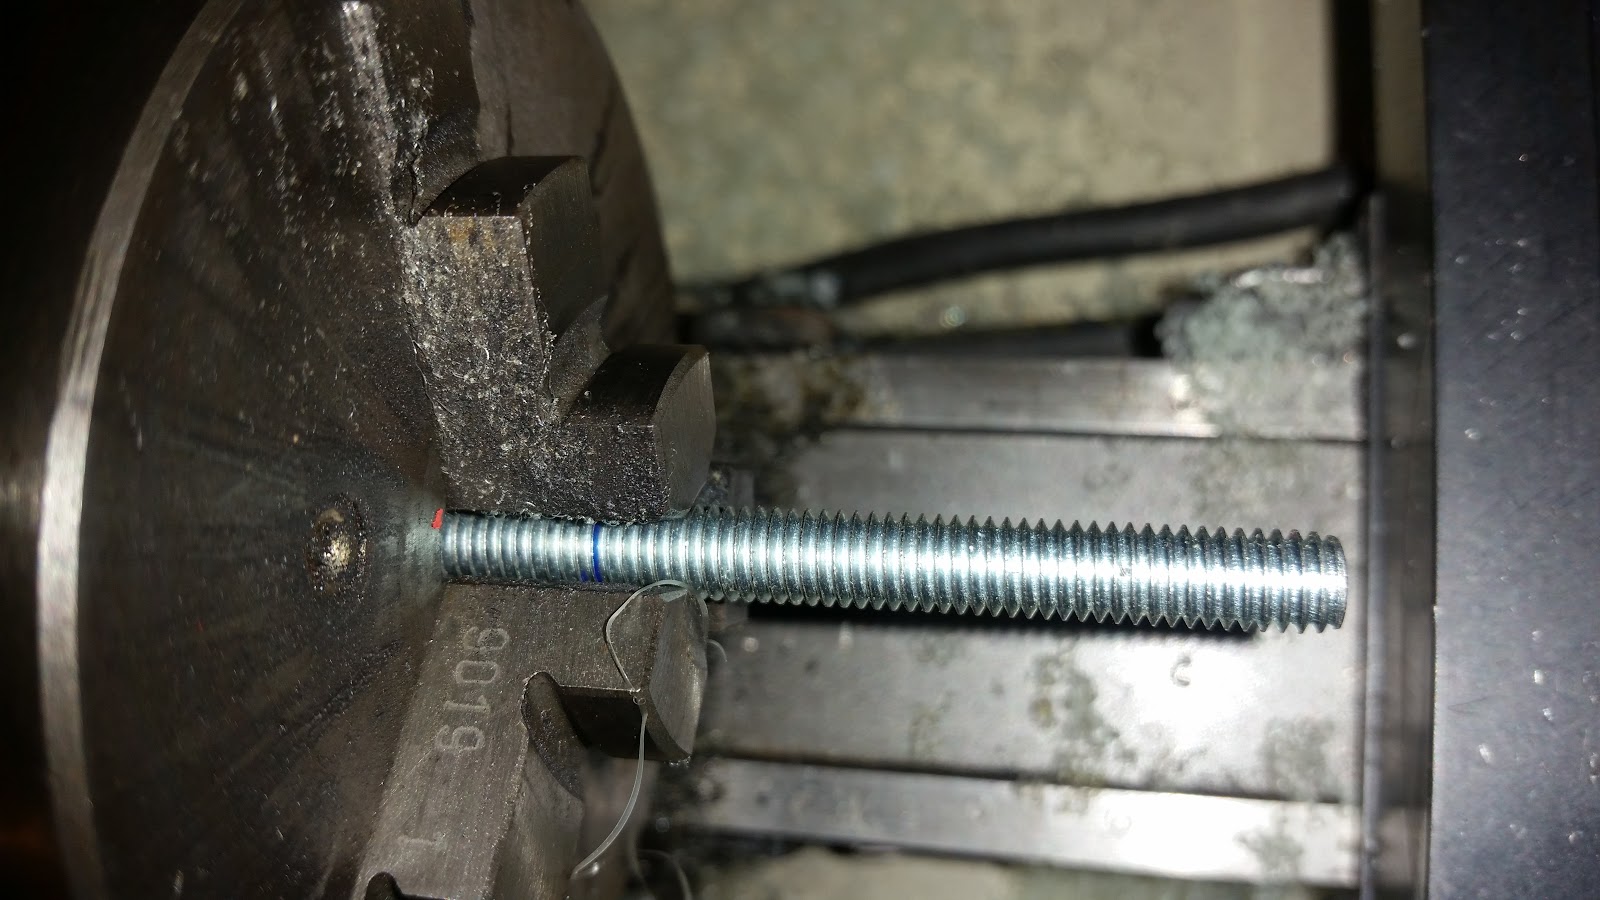
But there is a solution. I have chucked the first bolt up in the lathe and I will part it off as short as possible which will give me plenty of length to hold this down.
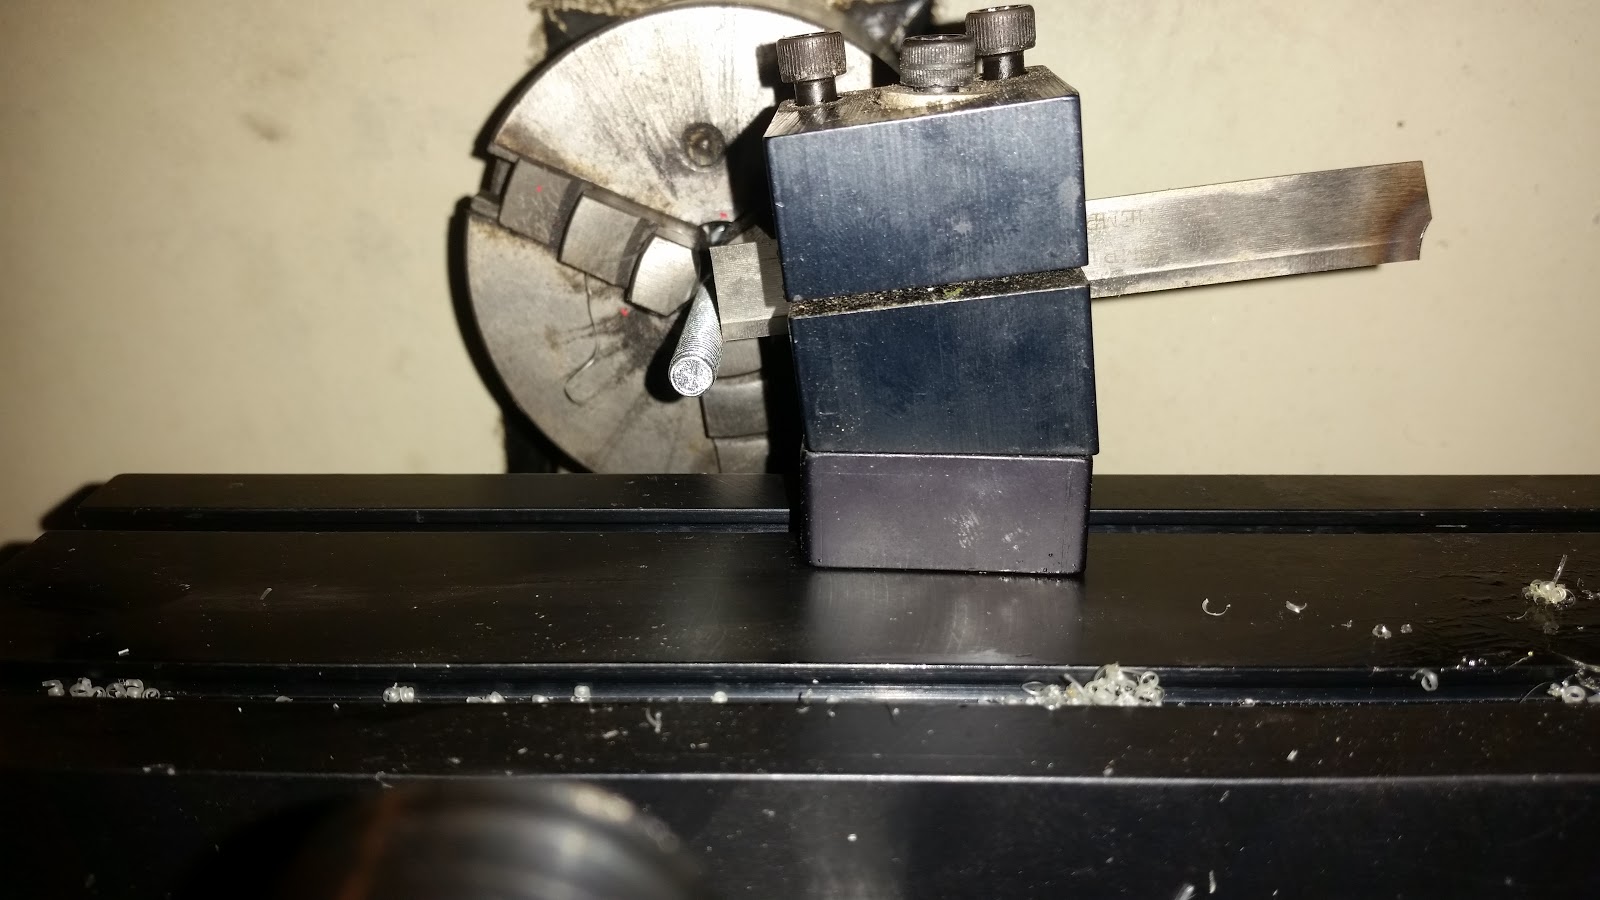
Here we are, all set up and ready to go. I probably won't do this before the weekend as I don't want to be making too much noise at night and upsetting the neighbors. That can come later.
So keep an eye out and I will try to get some video of the parting off so anyone that knows a bit more than me can point out where I am going wrong.
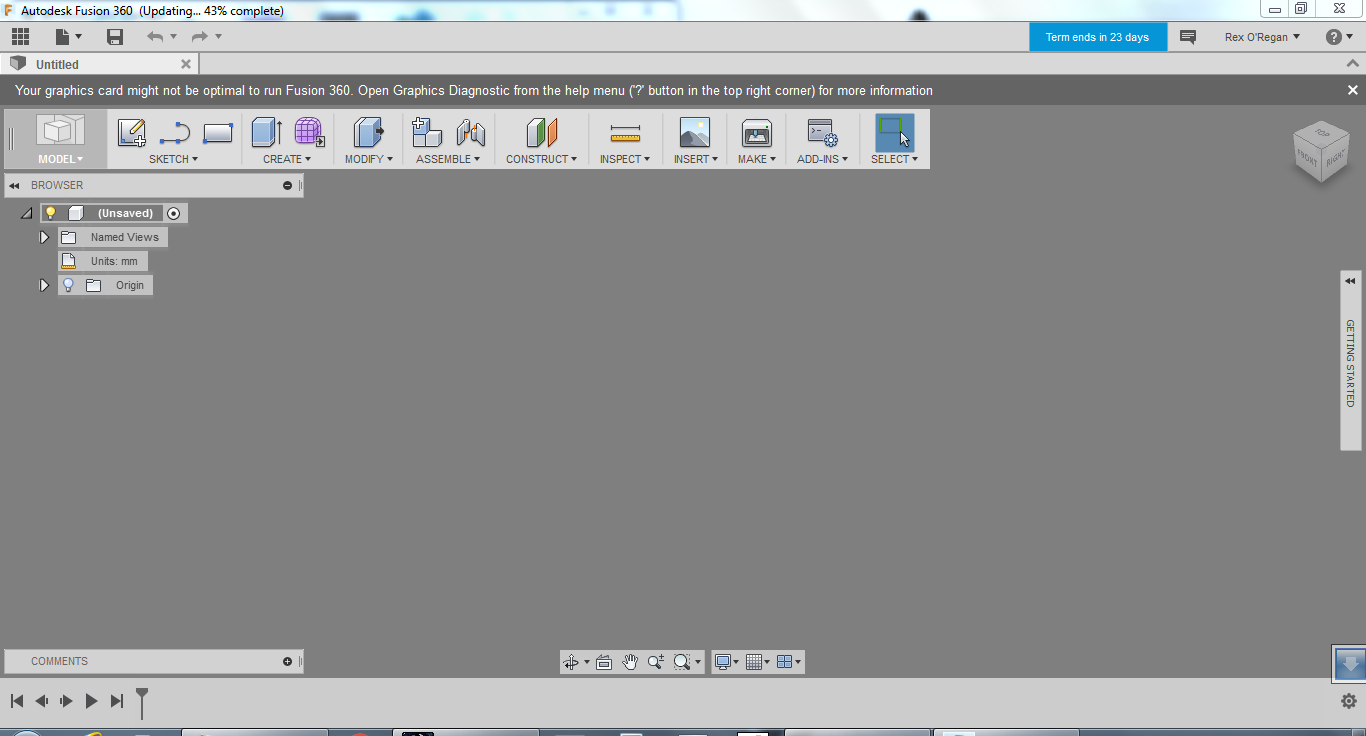
So I've been having a quick look at Fusion 360 from Autodesk as a program for generating the G-Code for running the CNC Mill. It is possible to write the code by hand, and I have done a little of that for the lathe, and probably will continue to do that for the lathe. However the mill can produce more complex shapes and it will be easy to pass large, complex programs onto it for machining.
Probably most important however is that I can run previews of the toolpaths and the software can calculate the best path using various optimizations or change a tool quickly then re-calculate.
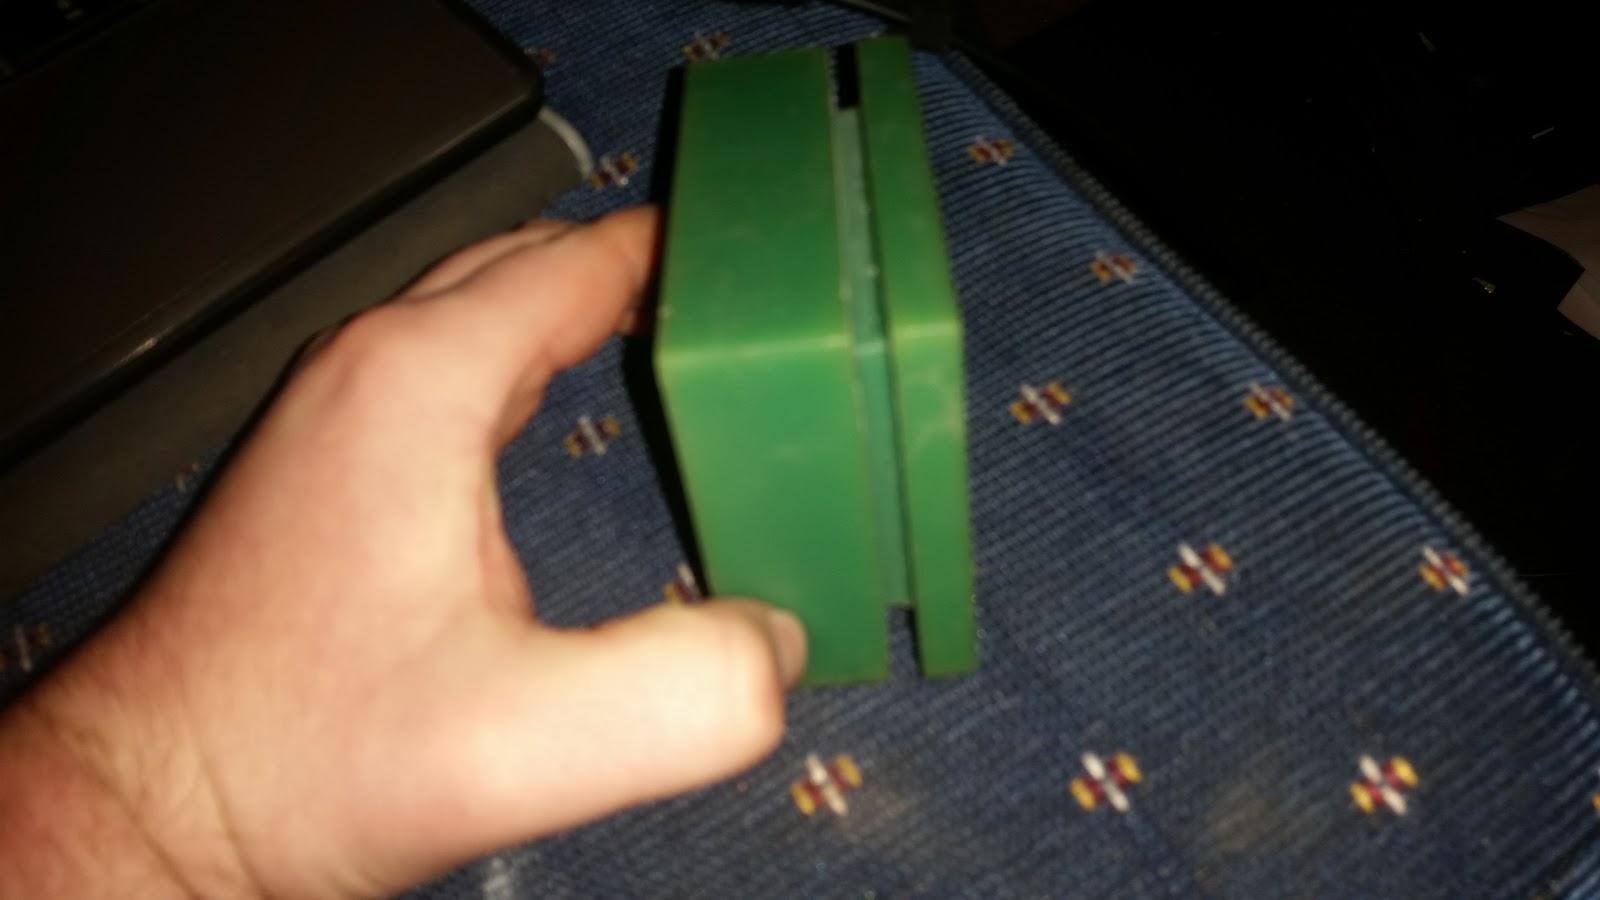
Before I can generate G-Code out of Fusion, I need to be able to draw in it. I am starting by drawing the stock I'm using to make the part out of.
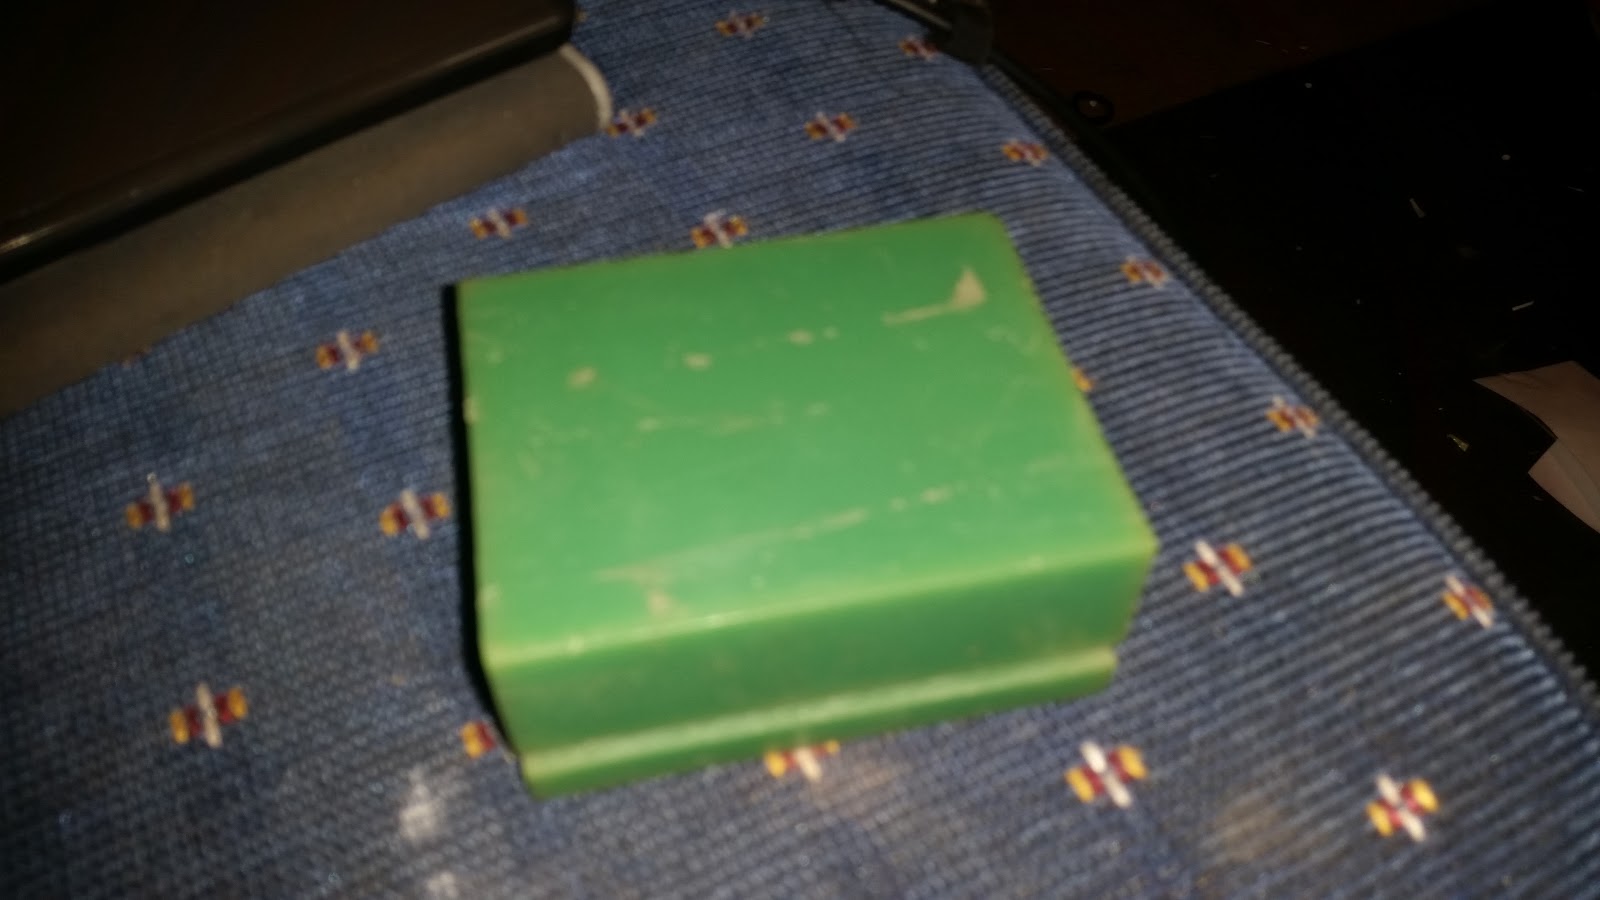
This is a piece of some kind of machineable wax that came with the Mill when it was given to me. It already had the slot in it which I am planning on using to hold down this with. It should be pretty easy on the tools which is good because some of them are pretty blunt.
Here goes. I've had no training on Fusion 360, only other CAD software so I am working mostly from guesswork here. But I did manage to make this part.
I am liking some aspects of this software. It has a number of elements similar to Pro/Desktop which is was I first learnt. Everything can be drawn from constrained sketches which are then transformed. This means that if you've made a mistake in a sketch you can go back to it, fix the mistake and re-calculate all of the parts that are dependent on the sketch. Also being constrained you can make parts that will scale with only one change in dimension.
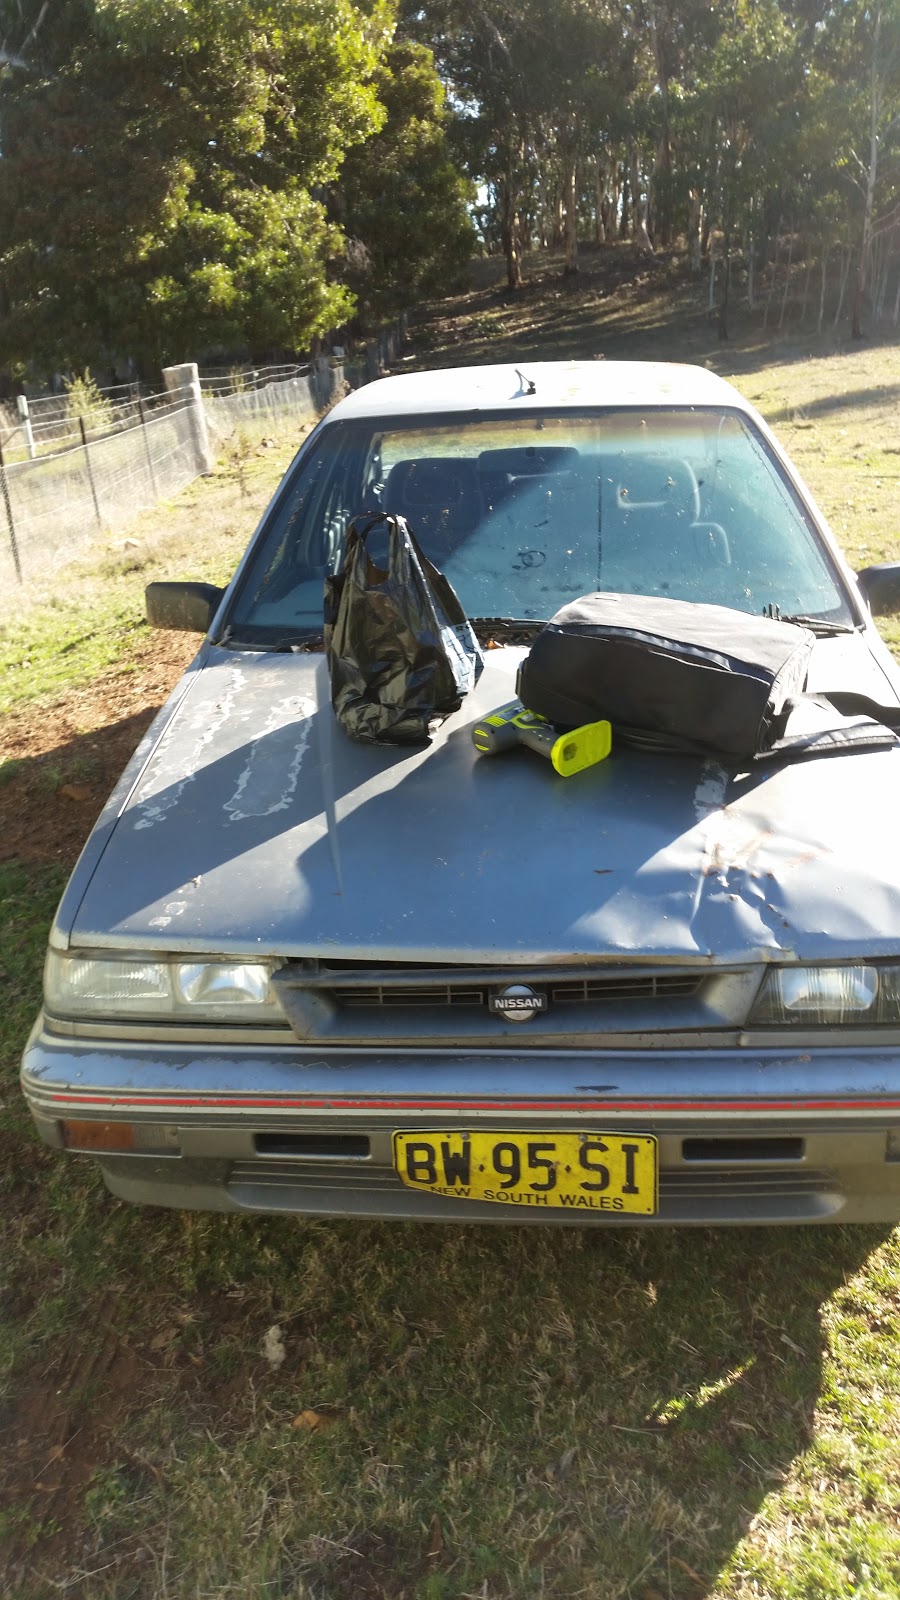
Some of you may have seen on facebook the other day I had a picture of me with a car on a trailer.
The reason for this is I have a friend with some paddocks, and we felt they needed a little bashing. So between us we have obtained a couple of cars that fit into the category of Paddock Bashers. This one is mine. It's an old Nissan Pulsar SSS. It's got a pretty big ding in the front but probably could have been put back on the road. But that would have been more than the car is worth to do that.
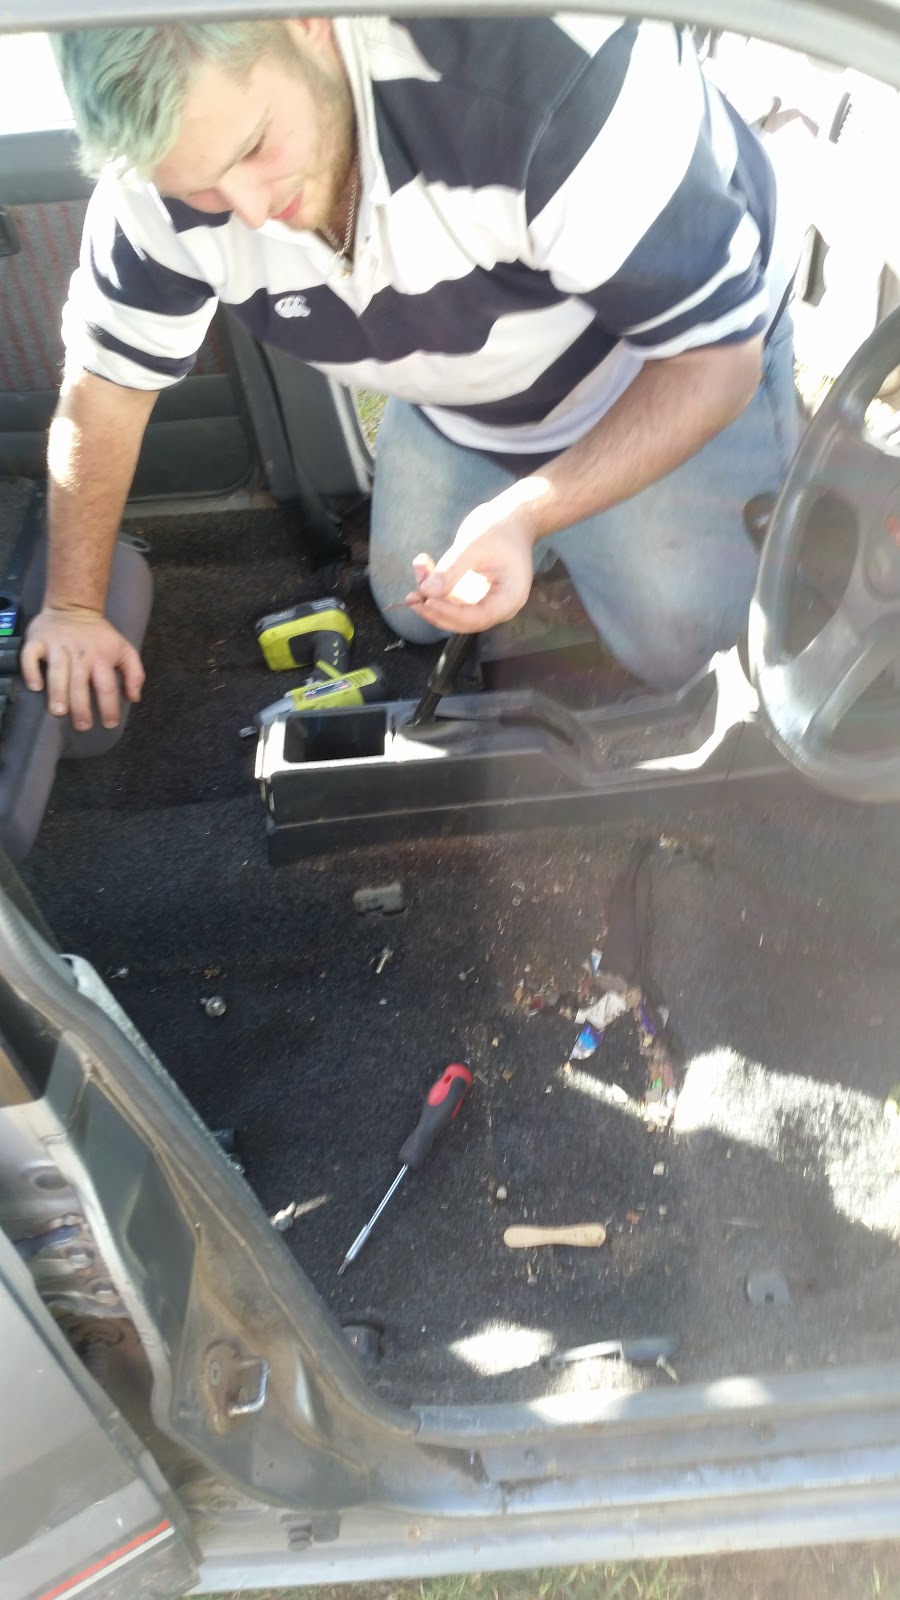
Here we are ready to have a go. We stripped the interior and replaced the key with some switches. Why? Because we can. And the plan is to race each other to see who has the best, worst car of all of us. I can justify the whole key thing, the key does fall out of the barrel. But really it's just because I want to.
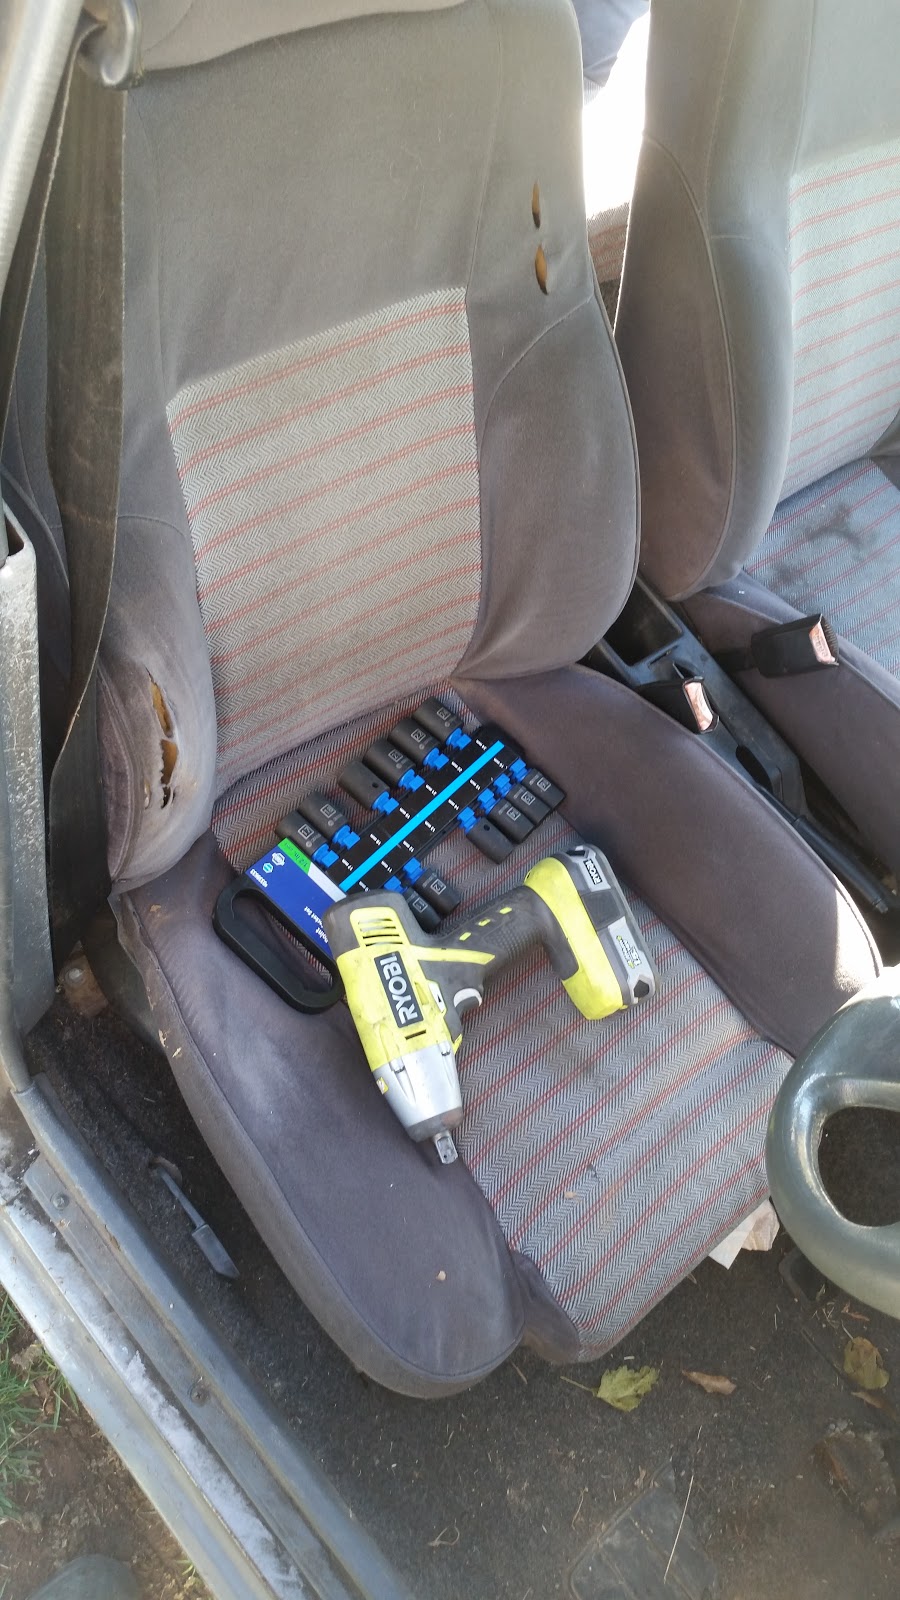
Time for this seat to come out. Really thankful for the rattle gun for my birthday. Makes this sort of work much easier.
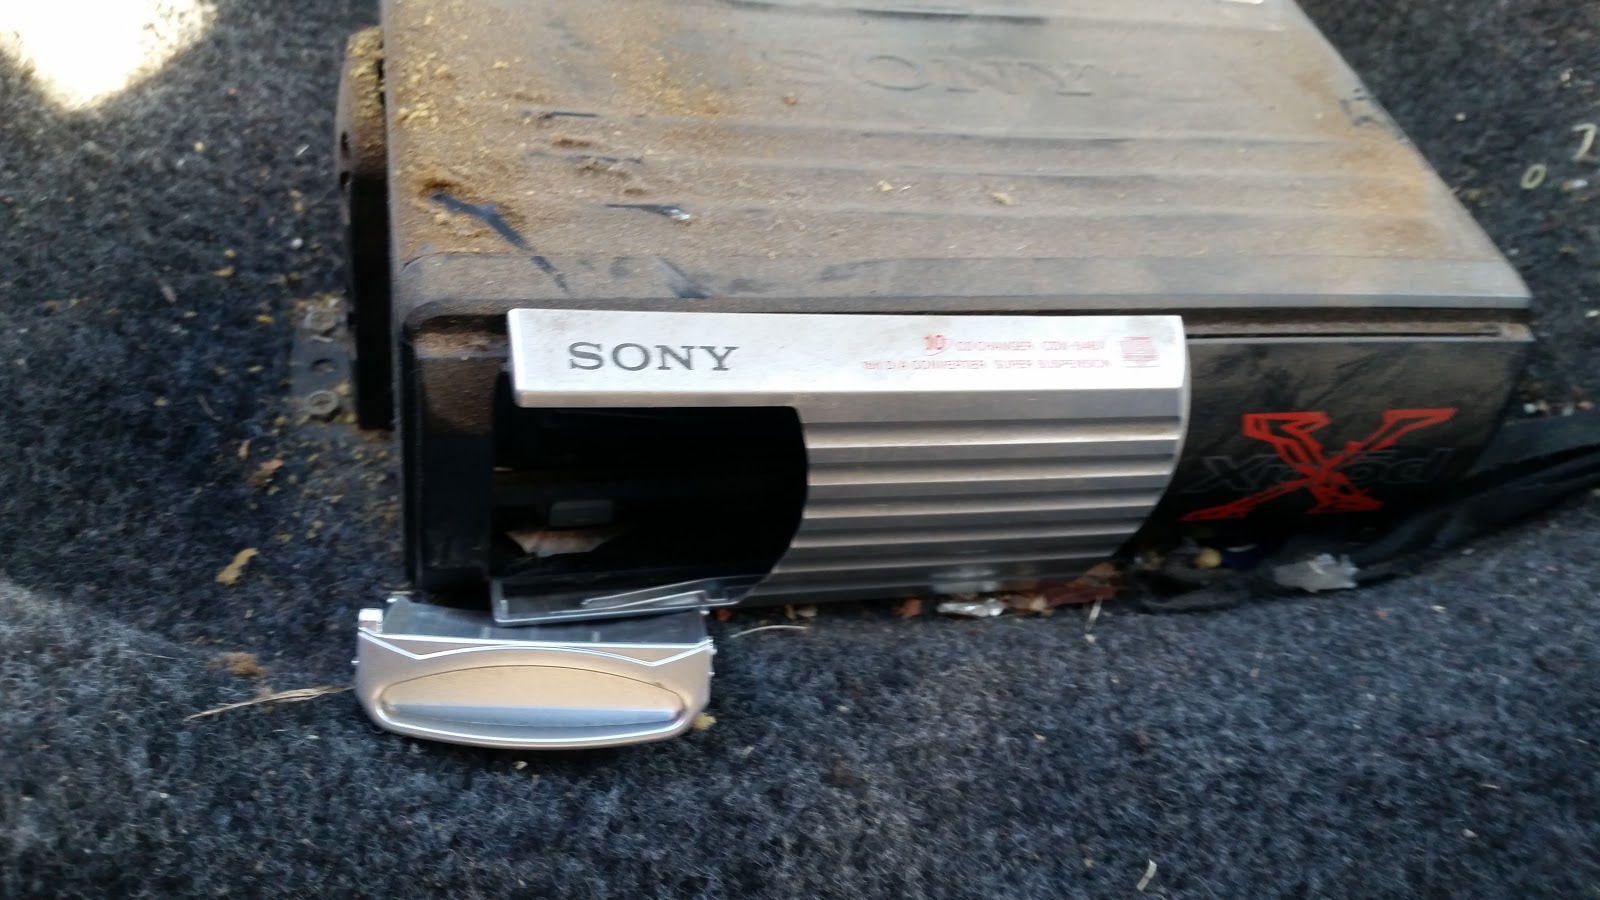
What have we here, hiding under the seat? A big old CD stacker. Amazing what you can find in a second hand car. If I can make it work on the bench at home I might do something with it, otherwise it's old technology that has well and truly been replaced by my now old. But still very useable iPod.
And it's gone. I didn't get any more photos as we were having a bit too much fun. But once the weather clears up a bit and I head up there when there's some sunlight I will get some pictures to show what we have done to the interior. A Vast improvement I think. In weight anyway.