On the weekend I spent some time volunteering at our local miniature railway club. One of the things I have worked on is the signalling system. It has been built and patched over the years and didn't have any kind of diagram in place. So before anything broke we figured it would be best to build a diagram so that when something does break down we have something to look at.
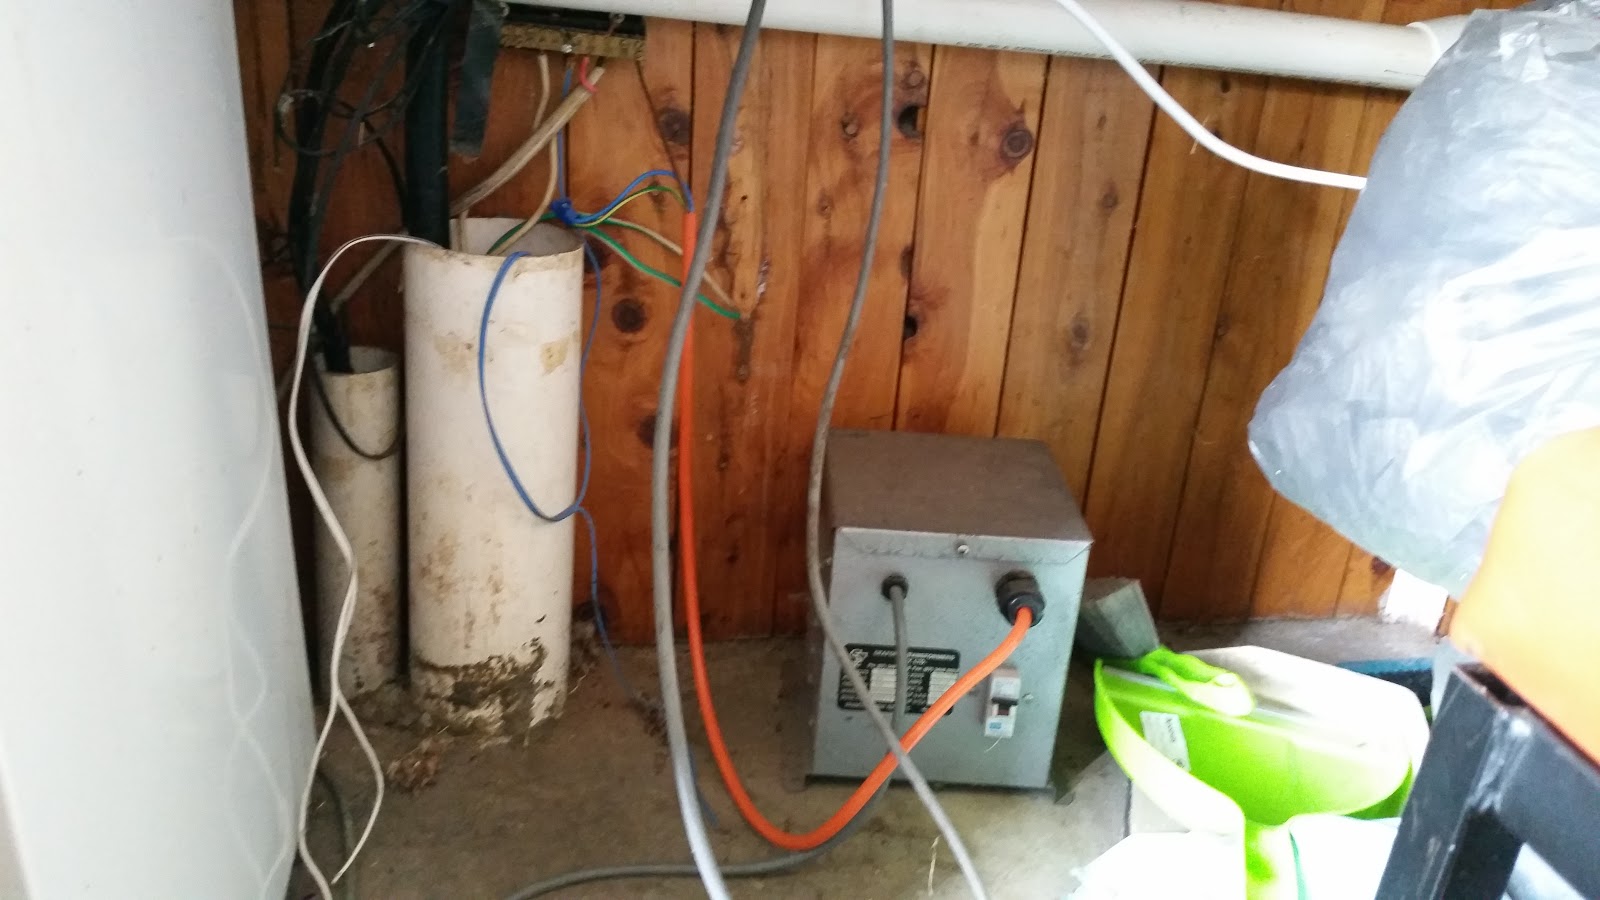
Where the power starts. 12V DC goes down that PVC pipe into the ground and appears somewhere outside, then feeds the signals.
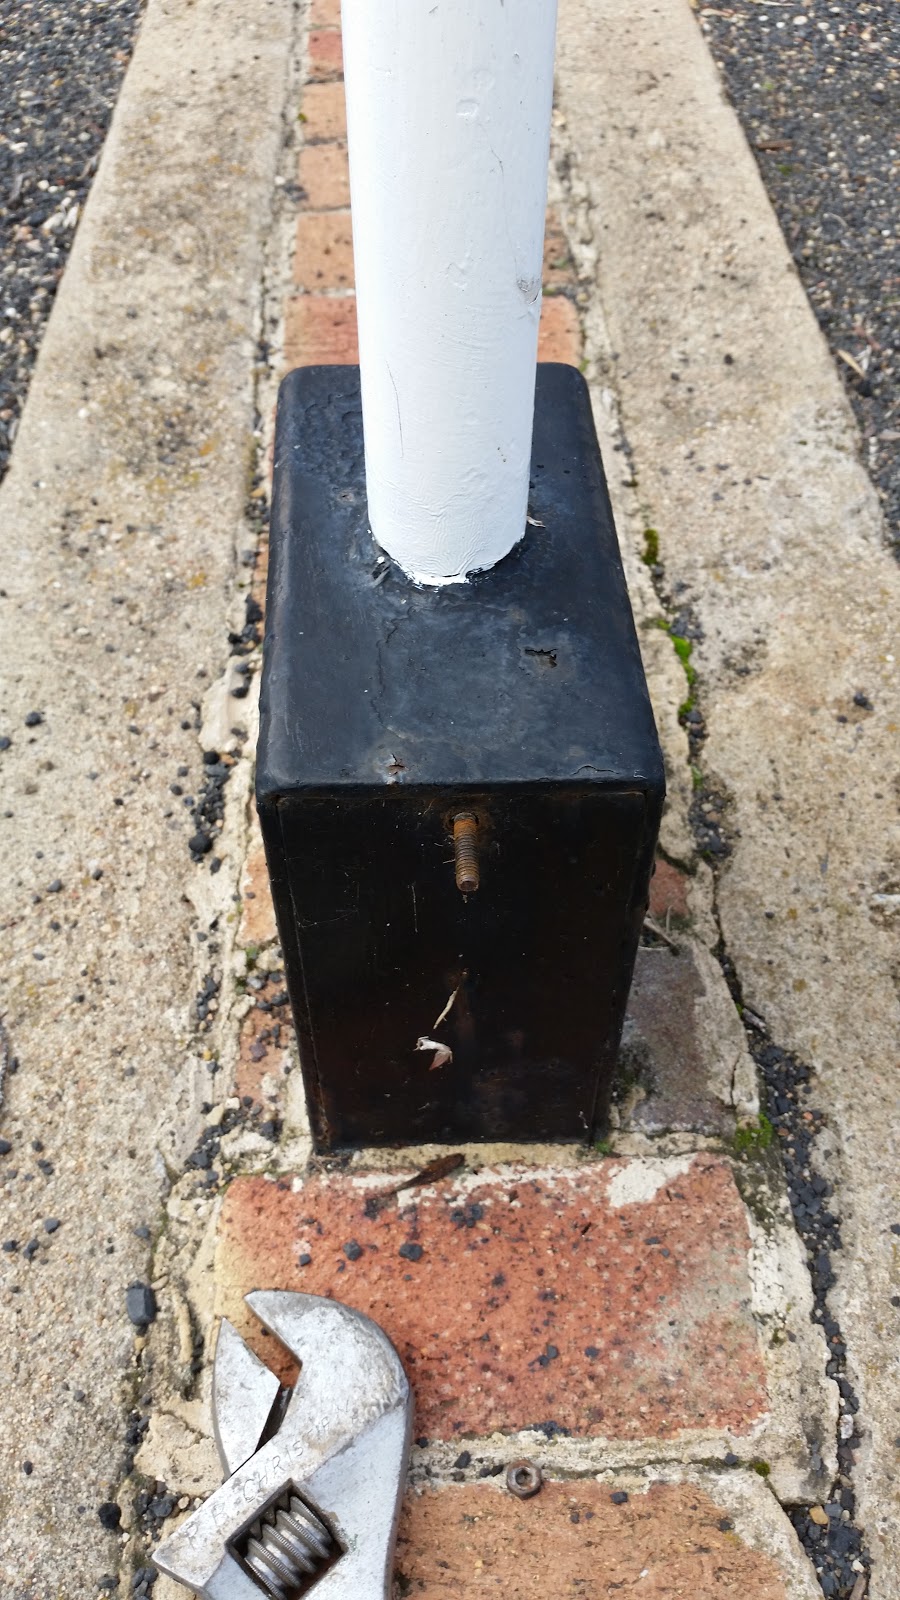
Here we have one set of points, under one of the plates is a pneumatic motor and a switch that triggers the signals at the station.
Hmmm, I don't remember ever reading about using leaves as insulation. Perhaps we need to start cleaning this out more often.
This is where all the magic happens. The circuit under here is what ensures that all of the signals light when they should.
It looks a little less of a rats nest now that it's been pulled out of the box but still pretty confusing to begin with. The trick here is to pick a point to start from, draw a rough sketch that is only for your notes and re-draw later if you need to make anything neater. Being Methodical will help a lot here.
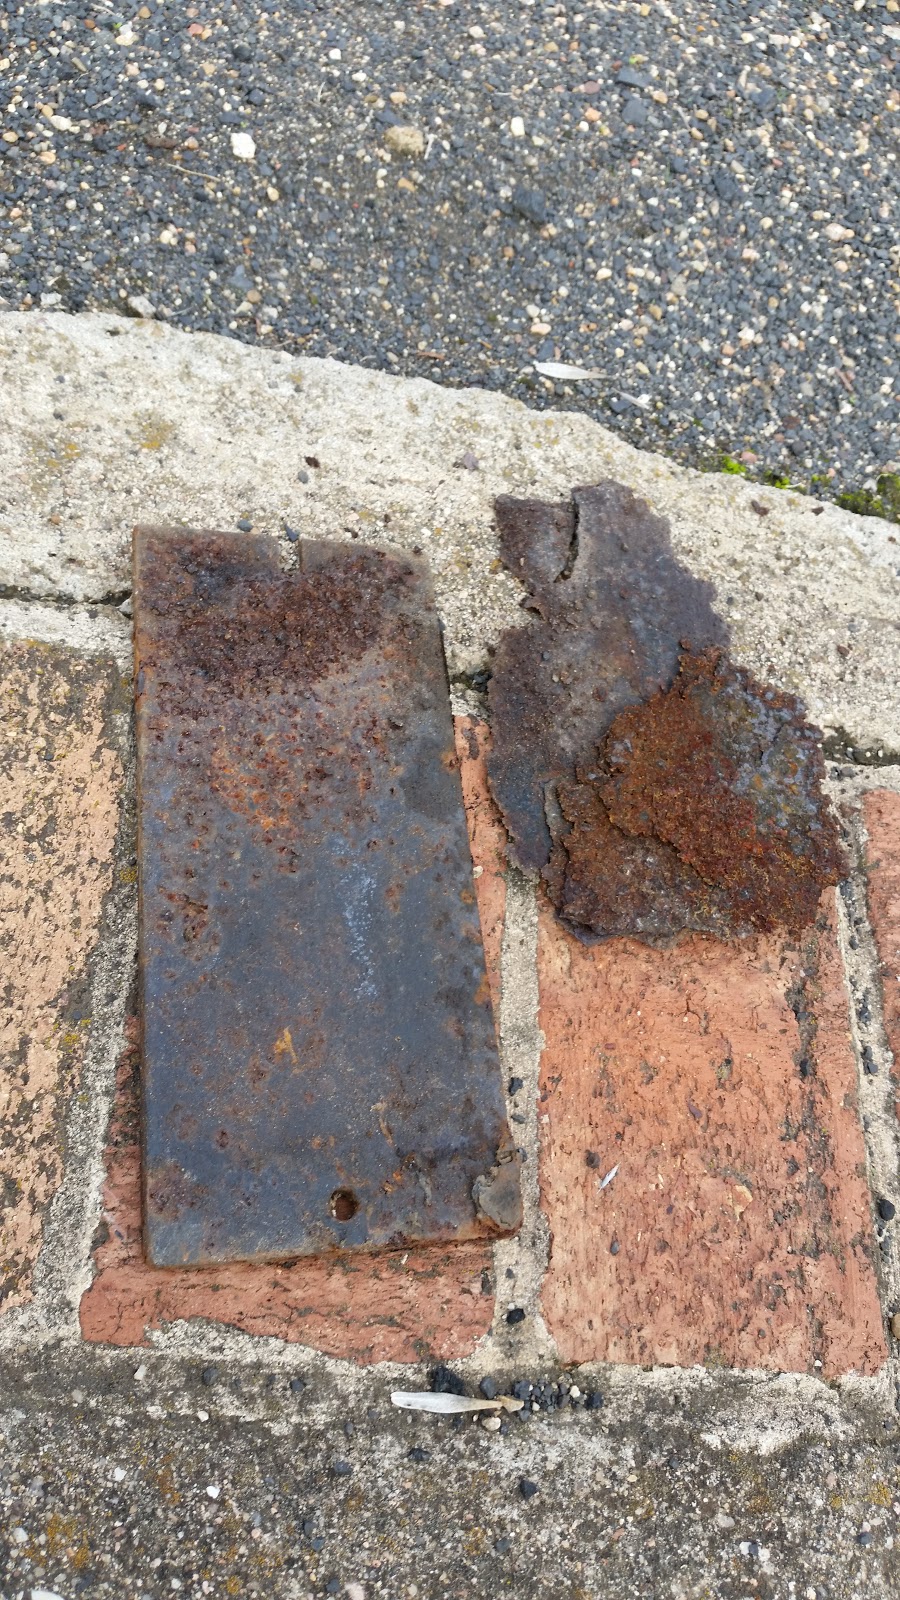
A little offputting, This is the door of the box and bside it is a piece of scale that came off the inside. It certainly pays to clean things up a little before trying to make sense of things. Trying to work out what wire went where would have been much more difficult. It certainly pays to spend a little more time making sure everything is in order before doing what you are in there for.
Notes mk1. These were only done for me, jotted down roughly for me to translate into something that can be understood later.
And here's the super duper accurate neat and legible drawing. No it may not look like much, but you don't need something that has been drawn by engineers with a dozen letters after their names on multi-thousand dollar computers. All that is needed is some time and care to the job being done and anyone can learn to do this sort of thing.
Remember, just because you don't have a piece of paper saying you can do something, doesn't mean that you can't do them. Conversely, having that paper doesn't mean you can do something better than anyone else.
Remember a couple of days ago when I shared how to clean a can easily for an upcoming project I had here? Well here is the project.
For a project that my brother has on the go he asked if I'd be able to make a rot resistant, durable block with a bit of give. I've seen and heard of people melting down various plastics to make things and I figured that would do. After all that is what many 3D printers use as their media.
For the source stock I am using recycled HDPE from various containers that would just get thrown in the recycle bin anyway.
I cut them just enough to be able to fit in, It would probably be better if I'd made the pieces smaller though.
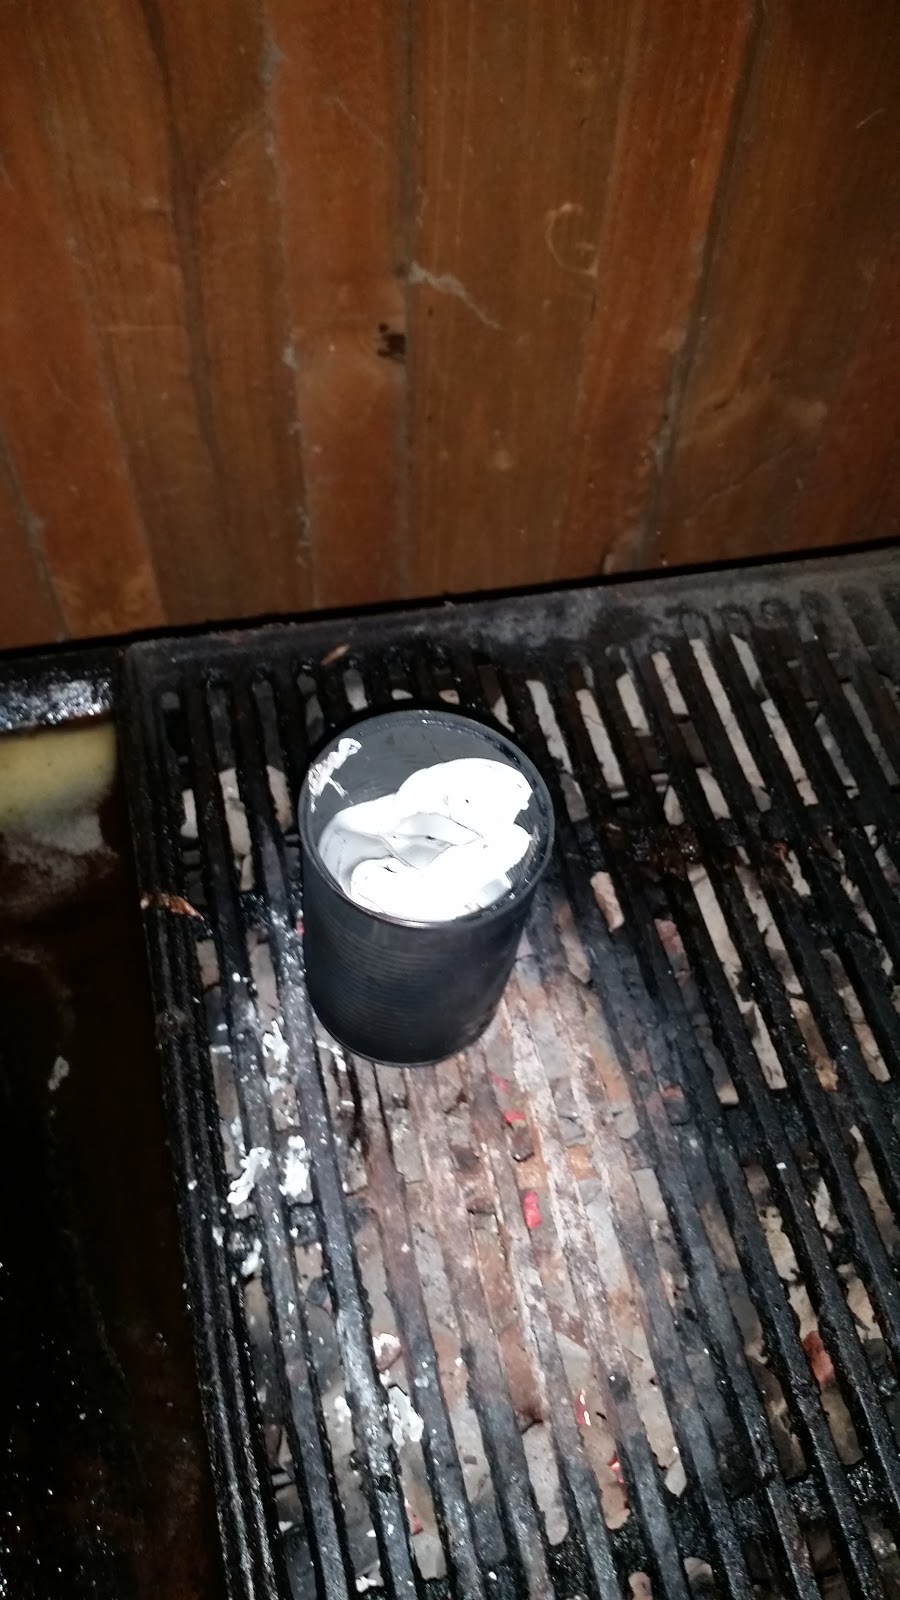
For a heat source I just used the grill on the barbeque. You can see where all the fat has burned off here from heating various tings without cooking. I need to replace the heat beads so that I can cook over a more even heat because really the bit in the middle gets burnt and the edges stay a bit raw. Not so nice.
This is where I finished off, I only had the one container to melt down and they take up a lot less space then I thought they would. So I will have to collect somewhat more material before I finish this off. You can see the label in there. If you've read my previous post about the can then you will understand how lazy I can be. If I didn't need to take the label off then I wasn't going to. Looks like I probably should've though.
I've had some suggestions on how to more accurately control the heat without having to be as worried about setting the HDPE on fire so I'll give that a go once I have some more feed stock.
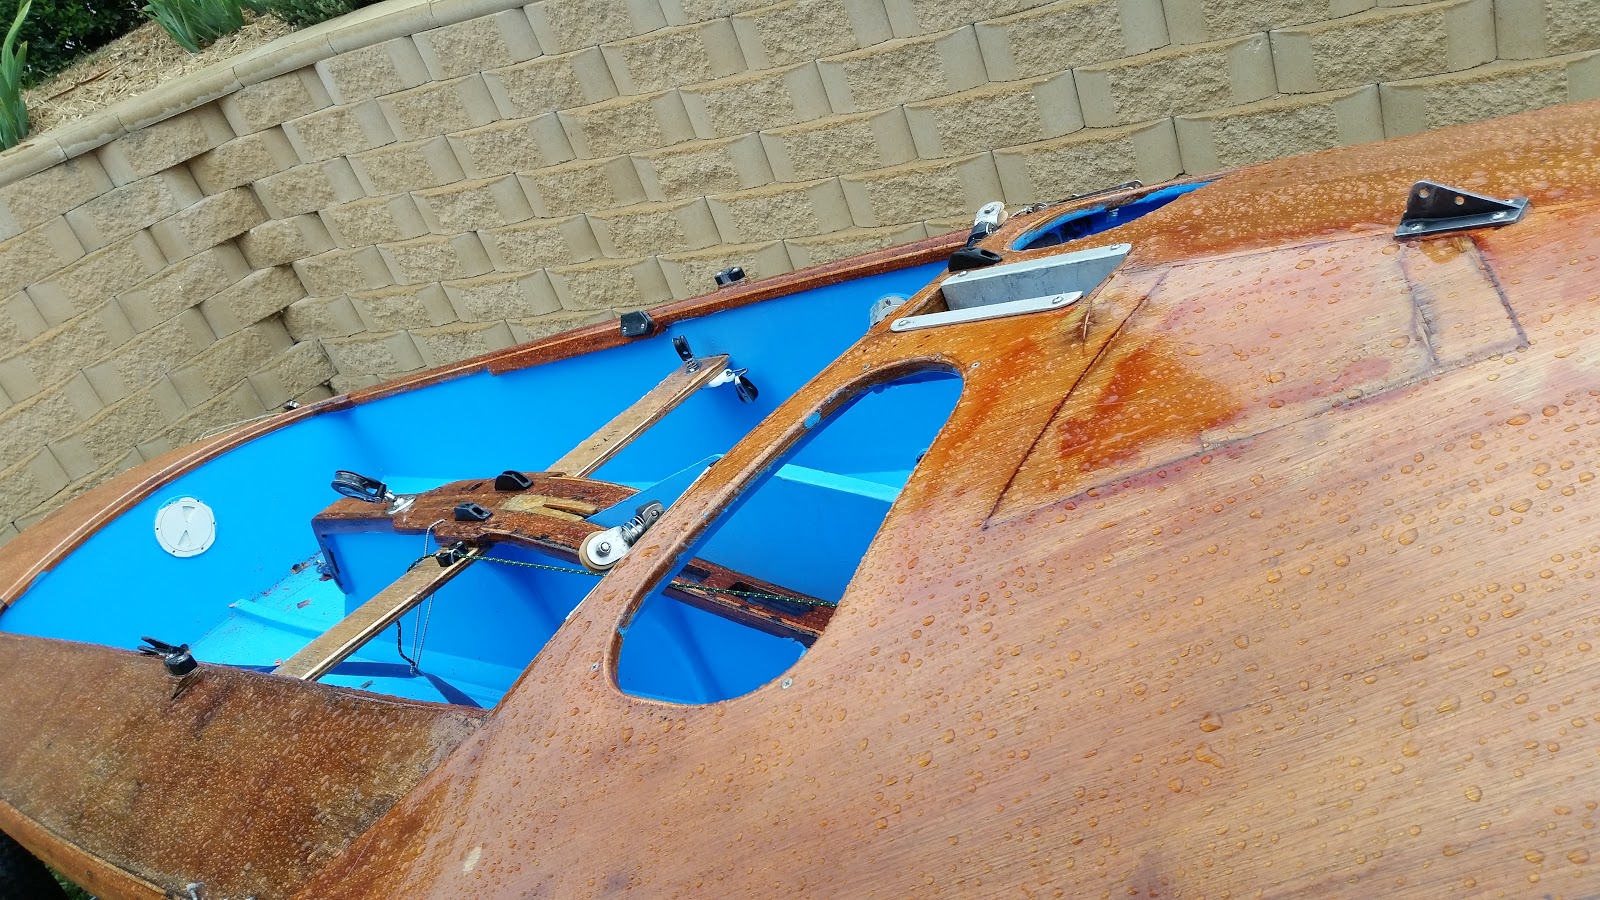
Ok, Ok it was rain, but still it's got to count for something right? Also you might notice that the deck hardware is in place again. We were going to try and rig it on the weekend to make sure that we still had everything and it fitted. But unfortunately the weather got a little too rainy so we left it for the time being.
I didn't get many action shots because we were pretty busy getting everything screwed in and trying to remember where everything went. However I did manage to get a quick snap of my brother "looking busy" shortly before we finished for the day.
Hopefully we get this done before it gets too cold, but if we find a nice day we should be alright.