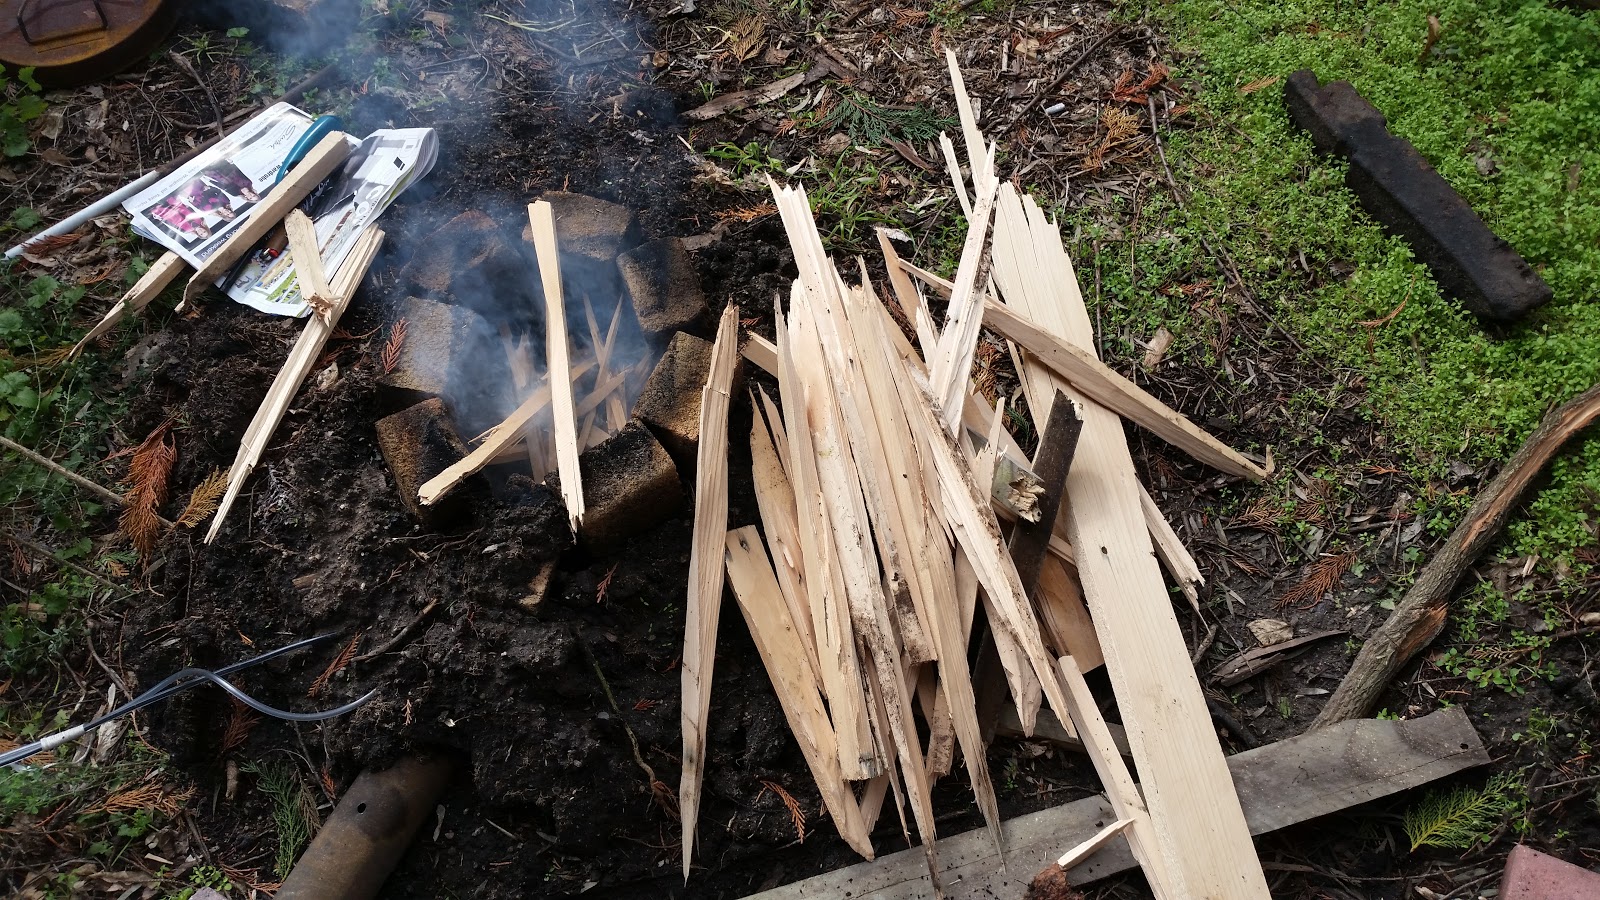
Last weekend I fired up the oil burner again. This time I prepared a reasonable amount of fuel for pre-heating. I even tried to light it without accelerants. Unfortunately everything was wet and the kerosene was so close to hand. So I did cheat a little.
Here I am, with the pile of wood just starting things happening.
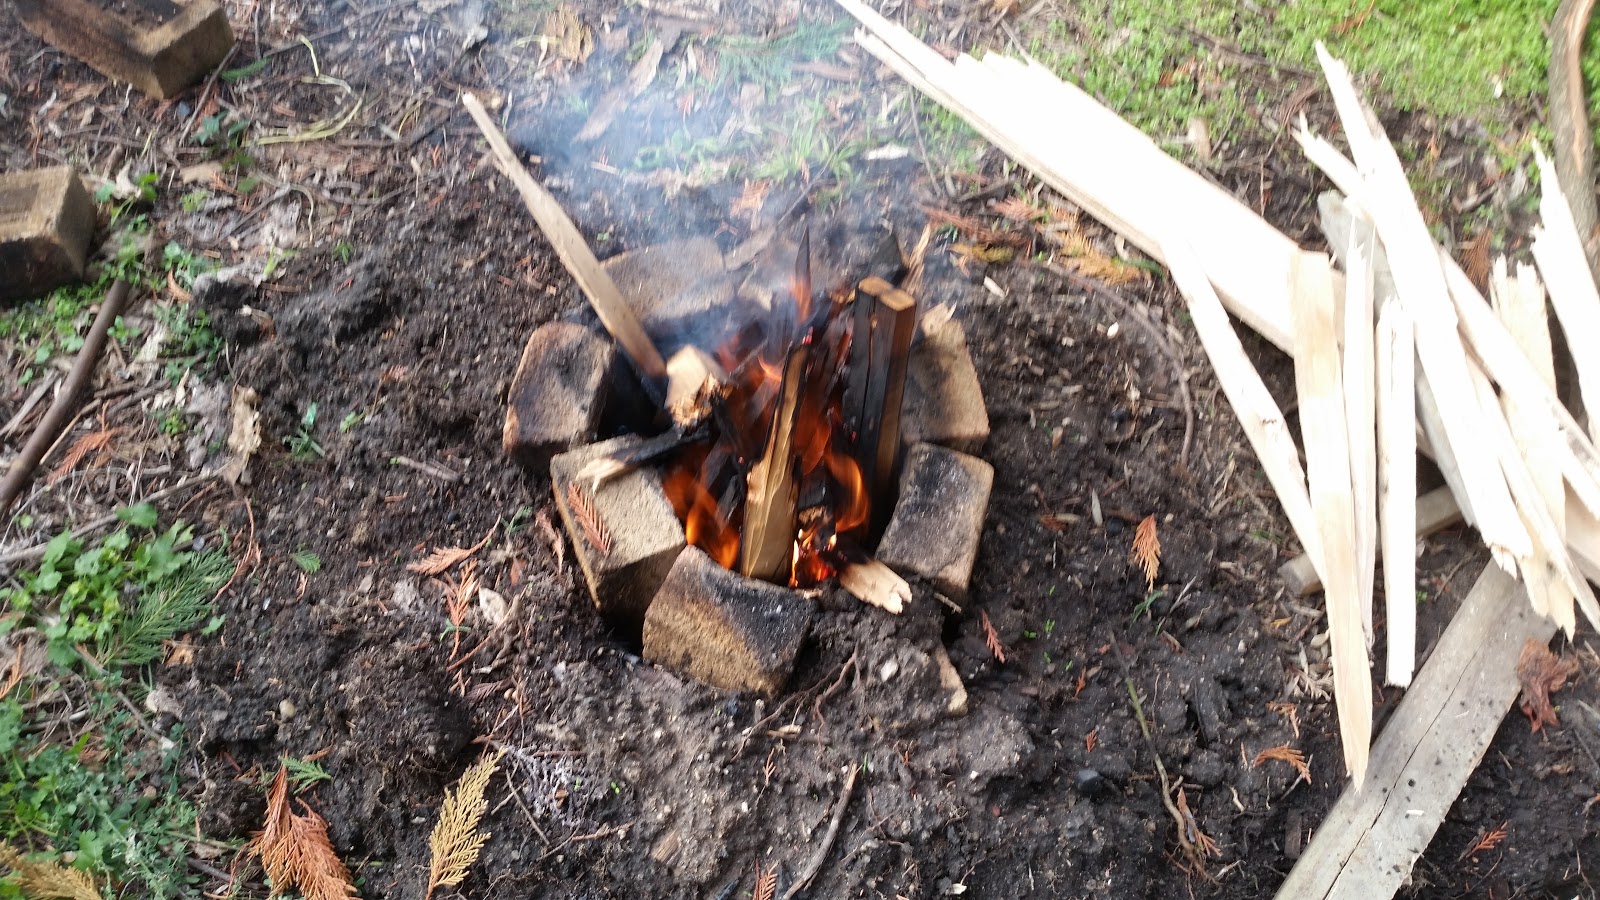
Maybe a little quick. But I didn't quite kill it.
Starting to burn down nicely.
Starting to get a bit excited with a little oil and air added.
I managed to turn the oil down too far without realizing it as the fire got a little too smokey. It was taking off but it didn't feel quite right so I fiddle with the oil and lo and behold. It starts to take off.
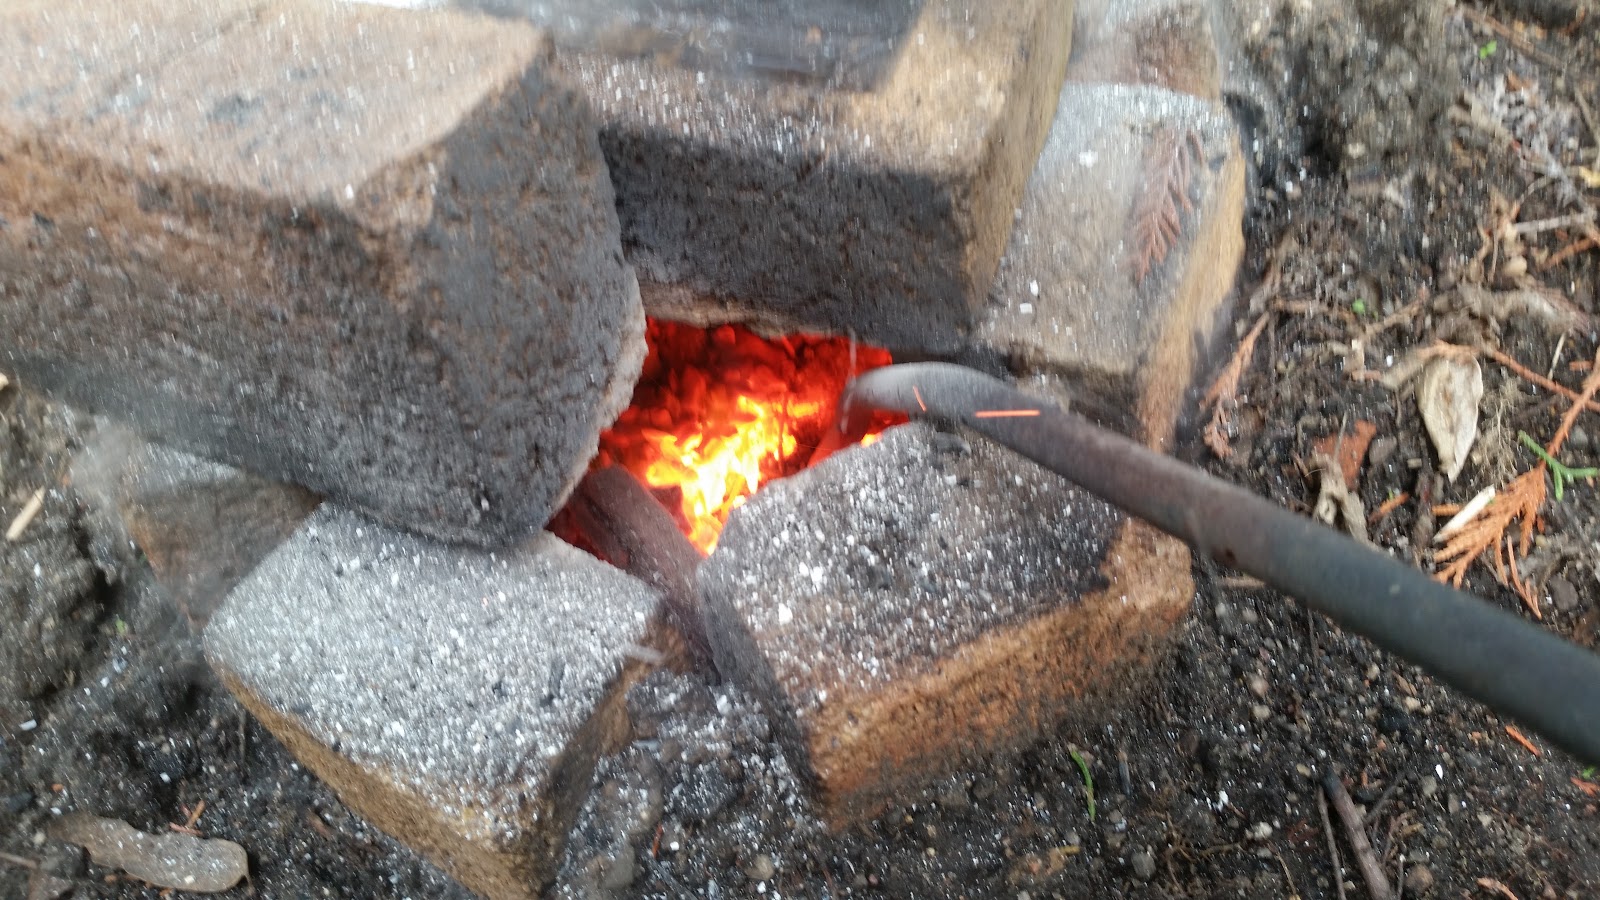
Lets see if I can make stuff hot with it.
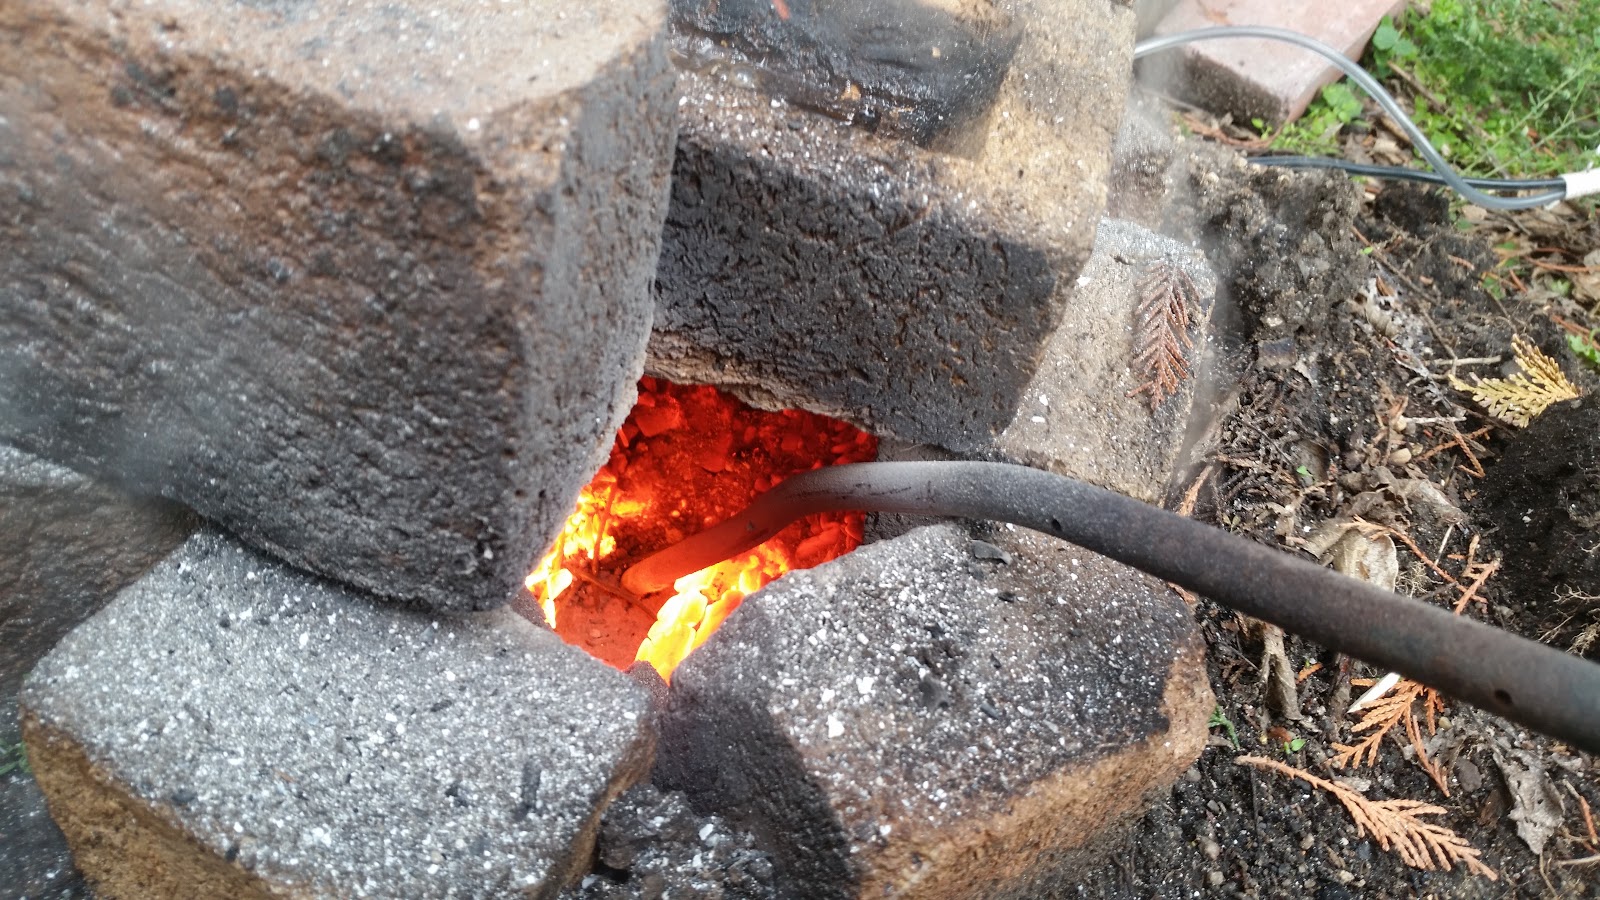
A little hard to see here, but the bar certainly did get forging hot.
Lets see if we can make something a little more substantial properly hot.
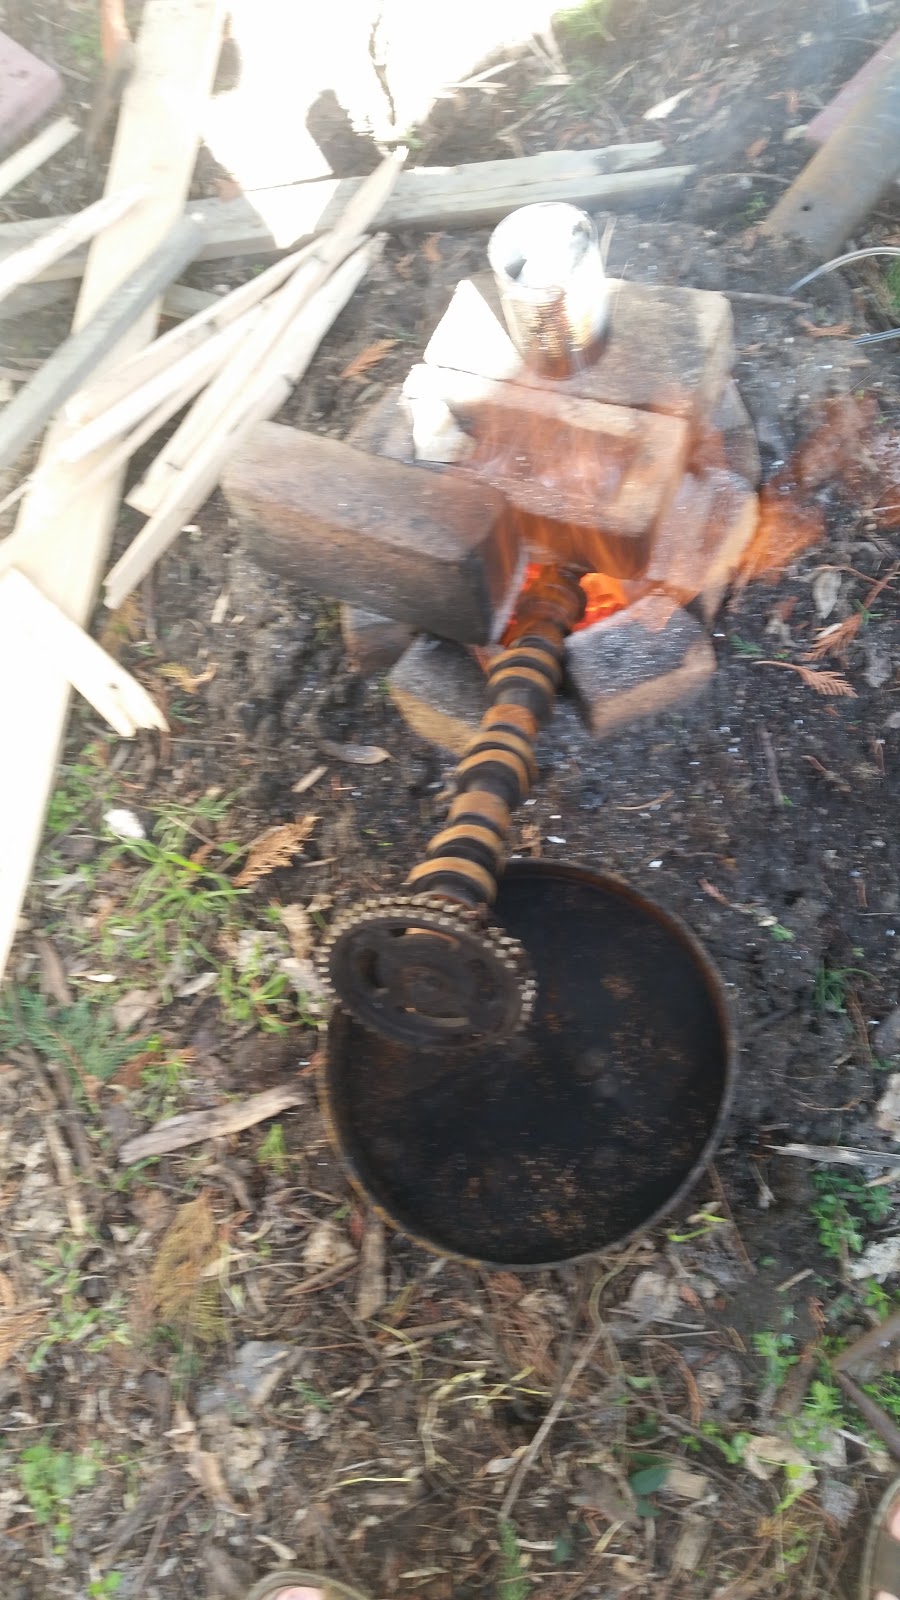
The end of the camshaft needed a little support to keep it in the hottest zone.
While it probably would've looked much better at night it did get hot enough to move some metal around a little. I think the white coating is fine ash from the wood getting blown around by the blast from the burner and coating everything.
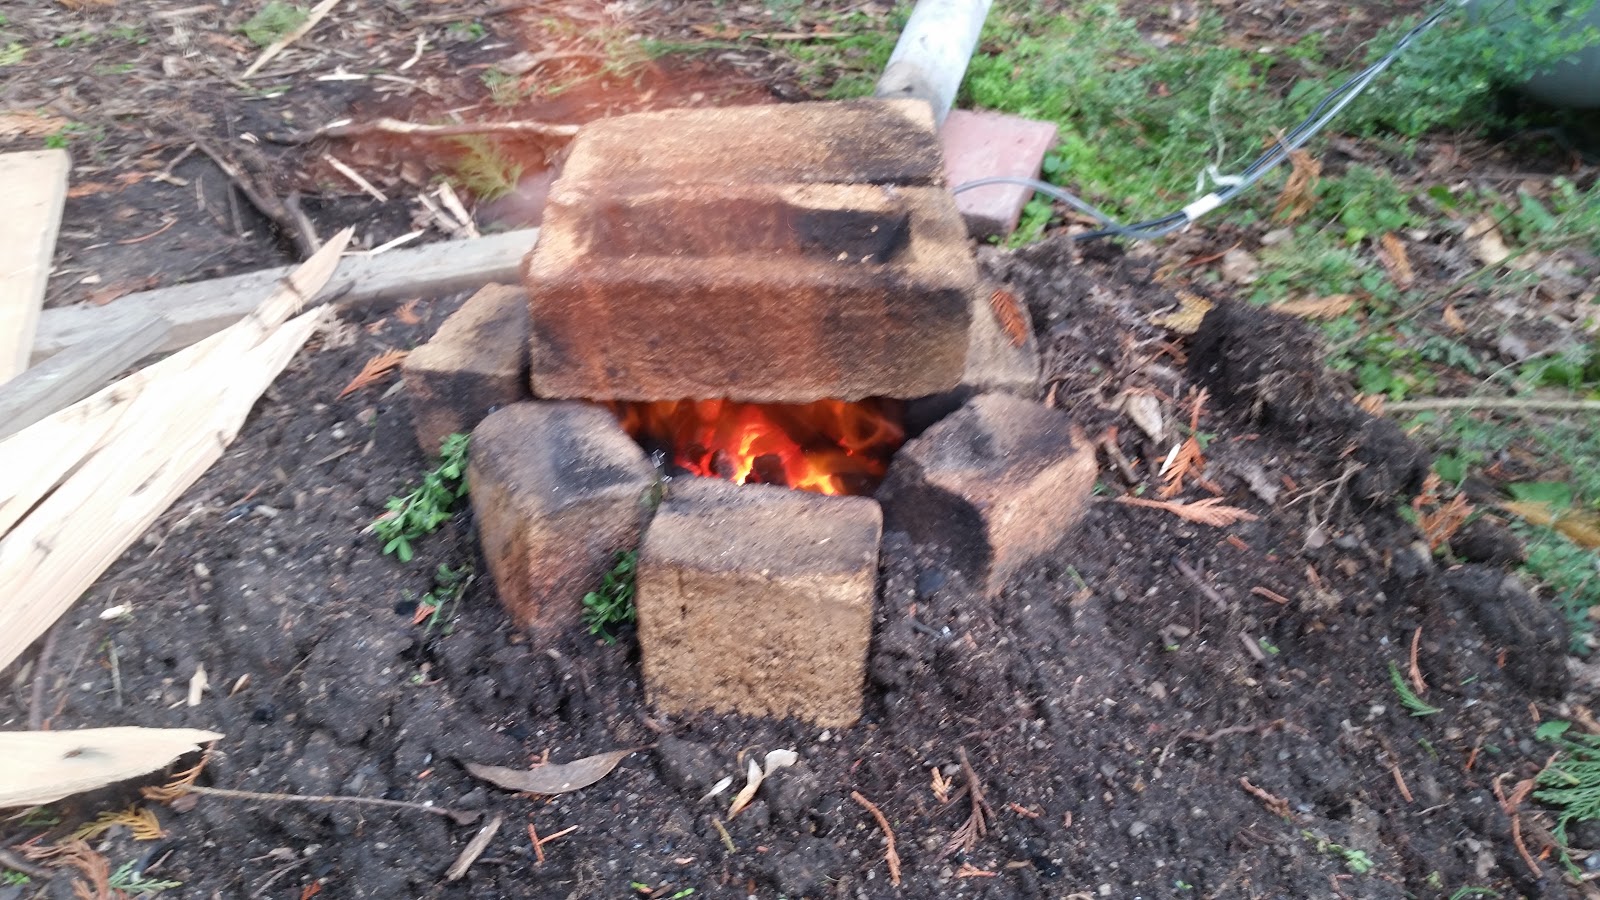
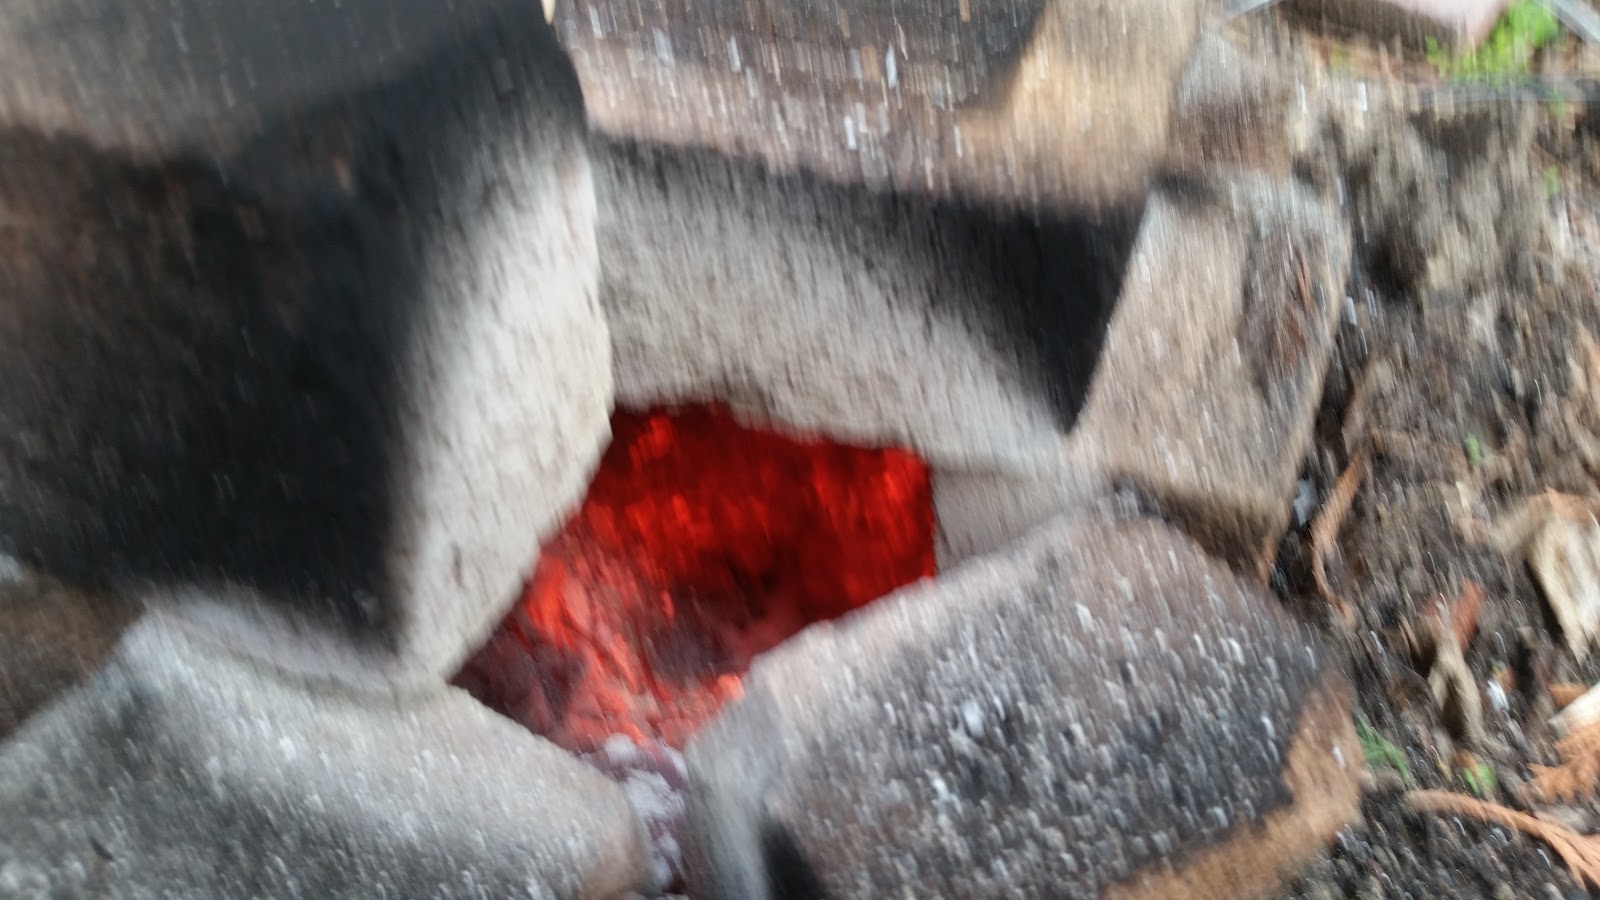
Just before I shut it down.
And here we are cooling down. When I came back an hour or 2 later there was still a fair bit of heat radiating out from the bricks. They were definately hotter than you would want to touch.
Here is a quick shot of me pre-heating the fire pit before anything got too exciting. Here we are with the burner running and adjusting the air/oil mix a little.
I'm hoping to get some more shots of interesting stuff getting done this weekend so keep an eye out for those next week.
Paying for a good tool or a part can be a bit offputting as the initial expense seems to be much higher. However cheaping out and getting something that might not work properly will most likely be more expensive in the long run. I have had that idea highlighted for me while I was setting up a KVM switch so that I can run both the beaglebone (Mill) and the 386 (Lathe) through the same monitor.
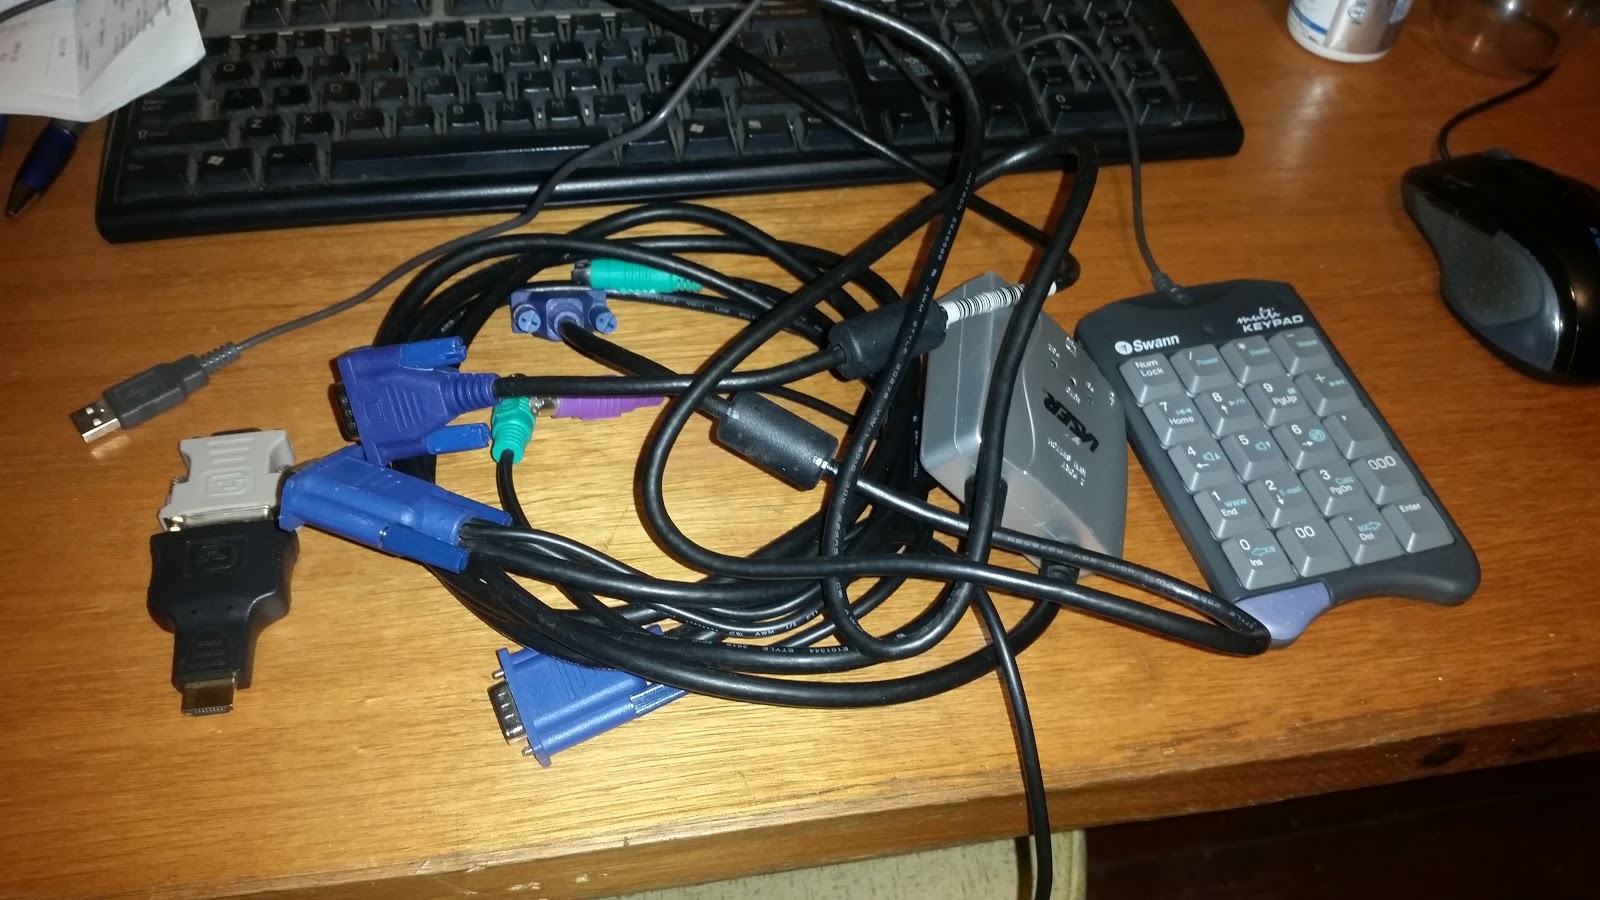
These are the parts I tried to use. I got the keypad, kvm and an extra VGA cable from The Junktion for $5. All of them seem to work and are in good condition and would probably work in a more normal situation.
This is the KVM switch. It's better than the last ones I had because it gets all of it's power from the computers. However it's a bit different in that it needs a set of keys to be pressed on the keyboard to change the controlling computer. I don't use scroll lock much, particularly on these computers so that won't be a problem.
The stack of adapters. The fan I had wasn't working so this was going to be fine for a test. I do have an HDMI to VGA adapter somewhere that will let me have a fan and get video out; but I can't find it at the moment so I'll make do.
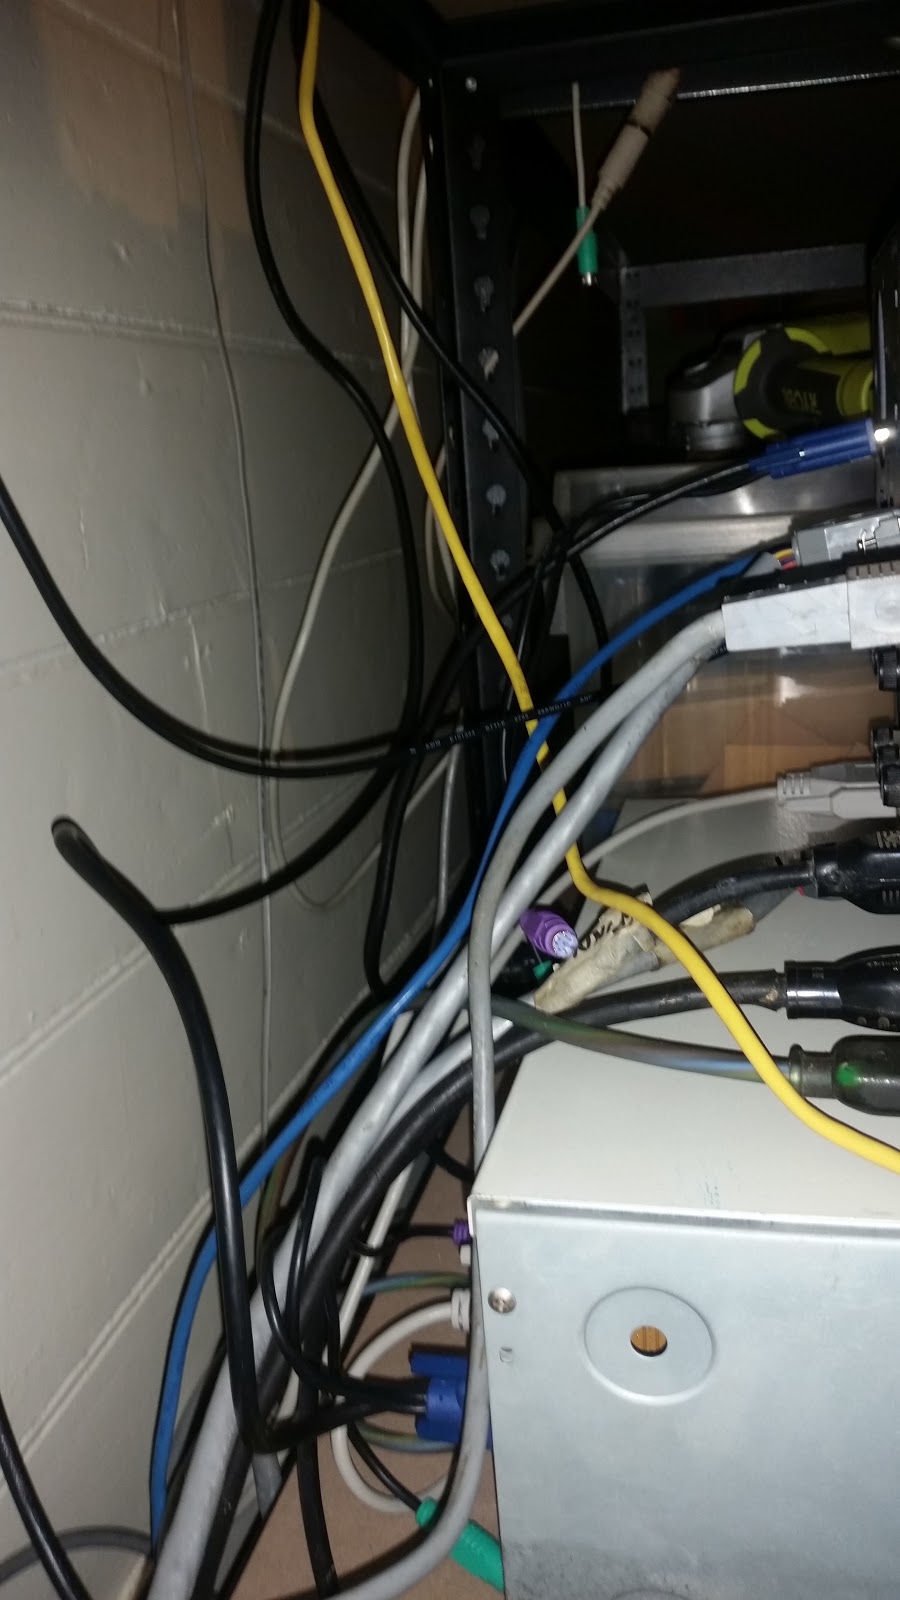
And here we have the rat's nest. I don't do a lot of cable management because I am changing things so often that having a strict management system would get more in the way then a mess like this. Regarding noise and crosstalk between the cables, anything back here with a signal is shielded and the only thing with significant power other than the mains cables is the drive to the stepper motors which is reasonably heavily shielded. So I don't think noise will be a problem and I certainly haven't had any issues yet.
With everything plugged in I powered it all on and... It... didn't work. It would display the screen from the 386 but I could not change it to display from the beaglebone. I think what has happenend is the KVM switch is expecting to be plugged into PS/2 ports (That's why it has them I guess) but I am plugging it through an adapter into an old style keyboard connector and that's it. No mice or keyboard from the Beaglebone.
I think this is causing it to run out of power and just not work properly.
To fix this I am doing what I should have done in the first place and buying a cheapy from ebay that is completely passive. From the picture of it's guts I saw it is very basic which will be perfect for this as then there is less chance it will not work.
So sometimes it pays to just buy the right thing in the first place. But for a hobby, while it can be frustrating and demoralizing it usually isn't too bad. In a business situation however it can cause major problems.
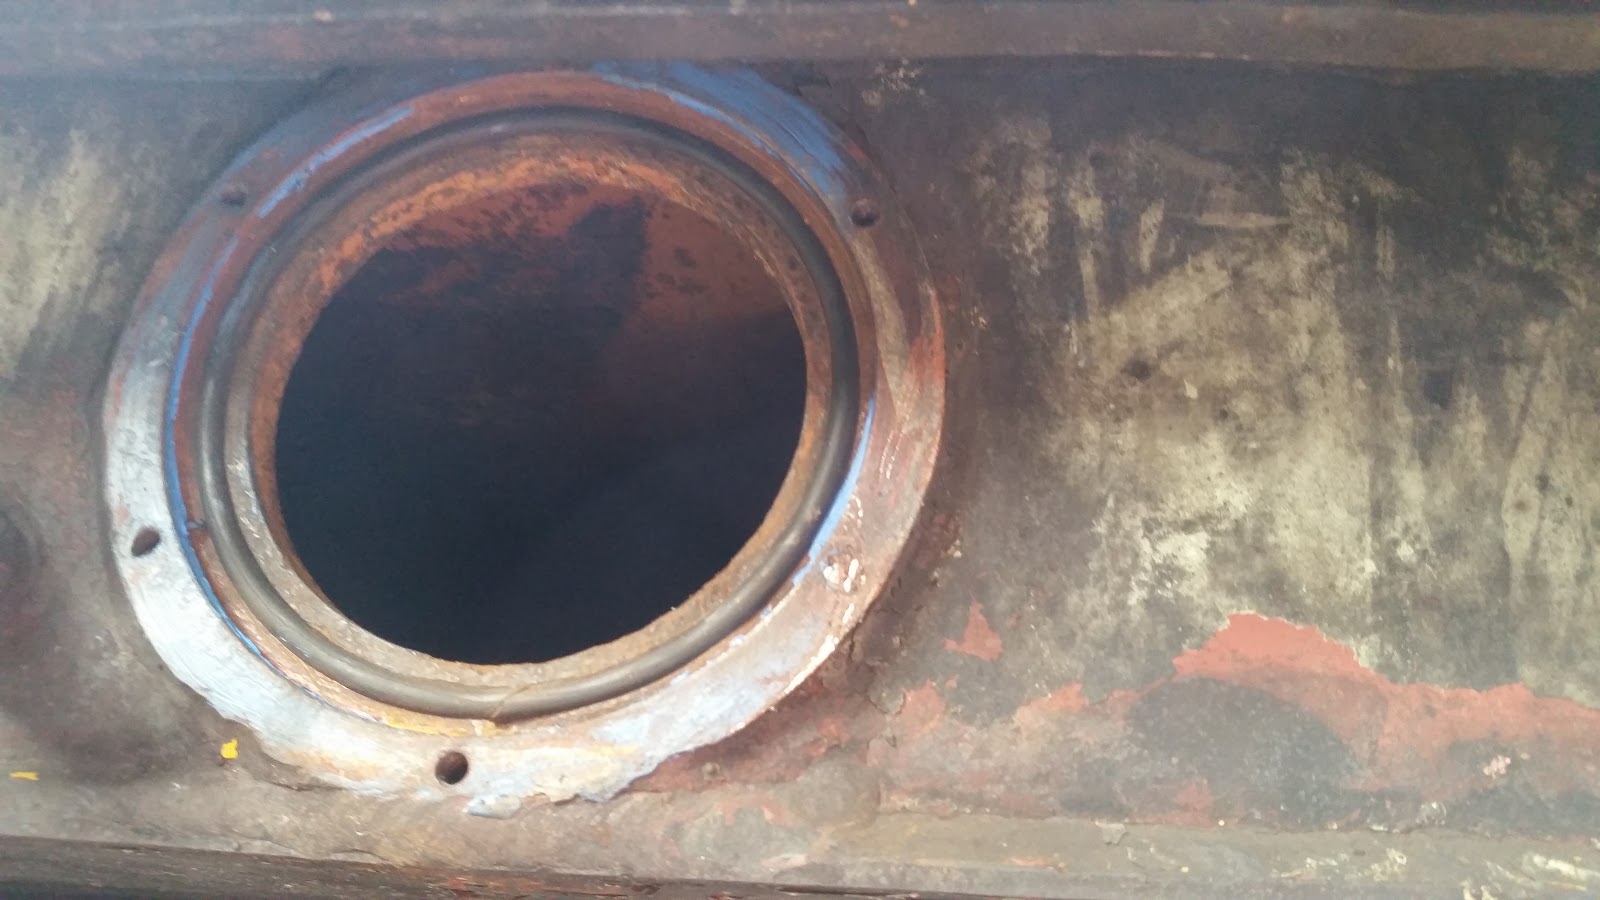
The other week I was putting a sight glass back in a tank when I managed to overtighten one of the bolts and snap it off. I didn't really need to tighten up those bolts that much so it really shouldn't have happened. But accidents happen.
You can see what's left of the bolt snapped off in the bottom right of the fitting.
We came back to this problem over the weekend and fixed it. But fist I had to use a hammer.
Not a particularly heavy one, but big enough to make me nervous about breaking the removal tool which would have been next level bad.
Thankfully this part went well. Once the tool got in far enough to get a good bite it spun the bolt and the whole shebang came out. Then I had to get the bolt off the end of the removal tool. Awkward, but much less stressful than getting the bolt out.
And here is everything buttoned up and no longer holding up progress.
I had a bit of a play with the oil burner as well so keep an eye out for updates on that through the week.
I had to re-waterproof my rain jacket at the end of last year. (More detail on the process here and here). This style of jacket needs to have the waterproofing re-applied about every 6 months or when the jacket dries out too much again.
So it is a bit overdue for getting this re-done so I tried to get through it after work last night.
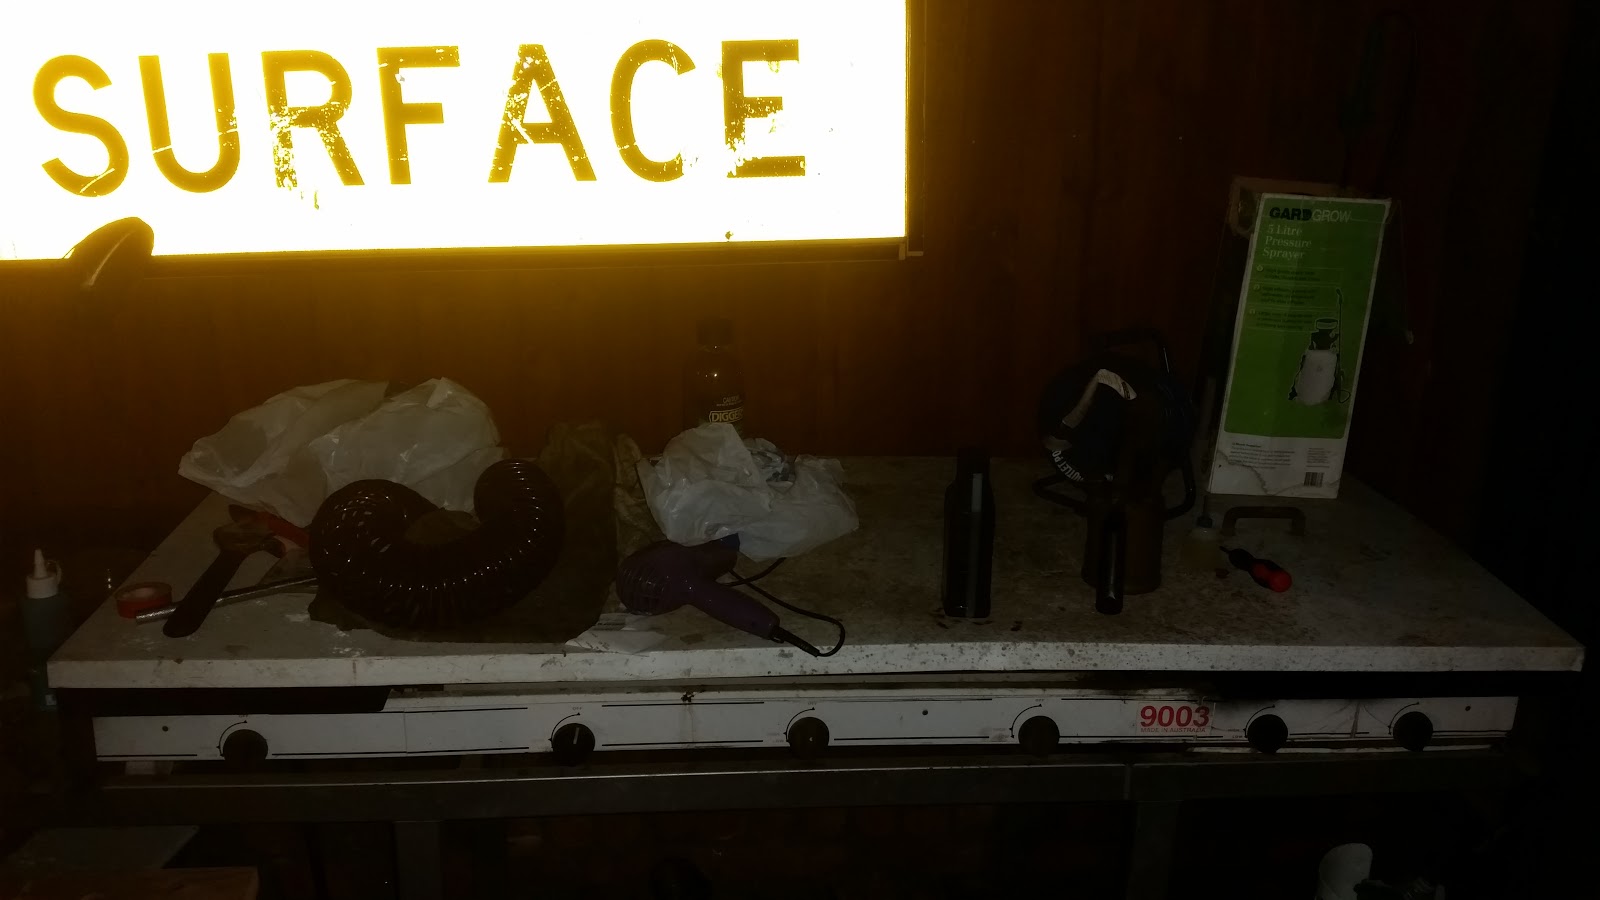
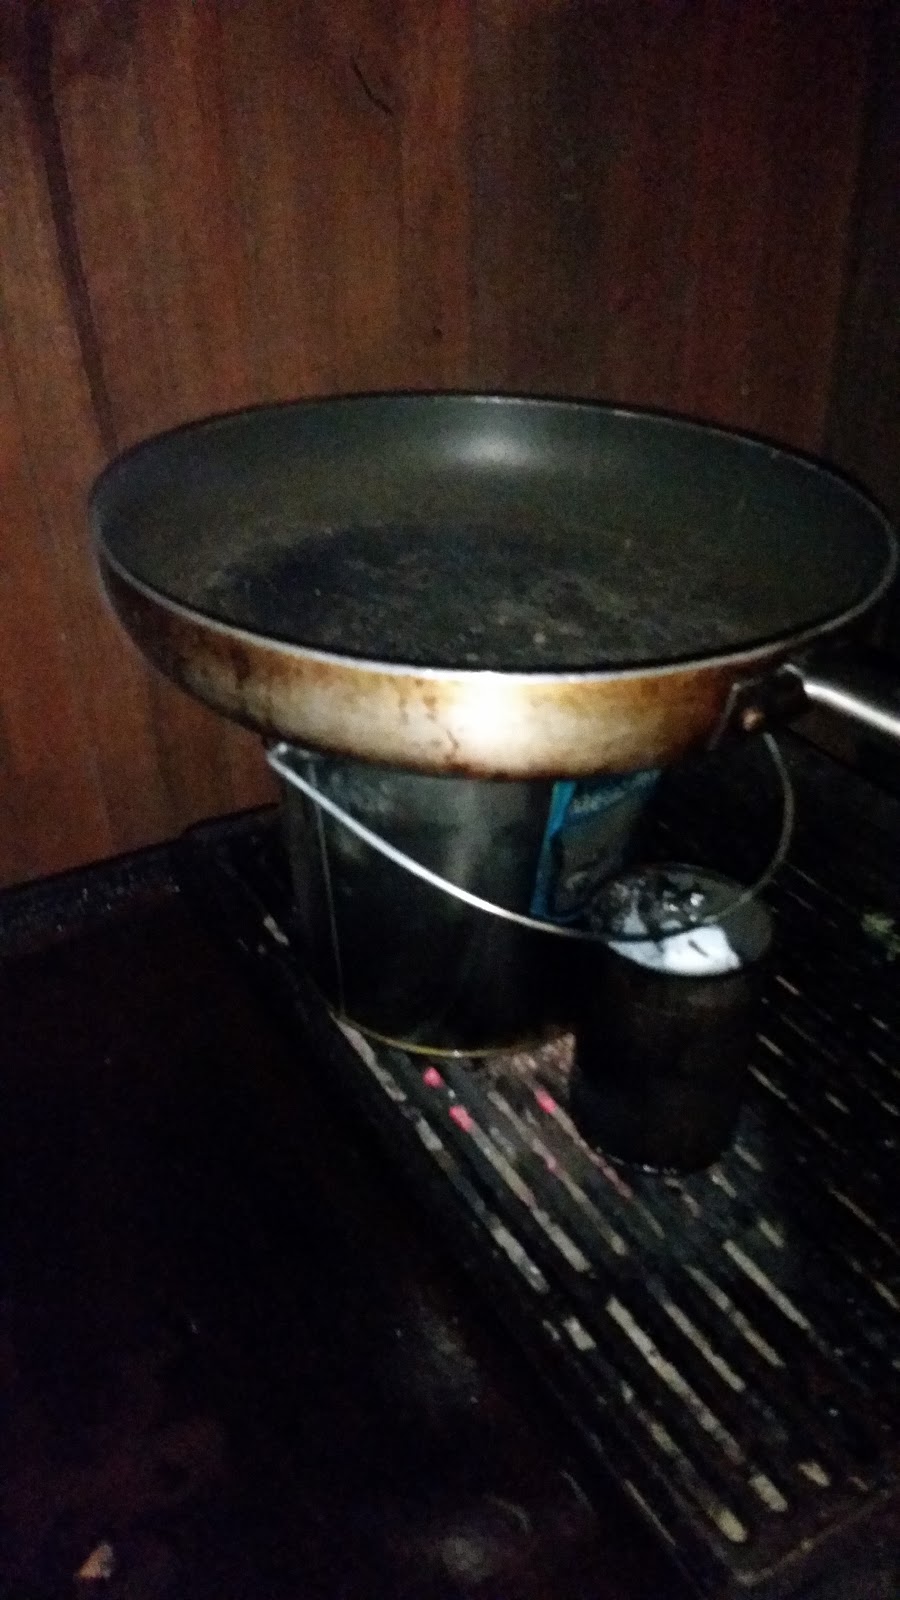
First though I had to re-melt the beeswax waterproofing. To do that I had to move all of the stuff that's on top of the Barbeque because I've been using it as a workbench.
That's better.
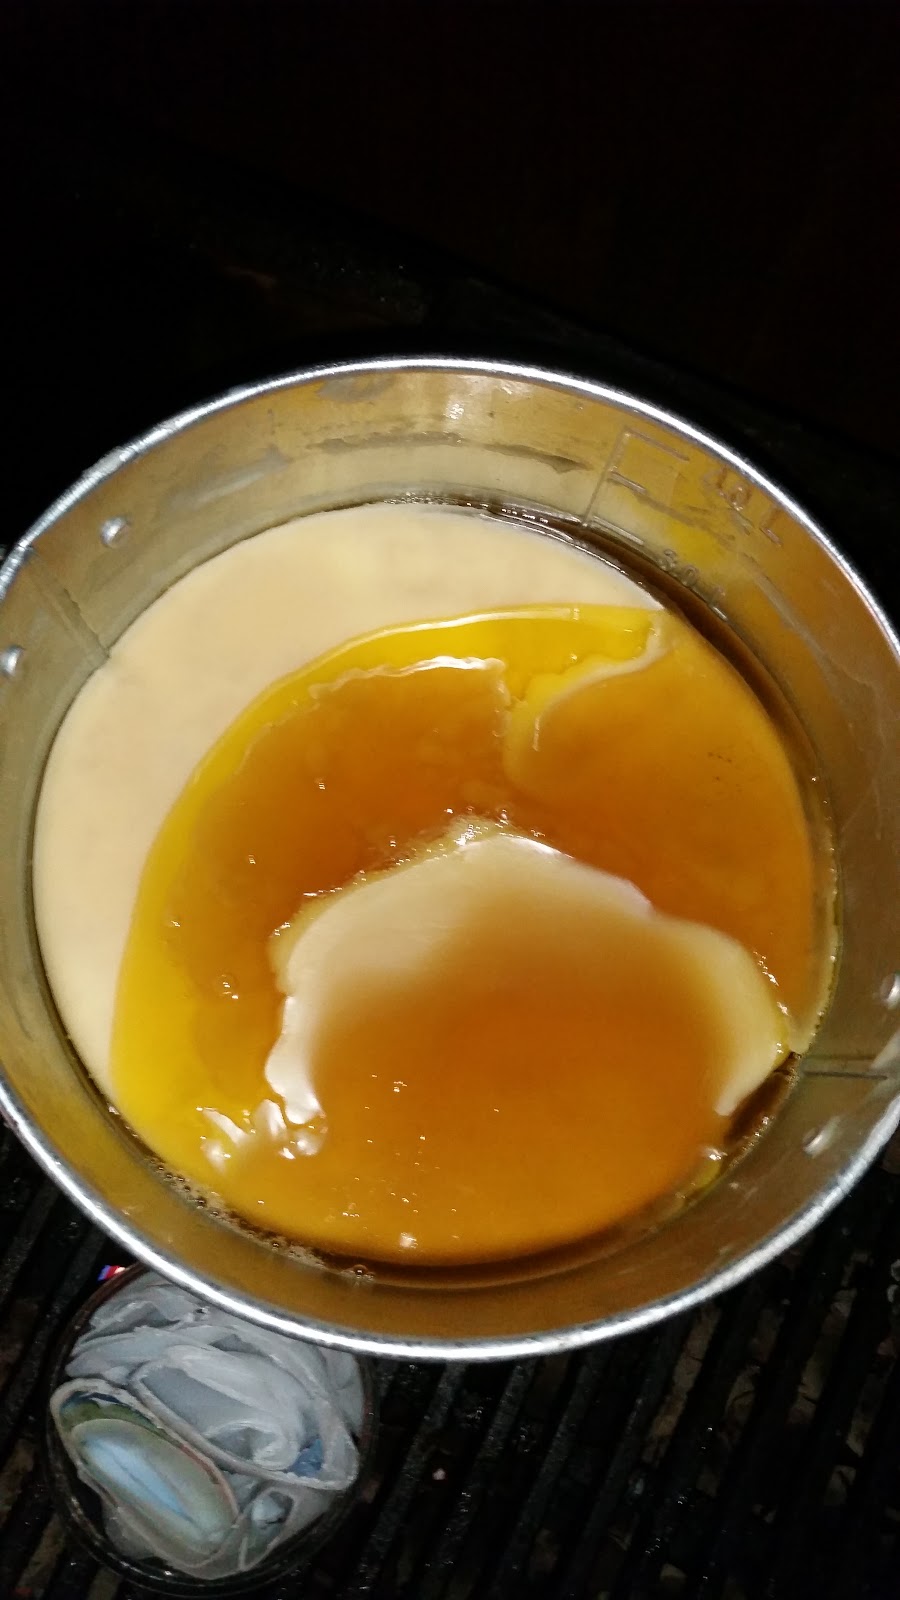
Last time I did this I felt the jacket was still a little too waxy after melting it in so that means I needed to add some more drying agents. Probably the best thing to add would be some more gum turpentine but I don't have any of that so I added a bit of linseed oil.
All of a sudden I looked back in the melting pot and a heap of wax had welled up from the bottom and was cooling again on top of everything. It did look a bit cooler in person.
Then things got a bit too exciting. Stirring to try and speed up the melting process and a little splashed over the side and managed to set the whole lot on fire. Not that surprising really considering everything in that mix is classified as flammable. Even the wax burns once it's got a bit of heat in it.
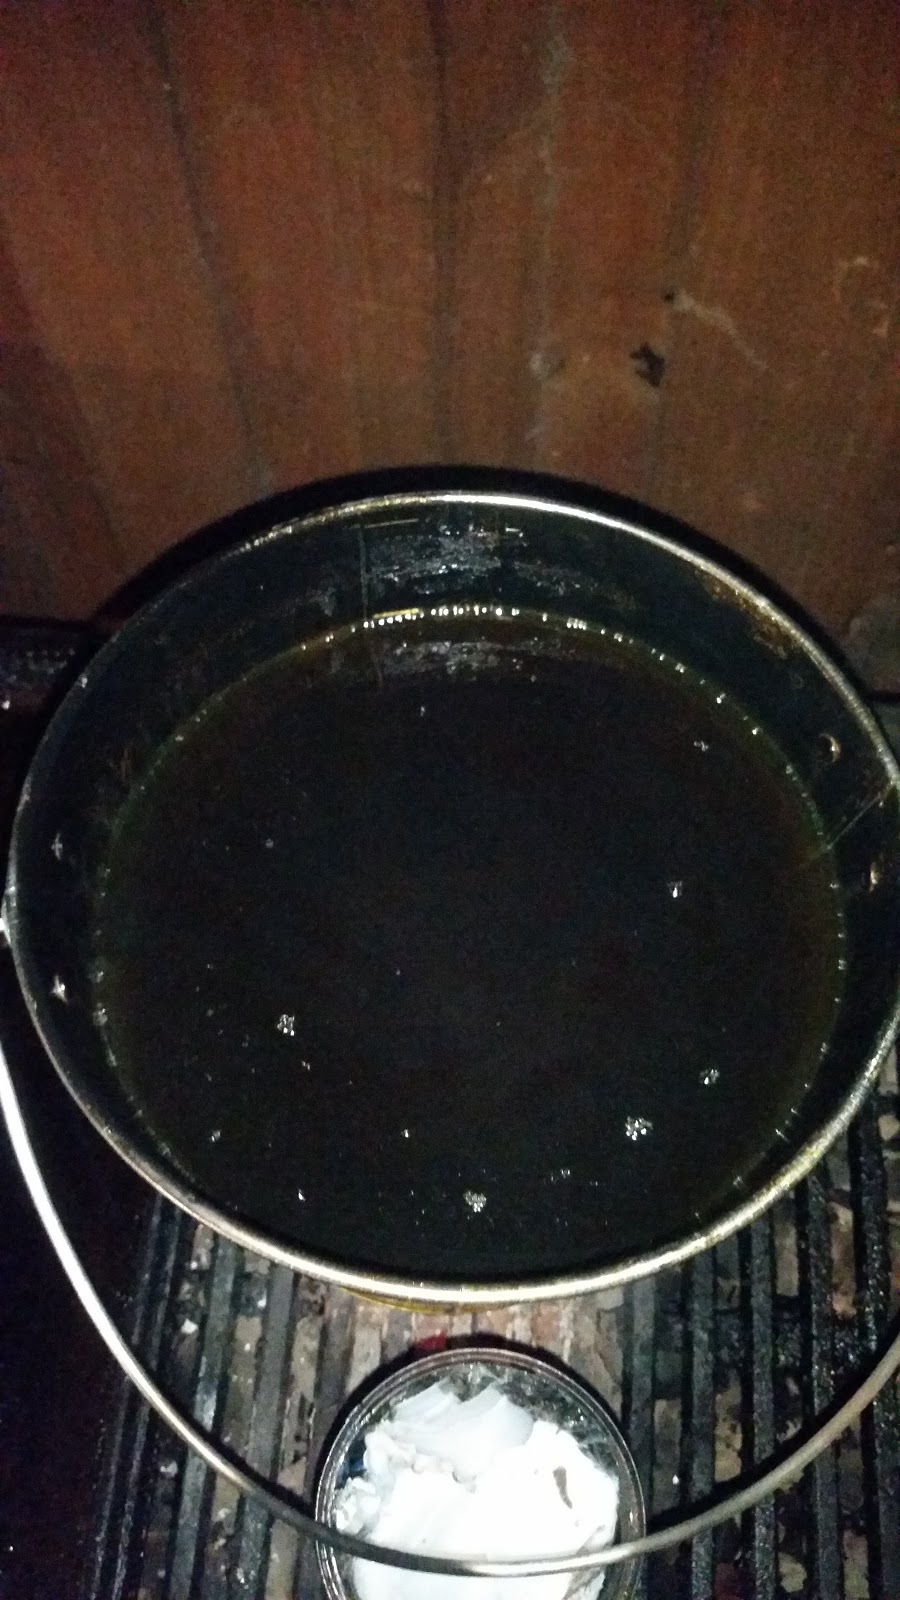
Now not as exciting. Much better.
The fire seemed to make the mixture somewhat blacker than before so it will be interesting to see, once it cools if the whole batch has been darkened.
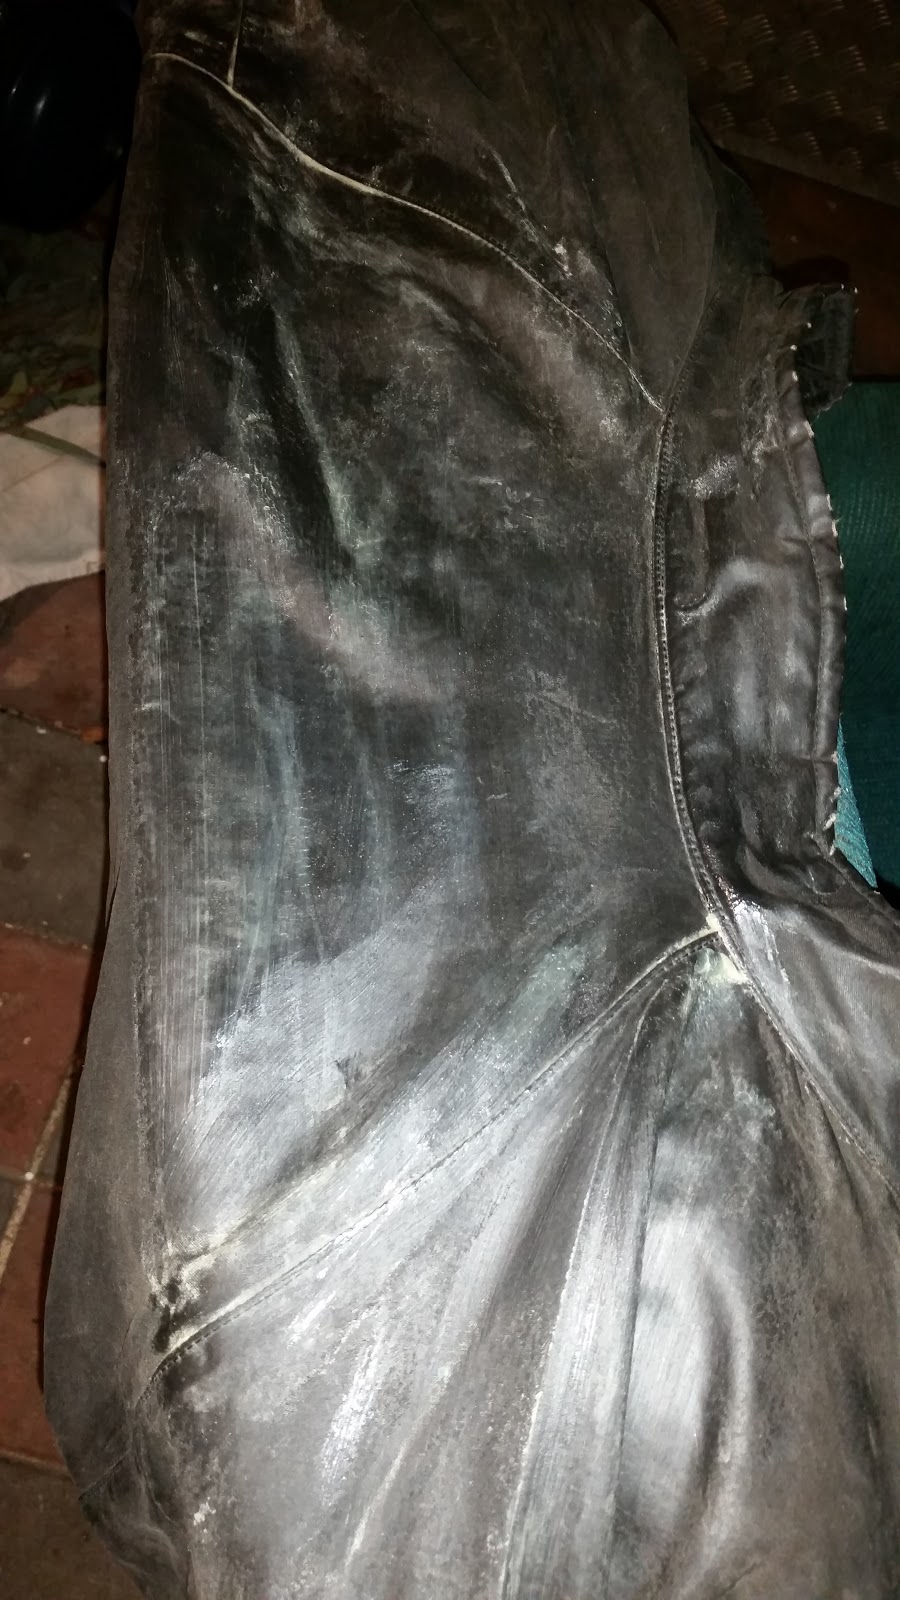
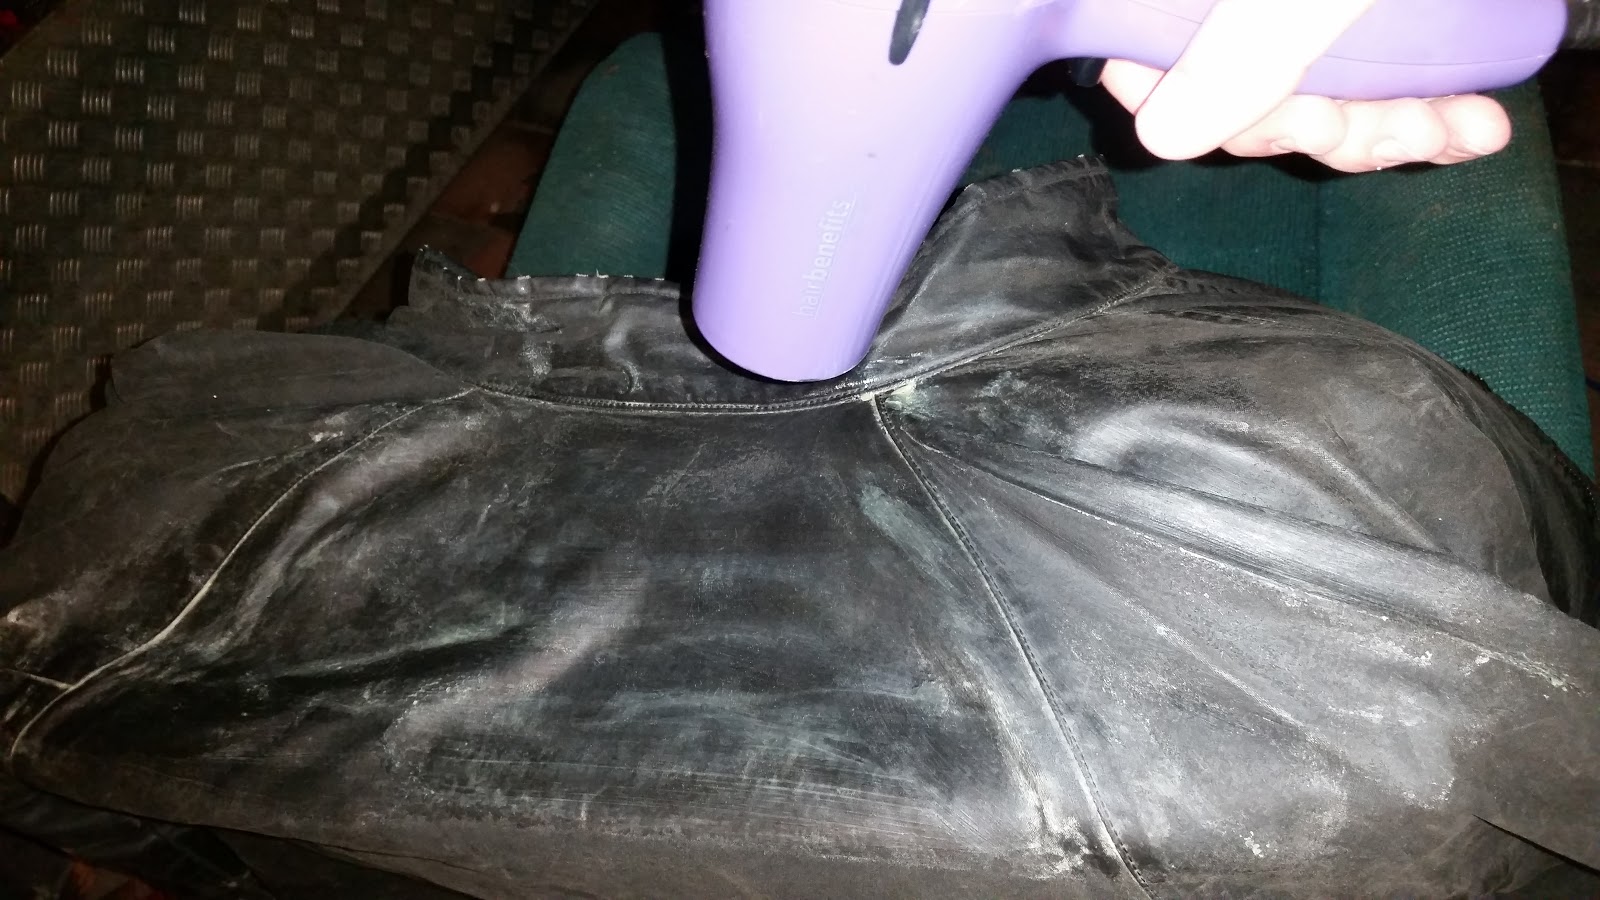
Wipe on.
Melt in. Repeat for the next section of the jacket.
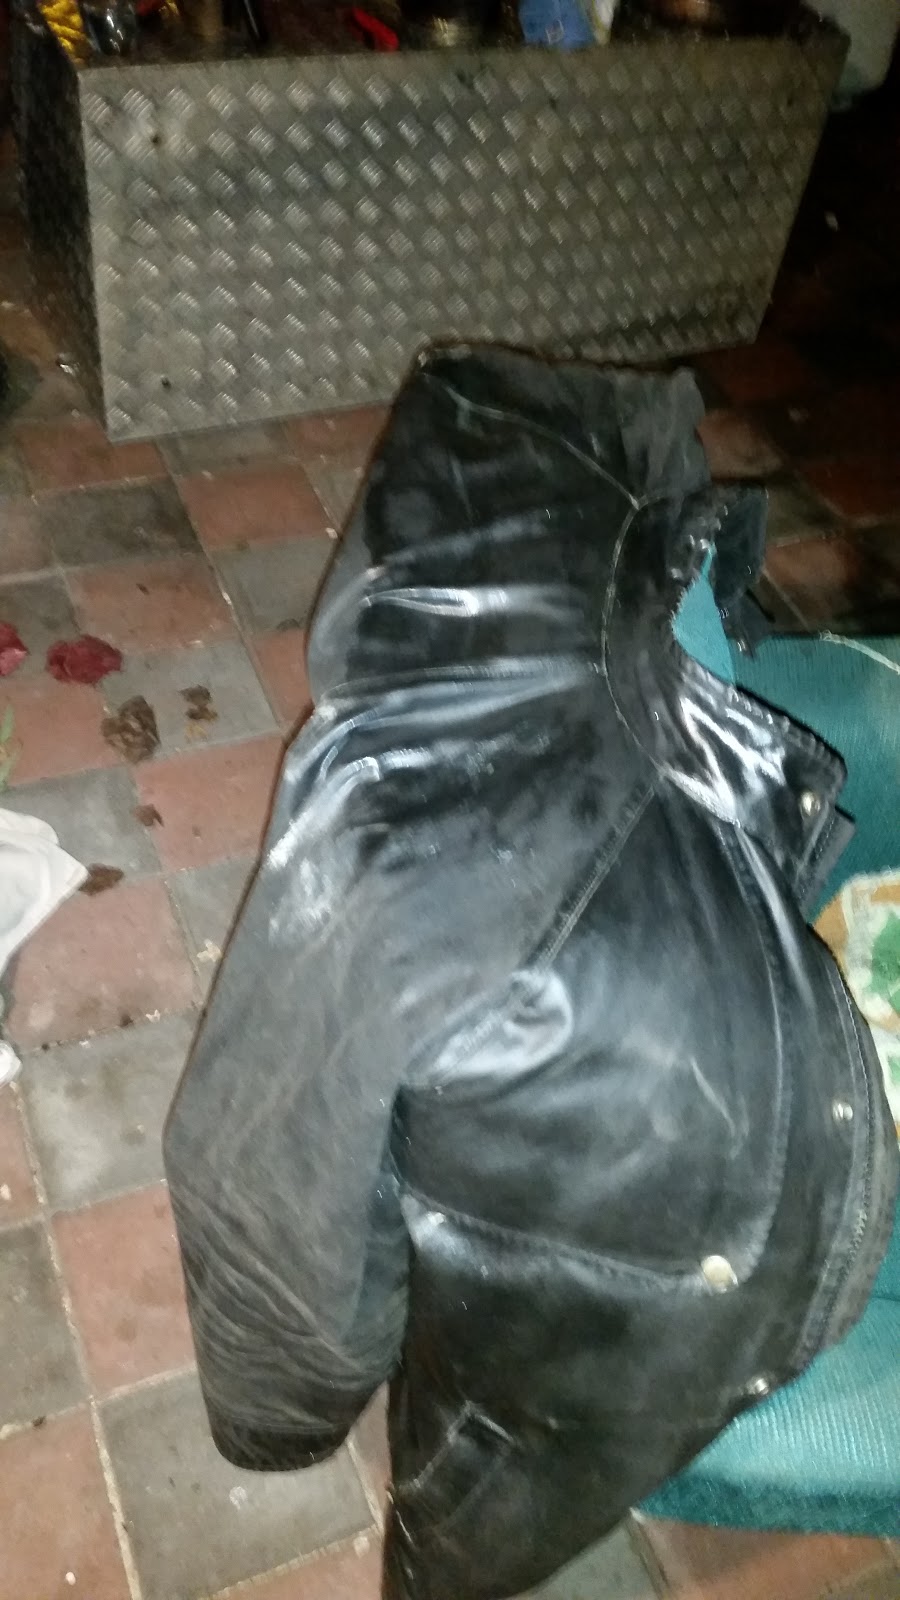
I only got a bit of the jacket finished before it got too late and I had to go to bed. But what I have done feels and looks much better and more waterproof again. I'm just hoping I will get this finished before I need to stay dry again.
It was a bit of a pain doing this because it was fairly cold and I was essentially outside. Next time hopefully I will be doing this somewhere it's a bit warmer so the waterproofing will melt into the jacket easier.