Star InactiveStar InactiveStar InactiveStar InactiveStar Inactive
Hi, another nerdy post today. The other day I came across some code I had written that generates a .kml file that points to a street address. It is a little kludgy but it has worked for the last few years. First I will show the code, explain it, then I'll talk about what I'd do differently if I were to do it now.

Sub Create_kml()
       
    Dim Name, Details, Address As String
    'Get job details into RAM
    Name = Range("Q3") & Range("R3")
    Details = Range("M3")
    Address = Range("K4")
   
    'Open kml file
    Dim fso, tf
    Set fso = CreateObject("Scripting.FileSystemObject")
    Set tf = fso.CreateTextFile("File Location" & Name & ".kml", True)
    'Write actual kml file
    tf.Writeline ("<?xml version=""1.0"" encoding=""UTF-8""?>")
    tf.Writeline ("<kml xmlns=""http://www.opengis.net/kml/2.2"" xmlns:gx=""http://www.google.com/kml/ext/2.2"" xmlns:kml=""http://www.opengis.net/kml/2.2"" xmlns:atom=""http://www.w3.org/2005/Atom"">")
    tf.Writeline ("<Document>")
    tf.Writeline ("    <Placemark>")
    tf.Writeline ("        <name>" & Name & "</name>")
    tf.Writeline ("        <description>" & Details & "</description>")
    tf.Writeline ("        <address>" & Address & "</address>")
    tf.Writeline ("        <styleUrl>#m_ylw-pushpin</styleUrl>")
    tf.Writeline ("    </Placemark>")
    tf.Writeline ("</Document>")
    tf.Writeline ("</kml>")
    'Clear buffer and finalise file
    tf.Close
End Sub

So I may have to look into better ways of displaying code in Blogger. But I think you get the gist of this. The Name variable is used for the name of the waypoint in the kml. The Details variable is used for the description of the waypoint and the address is the street address for the pin to get put on. Looking at it you can probably omit the fso object as it is only used once so you would just have a longer command to set the text file object.

The tf object is created with a specified file. Then writing it is just a case of pushing lines to it. The only way I know of to use a template for writing a file like this is by coding it in place like this.

The biggest thing I would do differently knowing what I know now is that rather than hard coding the locations to get the variables (Name, Details & Address) from. I would pass them to the sub(or write it as a function) so I can copy the code and re-use it without any modification.

Any questions or comments are appreciated.

I hope this helps someone with a project somewhere along the line.

Cheers,
Rex Write comment (0 Comments)
Star InactiveStar InactiveStar InactiveStar InactiveStar Inactive
A bit of a nerdy post today.

So I recently got a new computer at work. Along with the new hardware and the performance that comes with it I got a copy of Microsoft office 2013. This is taking some getting used to. However there are a few little niggles that have been bothering me.

One of these that I have been able to fix is the animation within Excel. I'm not quite sure why this has been set up but it is easy enough to fix. Continue past the break to see how to fix this "feature"

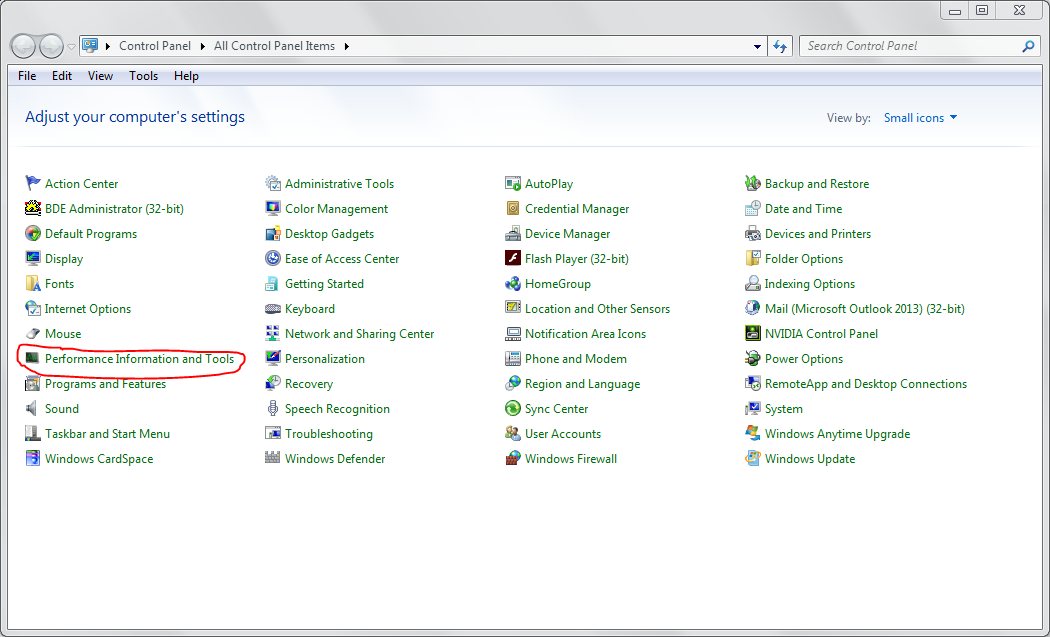
First, in the control panel go to Performance Information and Tools.

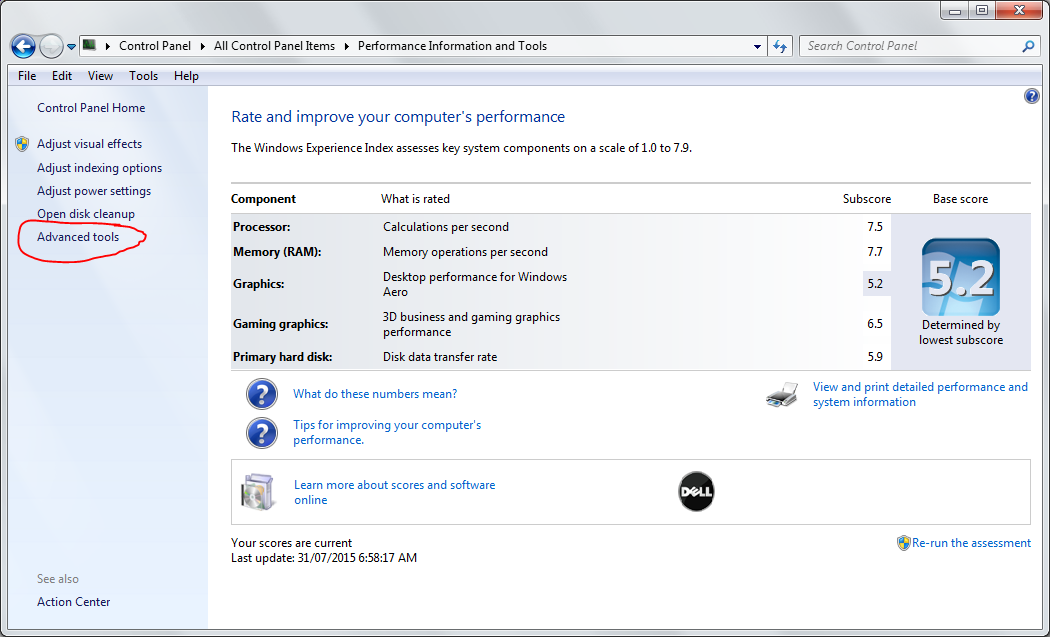
mmmm. Subscores over 7
Back on topic. Open Advanced tools on the left.

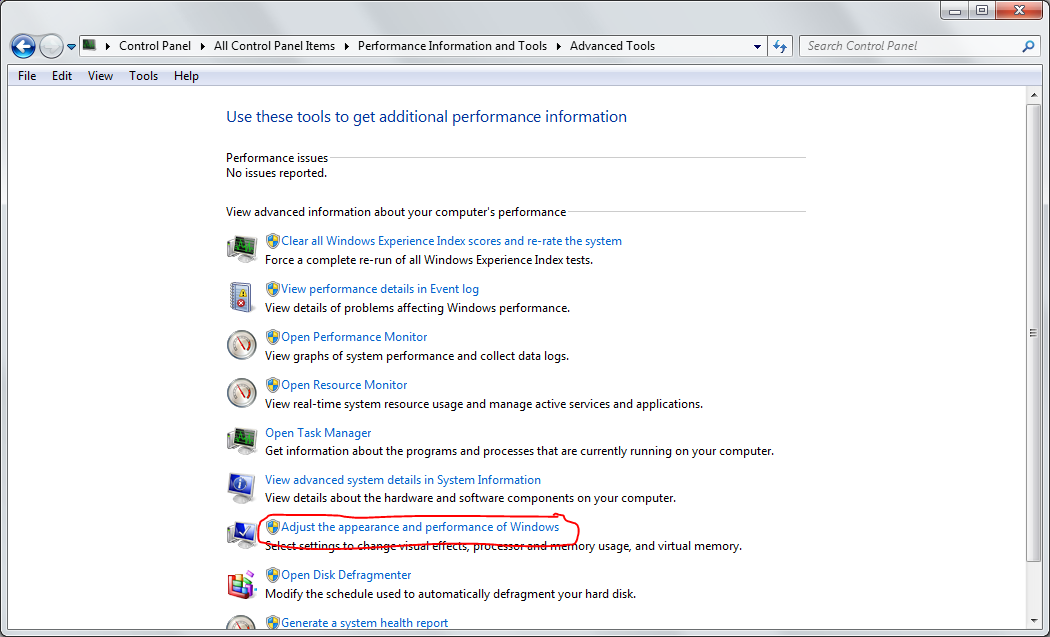
Open Adjust the appearance and performance of Windows. Even with the shield icon I didn't have to put in the admin password. Which is good because I don't have it.

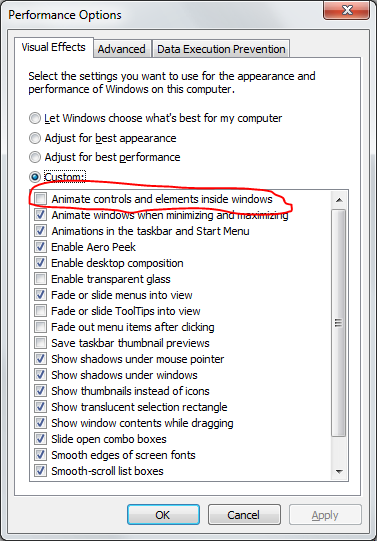
And this is what we've been working towards. If you un-check the box next to "Animate controls and elements inside windows". This turns off the animation in Excel. It may also turn animation off elsewhere but I haven't noticed anything missing.
Well there you have it. Something that is a little odd, but is fairly easy to fix.

Cheers,
Rex Write comment (0 Comments)
Star InactiveStar InactiveStar InactiveStar InactiveStar Inactive
So last week I put up a photo of a largish brown box in my ute.
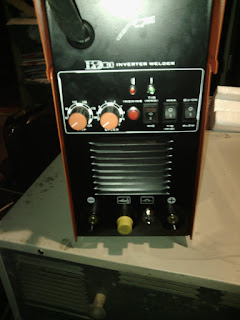
A Pretty unassuming box.
So contained within this box was a brand new welder. This is what I bought. A MIG 220BZ 3-in-1 welder from Rossi. This will do MIG, TIG and Stick welding and hopefully allow me to finish some projects I've had in the back of my mind for a while. After the break you can follow along with me as I open the box and give my initial thoughts (Uneducated in the nuances of welding as they may be)

So from what I've found these welders are made in China and are sold online with a few different badges on them. I chose this one as they all seem to be the same and this was the cheapest of the ones I could find.
This was the first layer. There is an instruction manual written in very poor English that I will go through and read (translate) when I am less tired. Also there is a page with a url to download a manual from Rossi themselves. This second manual seems to be a bit better written however it is for a few of their welders and doesn't really cover many details for this specific welder.

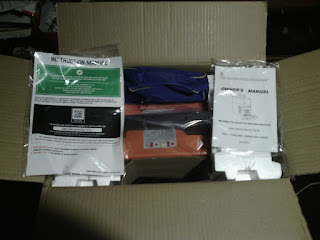
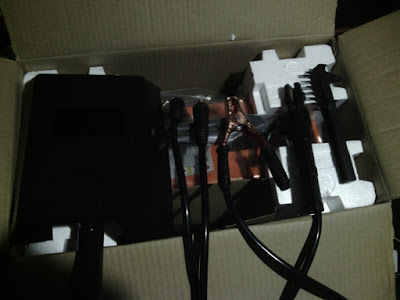
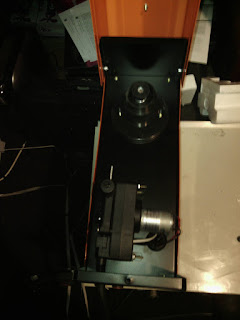
There are nice big chunks of Styrofoam holding the welder in place within the box. They seem to work because it didn't really shift within the box as I was carrying it.
This is the TIG bag, with the TIG torch and collets for holding the electrodes in. The bag is clearly quite cheaply made and will definitely not handle anything hot but with a little care should be very good for keeping all the TIG stuff in one place when I want to use it.
Here are the contents of that bag. There is a torch with a fabric cover over the gas and power line and a plastic bag with a few parts for the torch. The fabric sleeve seems quite soft so I don't expect it to be particularly resistant, but I think it will be a good barrier against at least some dirt and such.
This is the torch itself. There is a switch on the body of the torch, it's only held on with cable ties so it is easy to move around until it's in a comfortable position for working. Also I'm not sure if it is just an on/off switch as it clicks but then has a fair bit more travel. So before I use it I will probably run the multimeter over the socket to get an idea of what may be inside; if it is just a switch or if there is a resistor as well.
Here are the rest of the accessories that aren't permanently fixed to the welder. from left to right we have: A welding mask (Hold it up to weld, down to see), connectors for the earth and stingers, the earth clamp, the stinger and a wire brush/chipping hammer. The earth cable seems to me a little shorter than would be useful, but I'll see how it goes and I might just have to buy a longer one for bigger jobs. The chipping hammer doesn't really have much weight to it so unless you are getting good welds with the scale practically falling off I don't thing this will be much use. It may be useful for the wire brush out at the forge though so I'll probably end up keeping it out there.
This is the connector for either the stinger or earth clamp. They have the same connector which means that in theory you could have a positive or negative stinger (or more importantly the earth which will be revealed if I end up buying gassless wire.
My lovely model demonstrating how to use the supplied mask.
This is what was left in the box at this stage. The MIG gun seem to have fallen underneath the welder so when you take it out you need to pull it out all in one go.
Here is the gun, it seems to fit in my hand nicely enough and the trigger seemed bulky enough that using it while wearing gloves shouldn't be a problem. However there was one issue that will need to be sorted I think.
It's difficult to see in this photo, but the metal gas nozzle (or shroud or whatever it's called.) is not centering properly with the wirefeed nozzle. I vaguely remember seeing something about how to fix this but I'll have to dig into that a little to see if there's an easy fix. Otherwise I might see how it goes with it off centre. Actually I'll be honest, if I don't find something fairly easily I'll just start trying to use it.
Here is the rear panel. The rocker switch has a decent action and it's good to have a single place to kill it if needed. Although I'd probably prefer a kill switch at the front so I can actuate it more easily if something goes wrong. You can also see there are 2 separate ports for the MIG and TIG gas. This will be useful if I get a cheaper gas for MIG and something more expensive like Argon for TIG. There probably wont be much use though unless I have this in a fairly permanent installation, or have the welder and gas in a single carrier. Otherwise I'll have a relatively fragile gas line connecting the welder and bottle both of which will be moving separately. Sounds like a recipe for disaster to me.
Here is the front panel, the layout doesn't seem to be too bad. might be a little tight with thick gloves on but without gloves it's fairly easy to move around. Across the bottom are the connectors for(l to r): -ve electrode, TIG torch, TIG controller, +ve electrode.

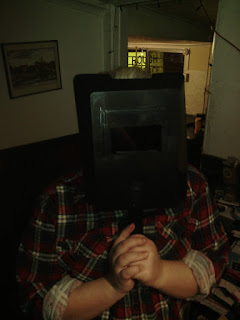
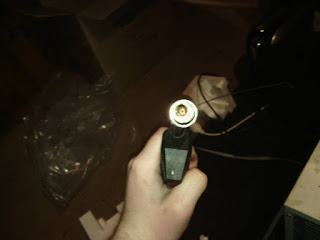
Last photo I promise now.
This is under the top of the welder. The biggest thing missing here is a set of posts for changing over the polarity of the MIG gun. However I believe there is a way around this that I will probably do a writeup on in the future.

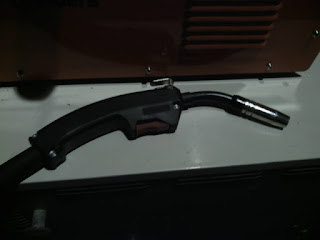
My overall feel of the unit? It is more or less what I expected. A lot of the elements of it feel cheaply made, but it feels like it will work. Besides if parts break or wear out sooner than a quality part would then I can replace that with a better quality part.

All in all I'm happy so far with my purchase of a flexible, lowish usage first welder for learning on.

Any tips, corrections or suggestions will be much appreciated.

Cheers,
Rex Write comment (0 Comments)
Star InactiveStar InactiveStar InactiveStar InactiveStar Inactive
Hmm. What could be in this box? 
Next week I'll have the unboxing and I'll show what this very exciting box contains. Write comment (0 Comments)