

Now I know that bypassing passwords is something that not everyone likes to do. However sometimes you can forget the password for a critical file or someone has sent you a file and forgotten to tell you the password to edit it.
Microsoft office's new (can I still call it that) xml based document formats have capacity for accidental write protection. Some of these include password protection. While this is great, particularly if sending spreadsheets to a customer; it isn't so great when HR send a file that needs to be edited and even they can't remember the password. That was the problem and thanks to Horatio and this Superuser answer. I was able to save the day and remove the password protection.
This may or may not work for everything but I hope it helps you out. It goes without saying that any damage or liability is taken by you if you choose to follow these instructions.
- Firstly I will create a password protected .docx file:
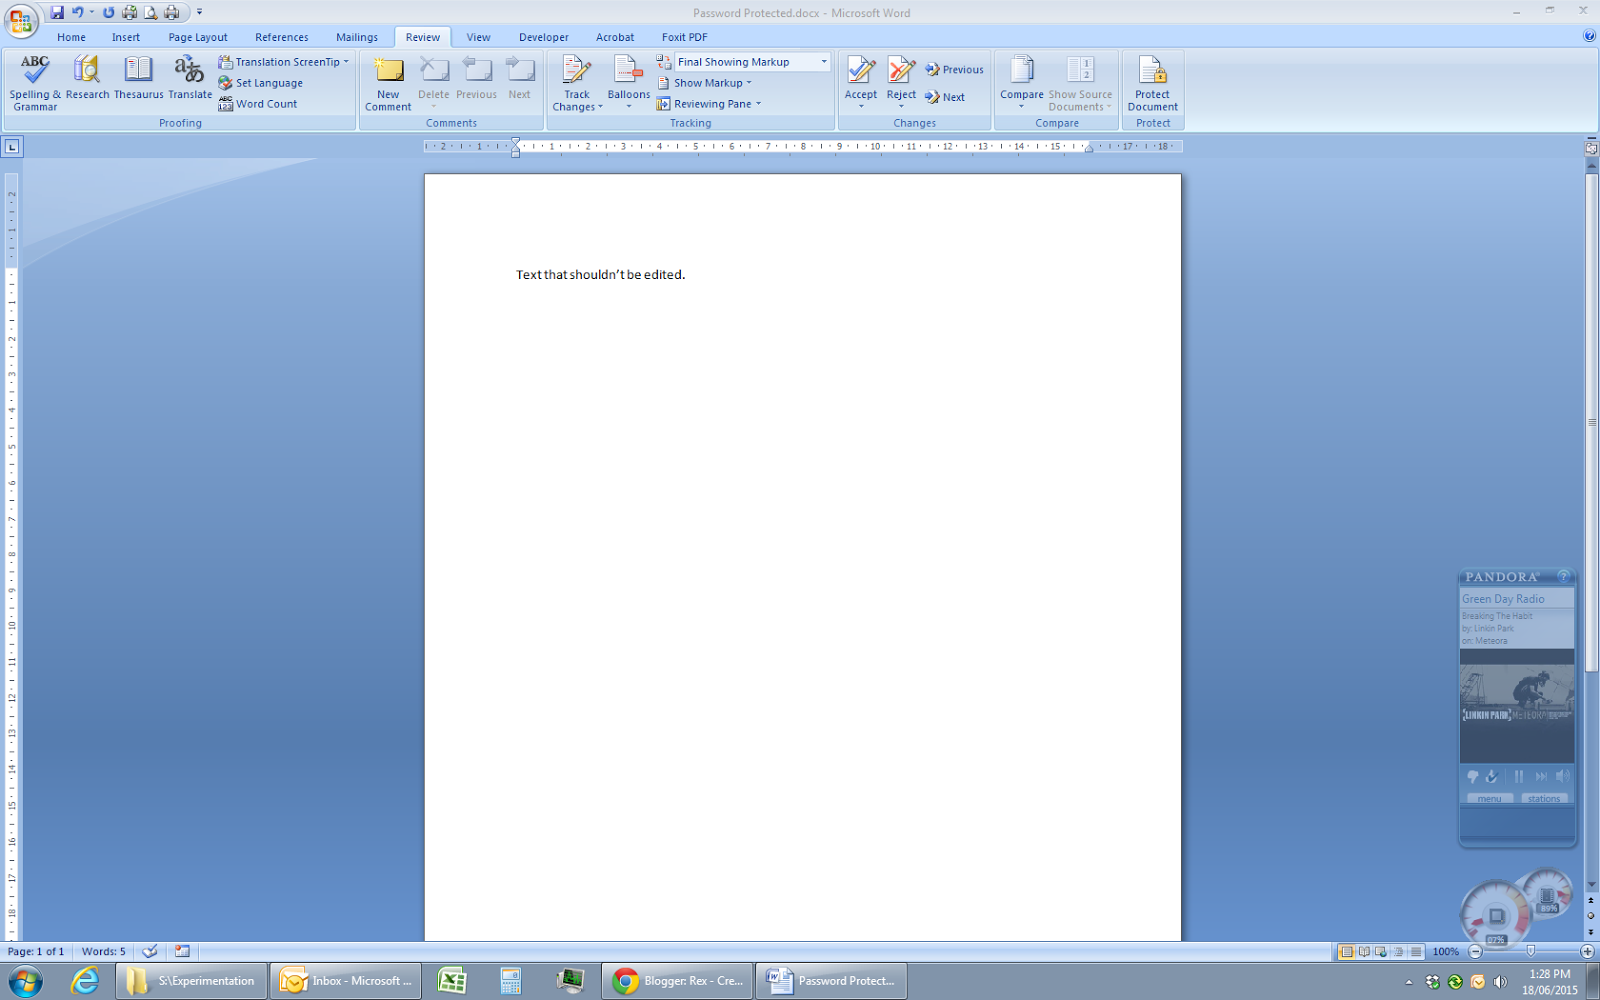
In the review tab of Microsoft Word select protect document.Work through the options for the settings you desire. Then save, this will give you a password protected Word Document. - Now we need to get access to the .xml files that make up the .docx
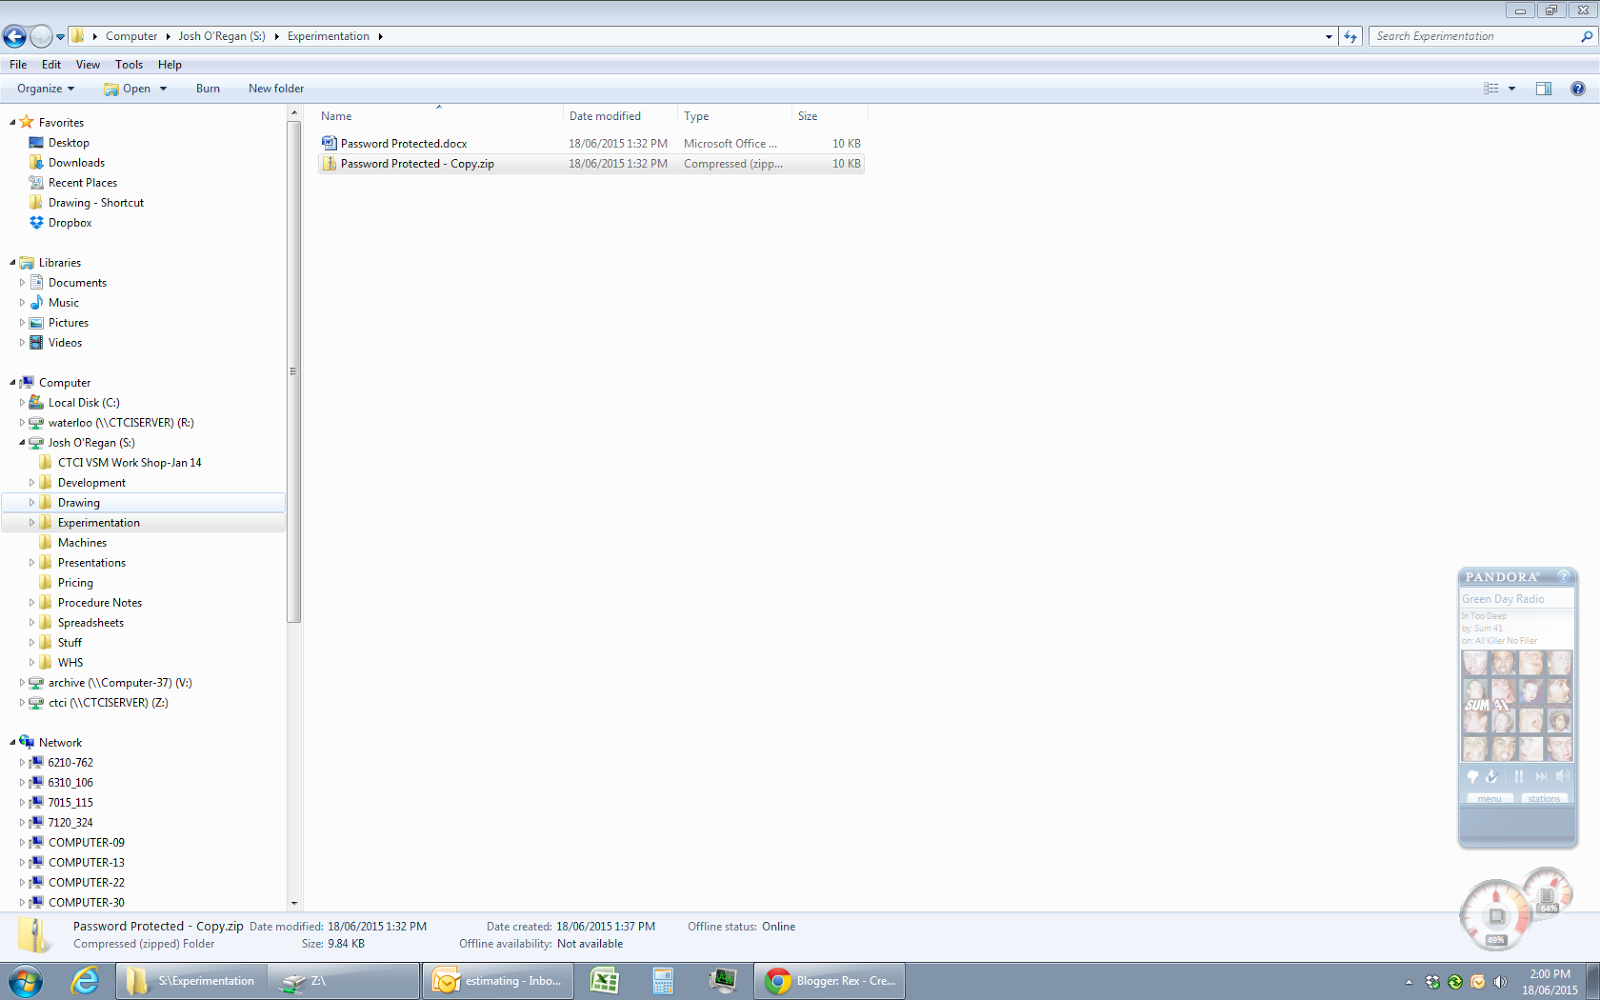
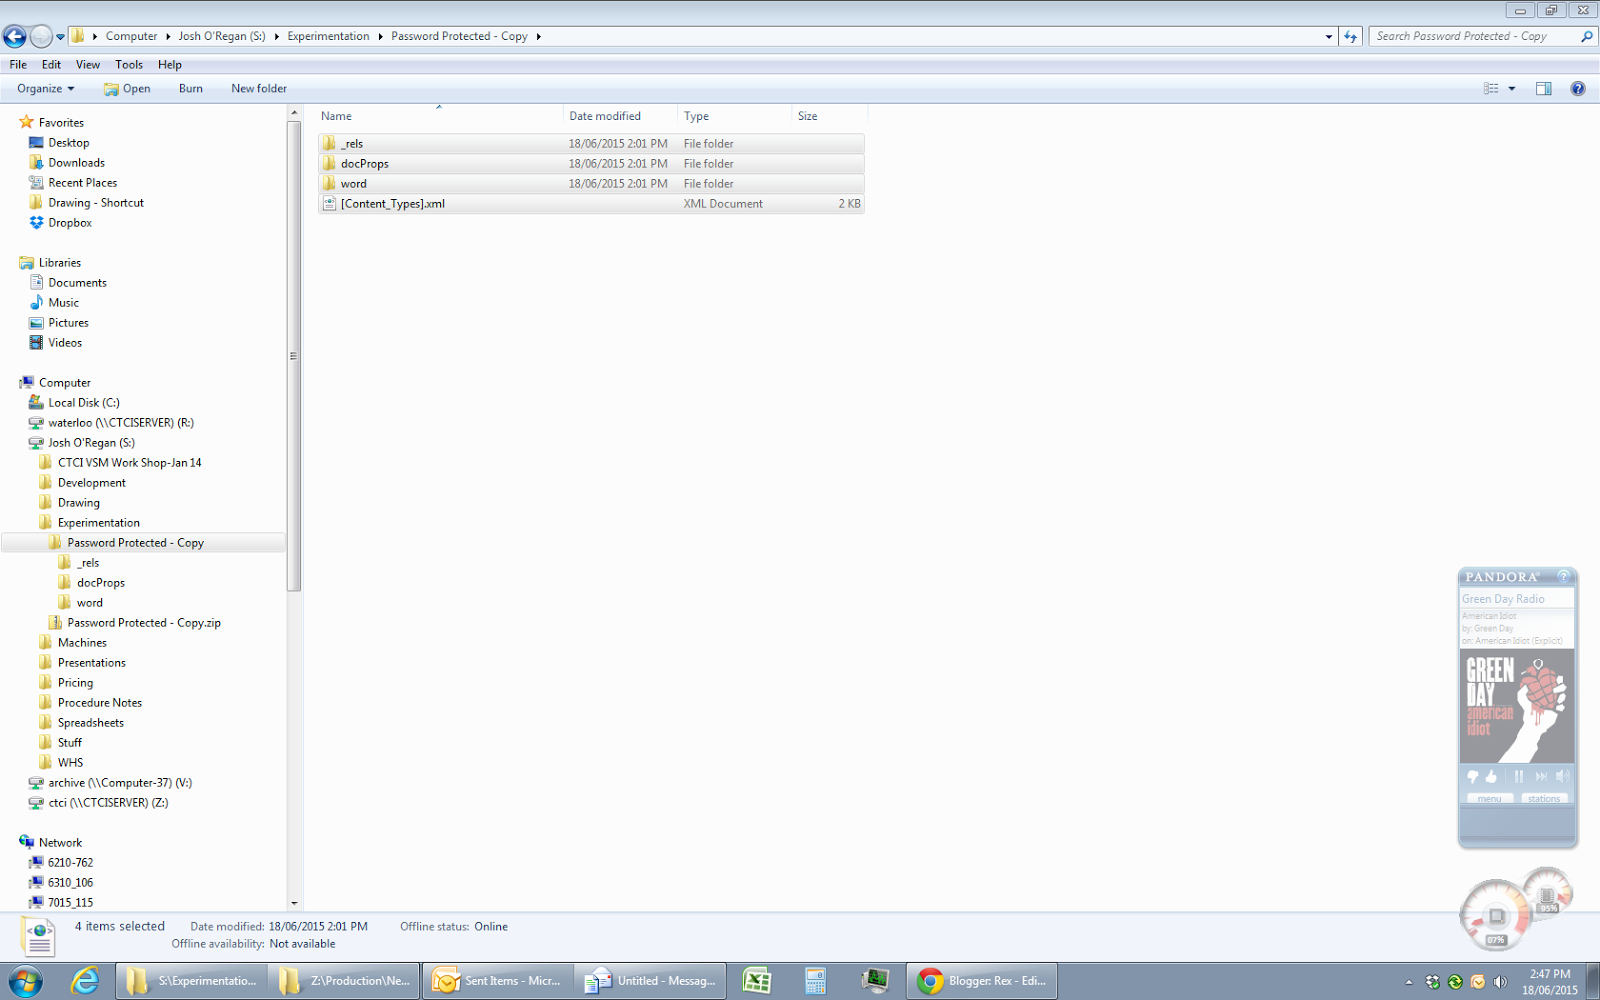
The easiest way to do this is to just rename the file and change the file extension to .zip - Next we need to open the settings xml

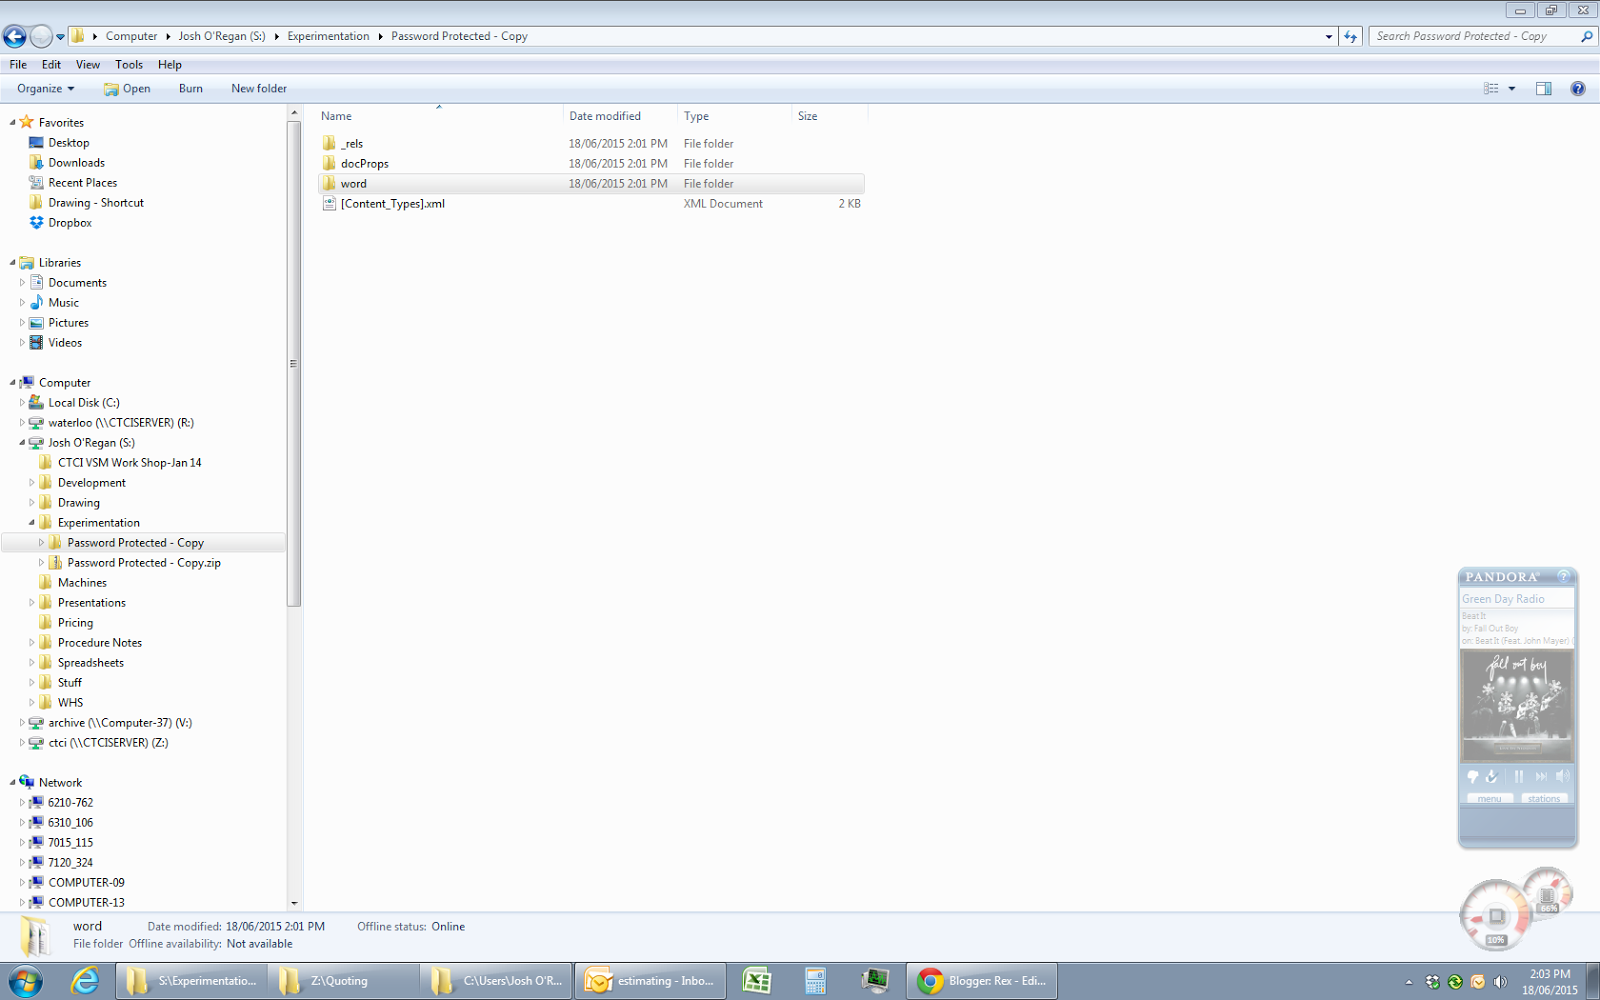
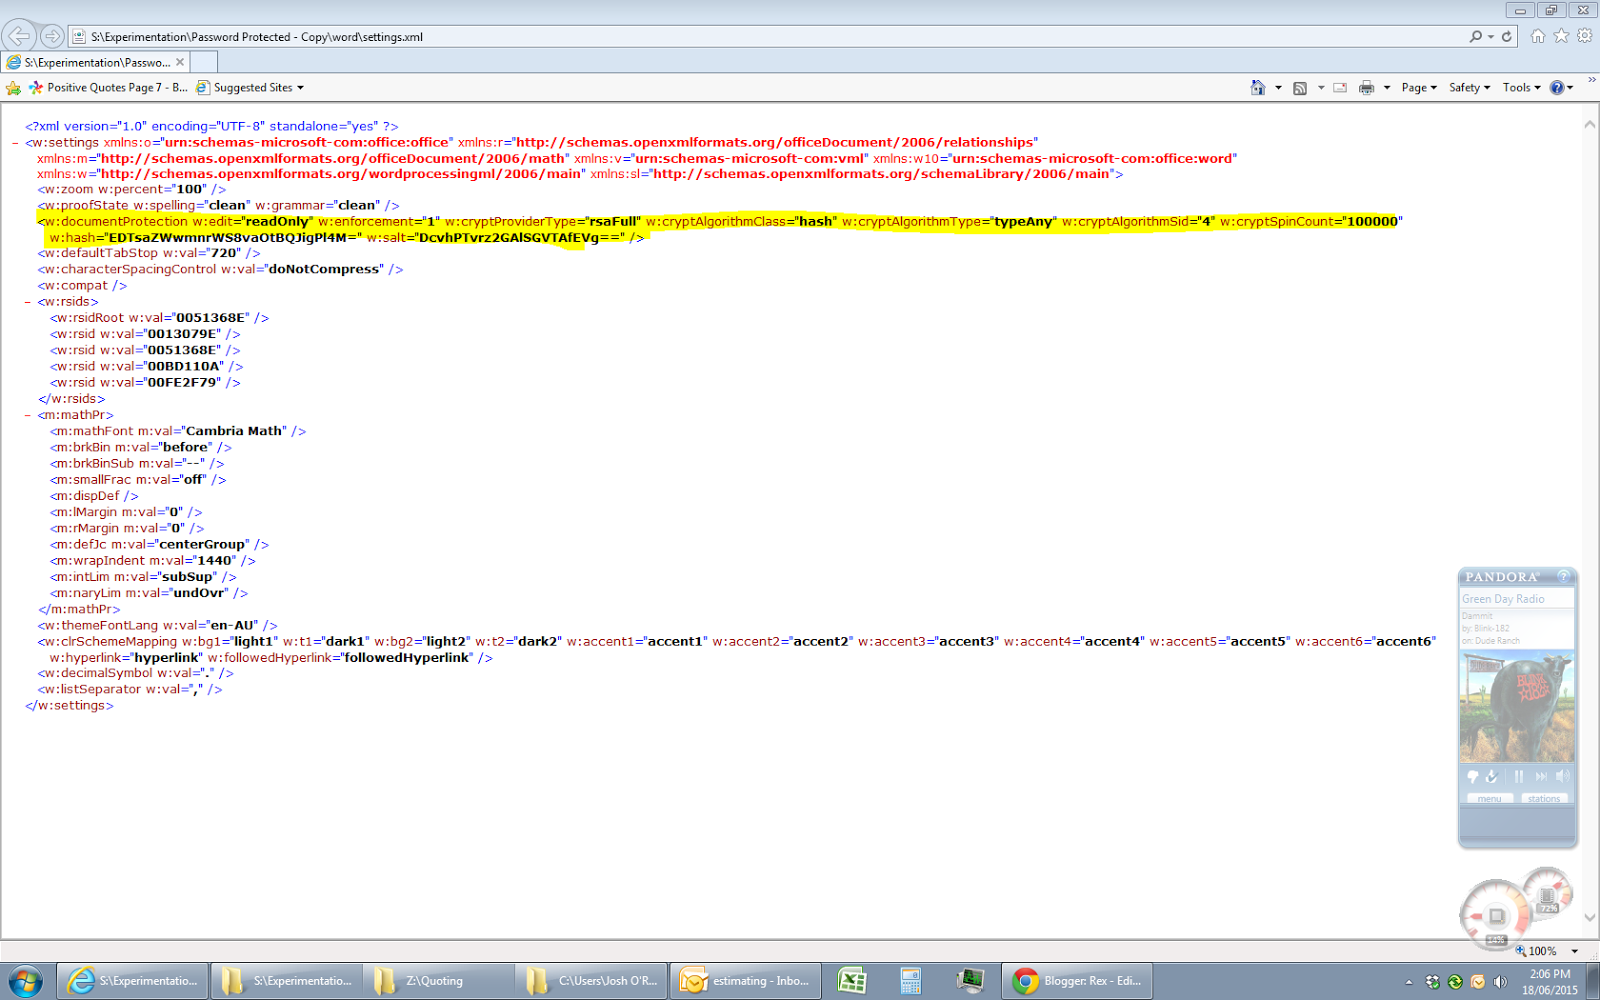
To do this we extract the .zip file and open the folder called "word" in the root of the zip. - We are getting close now, this is the interesting part. We open the file called settings.xml

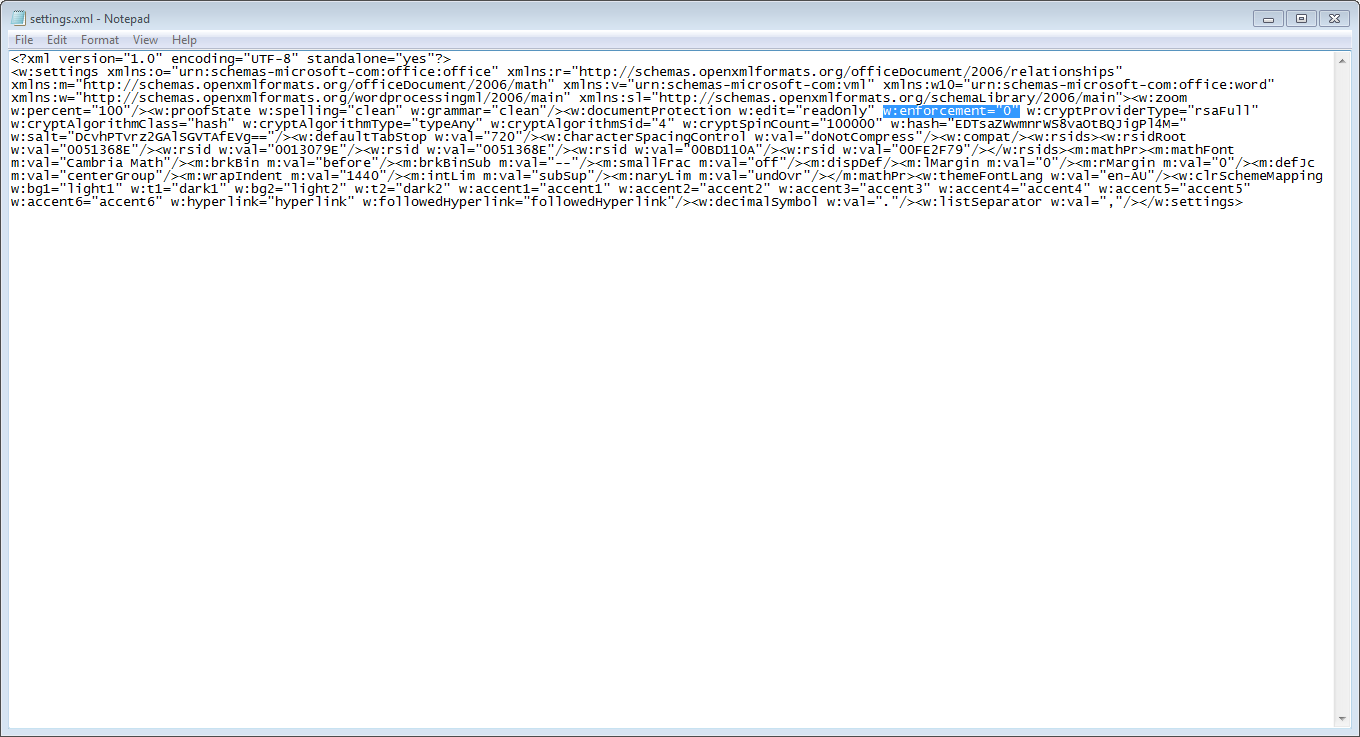
This is the part we are interested in. I have only opened it in Internet Explorer because it is the default viewer. From here on the file must be edited. The default editor is notepad which is plenty sufficient for this. - This is more or less what the interesting part should look like to start with.
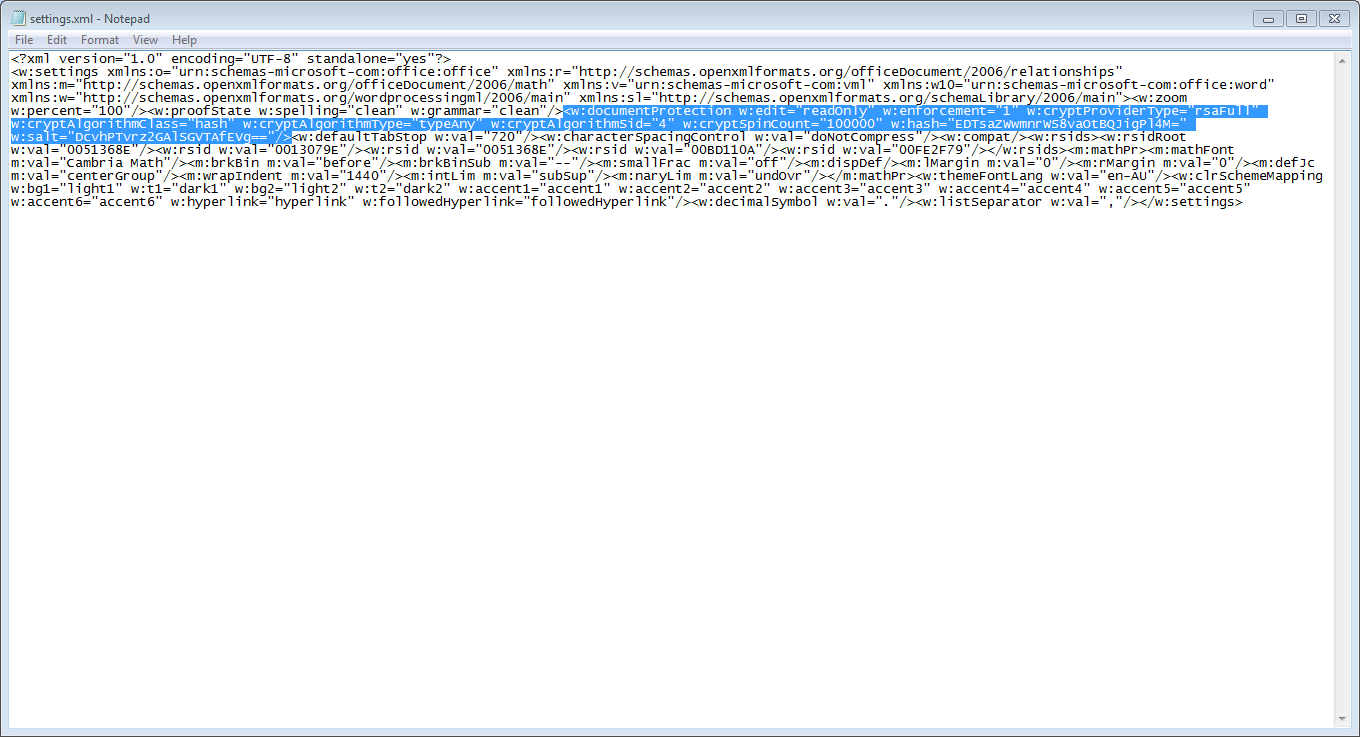
We need to change this part of it: enforcement="1"
To: enforcement="0" - Once this is done we can save and close everything back up.

- Then we re-zip the files

Rename the .zip back to a .docx


Now you are finished. Enjoy a cold beverage and rest easy, knowing how simple it is to recover your documents from a password protection.
- Details
- Written by Rex ORegan-2
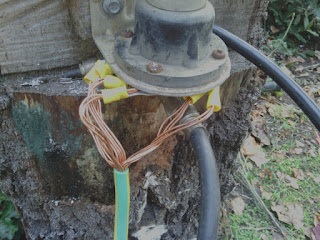
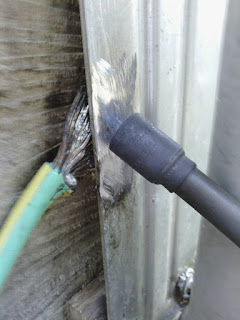
This is my completed attachment to the bolts that hold on the insulator at the base of the bracket. Check it out after the break to see how I got to this point.
I'm glad to see you're interested. So to start with I was still trying to solder the copper wire onto the aluminium bracket. One though I had was that it might not be sticking to the aluminium much because of the oxide layer that it gets. So I got my grinder out and cleaned it up a bit. I did just use the normal grinding disk that was already in the tool. I know these can get gummed up by aluminium but I was only skimming a little off so it wasn't a problem, thankfully. So here is a picture of what it looked like after cleaning it up a little:

However that wasn't working for me with electric irons so I figured I'd get some more heat onto the job. Enter a propane torch borrowed from Dad. With that going this is what things looked like:
So at that point I decided to take a break, unfortunately without a kit-kat, and read the instructions that I had been given. Now the first page of these has a large area where the ink got lifted off or something at one point but it was still readable on the sides. So reading what little I could I discovered the "Fig.5" showed how to connect an earth. Upon looking at "Fig.5" It seemed to indicate that the bolts at the base were for earthing and sure enough when I looked there was a bit of wire wrapped around one of then and a fair bit of galvanic corrosion and a lot of white slightly powdery aluminium. So I cleaned that up with the grinder again and crimped on some connectors, added some brass washers, then put everything back together again.
I do apologize for the lack of pictures in this post, but sometimes there's nothing we can do with the technology we have.
Cheers,
Rex
- Details
- Written by Rex ORegan-2
I was having trouble printing to our Epson NX430 TX435 from my laptop (Running Debian Linux) over the wireless connection. The solution? Download the latest drivers from Epson of course. This is the link I used. If you open that link and do a search for the model of printer it will give a list of downloads for Linux operating systems.
The "latest" tag wasn't correct, but going from versions and dates it was fairly easy to establish which download was for the latest version. I installed this with no problems and the jobs that had queued up started to print immediately.
I hope this helps you, but it will probably help me when I forget.
Cheers,
Rex
- Details
- Written by Rex ORegan-2
Below are some pictures of what I did. Not very exciting though mostly just soldering and tracing wires. I even managed to get 2 out of 3 motors spinning in the right direction.
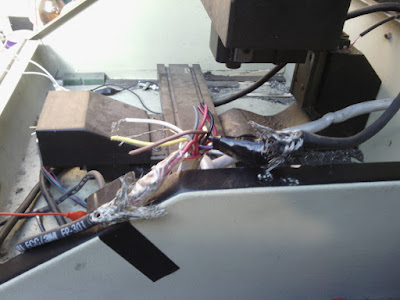 |
| This is with the Z Axis and the X Axis wired up, Z on the right, X on the Left. |
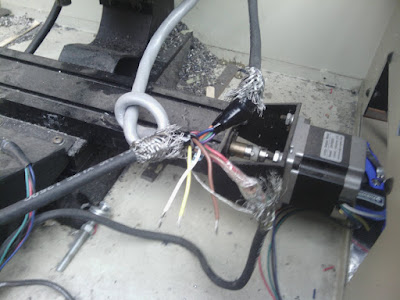 |
| Now all 3 have been done. The 3 unconnected wires will be used for e-stop and some limit switches I think, possibly for spindle speed manual override. I have another Cable that I will use for the other needed signals. |
 |
| In the back right you can see the connections I have made so far. I will put a proper enclosure over the connection before I call this project finished. |
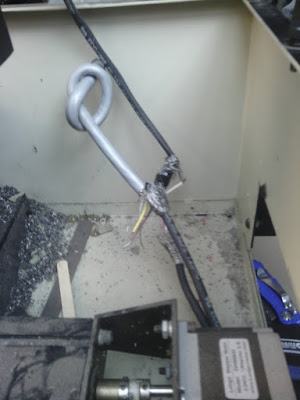 |
| This is a closeup of the final connection. The knot is for strain relief in the main cable. |
Anyway, full speed ahead and onward ho. If I get to the end and decide it isn't working then I'll change it.
I have another 1 or 2 projects that I got up to over the weekend coming up so keep a wearther eye out.
Cheers,
Rex
- Details
- Written by Rex ORegan-2
Page 35 of 46
