So the computer I have been building for my younger brother Nathan is now finished. He now has it at his home and is finalising the driver install and starting to set up the games that we actually built this machine for. We managed to save quite a bit of money by finding a case which actually had nearly everything we need inside it.
It was a little grotty but we needed a case and DVD drive. While we also didn't need anything else that was in the case we made good use of it because it brought the total system cost down for Nathan. In the end we had ordered RAM, a Power Supply Unit and a graphics card that we ended up using from this machine because the ones in here were better than what had been ordered.
Unfortunately it was very dirty and dusty. We tipped it up on end and all this fell out onto my nice, clean(ish) carpet. Luckily I had Nathan there to help me, so after removing everything from the case he cleaned it all with the vacuum cleaner and did a fairly good job of it I must say.
We were very, very excited when we found this. There was a total of 16GB of RAM in the case. Somewhat more than we had expected to be putting in there right away. So right off the bat Nathan got a RAM upgrade. Also a PSU upgrade as the one in the case was about 100W bigger and had other comparable specs. Also a massive graphics card upgrade. Comparing the GT730 we had bought and the GTX550 that we found there was just about an exact doubling of the Cinebench OpenGL test. From 30 FPS to 60 FPS. It was a huge improvement.
This is how we tested the system initially. If my experience building computer has taught me anything, is that test at every possible point. In this case we tested with the absolute minimum of parts in the machine. RAM, PSU, CPU, CPU Cooler and Graphics card.
Unfortunately I got a bit excited and forgot to take a picture of the first POST screen. Suffice to say that it POSTed and I was very happy and there was much rejoicing.
After that we put everything in and got windows installed. Another very happy moment.
You may have noticed a funny circle in the front of the case:
This is actually a fan controller/temperature monitor that runs from 12V pulled from a molex connector on the power supply and (we guessed) 5V from a funny shaped connector neither of us recognise, let alone have attached to the PSU. So I did what I'm good at and came up with a solution. I cut the funny plug off then soldered the wires onto the 5V going to the power light. I checked the current draw on this when we tested that it was actually 5V using my benchtop power supply and the current draw was not registering on the scale, so less than 0.5 mA which I was quite happy to pull from just about anywhere.
The astute amongst you will notice that the above picture is showing an adapter for 20pin ATX power supplies to drive 24pin ATX motherboards. I had this lying around from another project that I ended up doing the right thing and buying a new PSU for.
The tricky thing about buying parts off ebay is that they may not always work together. The motherboard is from a HP Z400 workstation which looked fine on paper. However initially it wouldn't POST. This is because HP decided to use +12V on some of the pins of the 24pin plug where the ATX standard that everyone else uses at +5V and +3.3V. Not very useful. So I had to splice in this adapter that I already had to a molex Y-splitter so we can get the extra +12V power.
This is what it looked like before installation.
And here we see it in situ.
So there you have it, the build is finished and tested. In the next few days I will do another post detailing the parts list, final cost and some benchmarks (also some thoughts on that parts I used) so keep an eye out for those if you are interested.
If you want more detail on how to build a computer let me know. I have another build coming up in the next few weeks that won't be as crazy as this one but will still give me an opportunity to show how it's done in great detail.
Apparently this is what searching for Xen looks like.
After getting the NAS box running (Although it seems to have developed some issues.) I wanted to move on to getting my other server set up and ready to go. This one will be acting as a router/firewall/proxy/all the good stuff and also as my webserver/minecraft server/all the other good stuff server. However I want to do this in such a way that when/if the time comes where I have/need to dedicate a separate machine for any of those tasks it will be fairly easy to migrate across.
To make migrations easier I am planning on running a Xen based hypervisor which will allow me to install pfsense for the router functions and a linux distro for the other server functions. However first I need to install Xen. The first way I tried to do this was by installing Xen over a Debian Jessie install to use that as dom0. This probably would've worked however it needed command line tools and that is something I'm trying to move away from. Particularly with software I don't understand.
Installing Debian was fairly easy and went like any other linux install except for one small detail. The machine didn't want to boot from the CD drive. Now it wasn't the CD. There is something funny here which means that I have to have the below abomination.
Yes, that is every drive that is connected to this machine beside the case, practically in the walkway for this room. To get it to boot from a CD basically you get the boot disk, put it in one of the CD drives, then try it, if it doesn't work keep trying to re-boot, swap drives and try putting another bootable disk in the other CD drive until it boots. Thankfully booting from the Hard Drives is reliable.
Unfortunately because of the whole command line thing I am now playing with XenServer which gives me the dom0 and the Xen install along with the XAPI interface which allows me to control the server from OpenXenManager which is written in Python and as such should run on Linux, Windows or Mac which is perfect for me.
Unfortunately there seem to be issues with that install booting as well so after I finish the last few things on Nathan's Computer I will spend some more time there and get it working.
Speaking of Nathan's computer. It is nearly ready to go, so once windows 7 has finished burning to the USB drive for installation I will be installing that and probably having some fun with benchmarks. Expect a write up of that later this week once I have finalised everything.
If you have played with hypervisors before and can see me running headlong into some giant problems please let me know so I can change course while it is still easy to do so. Alternatively if you don't wan to be hearing about my dodgy servers and would rather see some of the other cool stuff I've been working on let me know and I'll do some more posts on that.
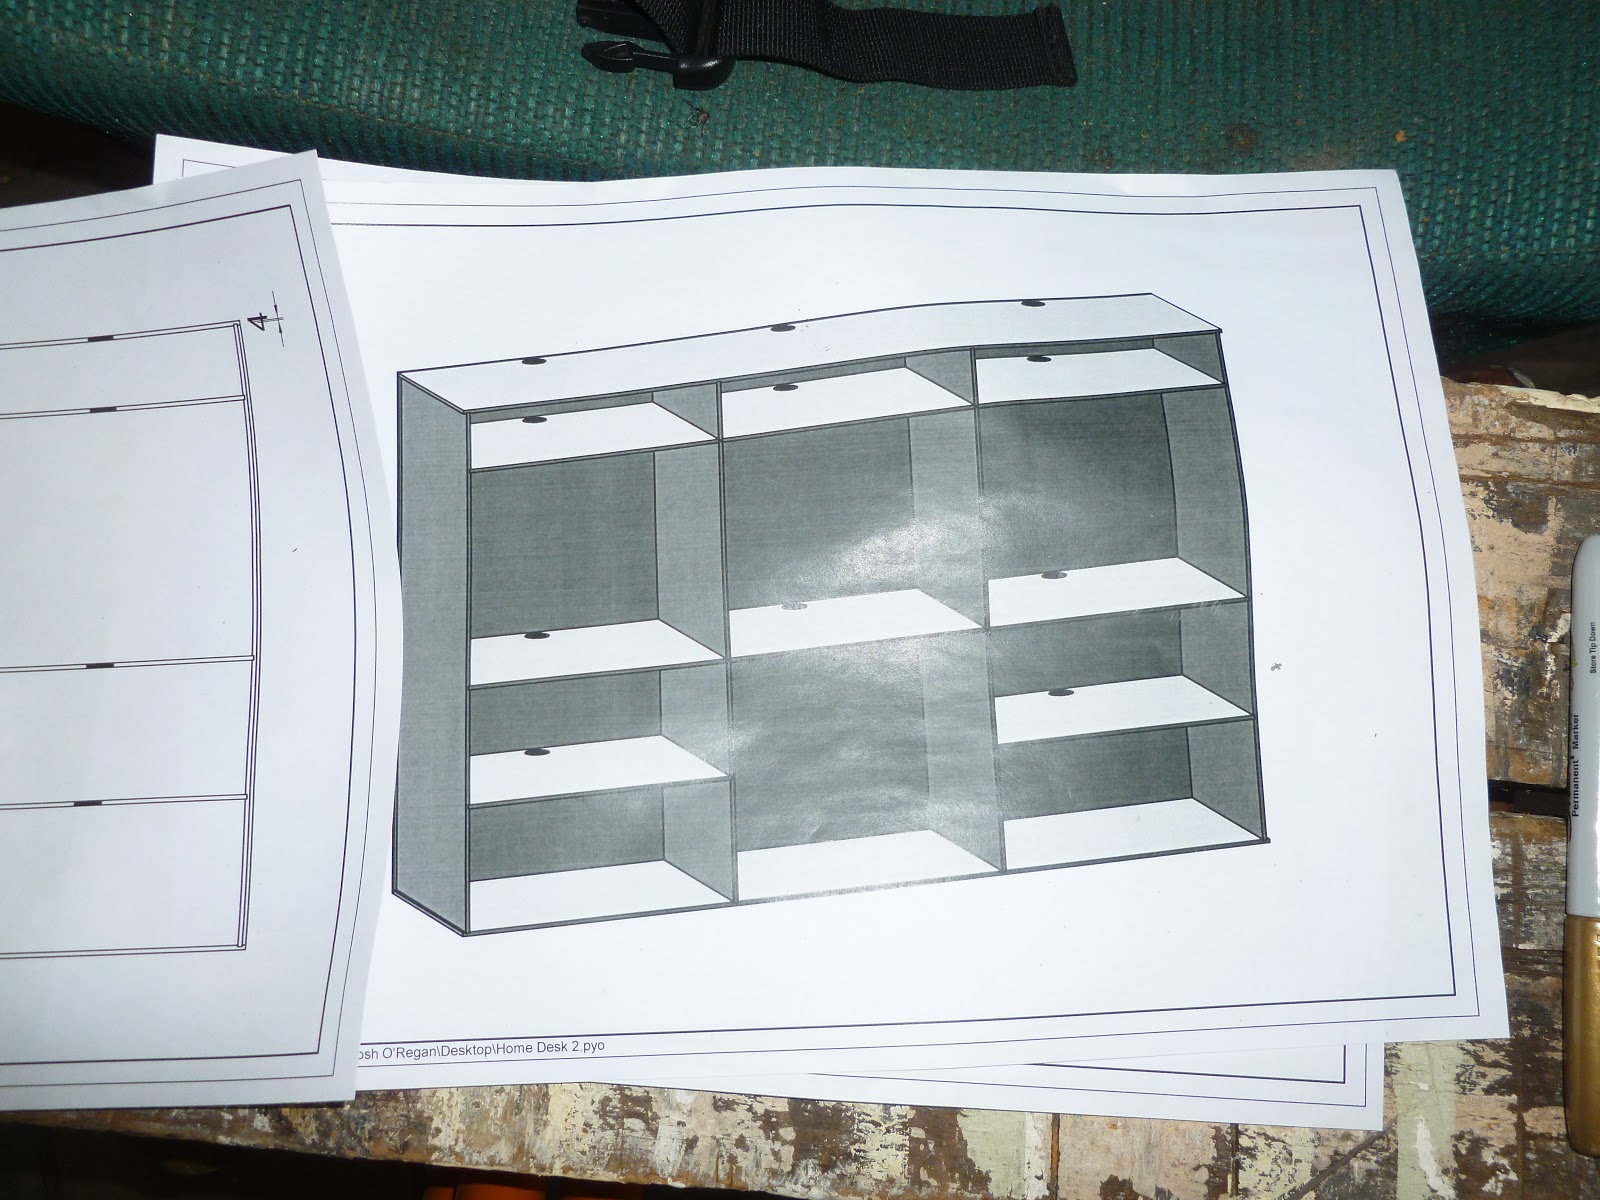
Even though I've been spending a fair bit of time recently playing with my computers and setting those up I am still working on my other projects. The biggest other thing I have been doing is preparing to make some shelves for the CNC mill and lathe to be put on so I can have them inside.
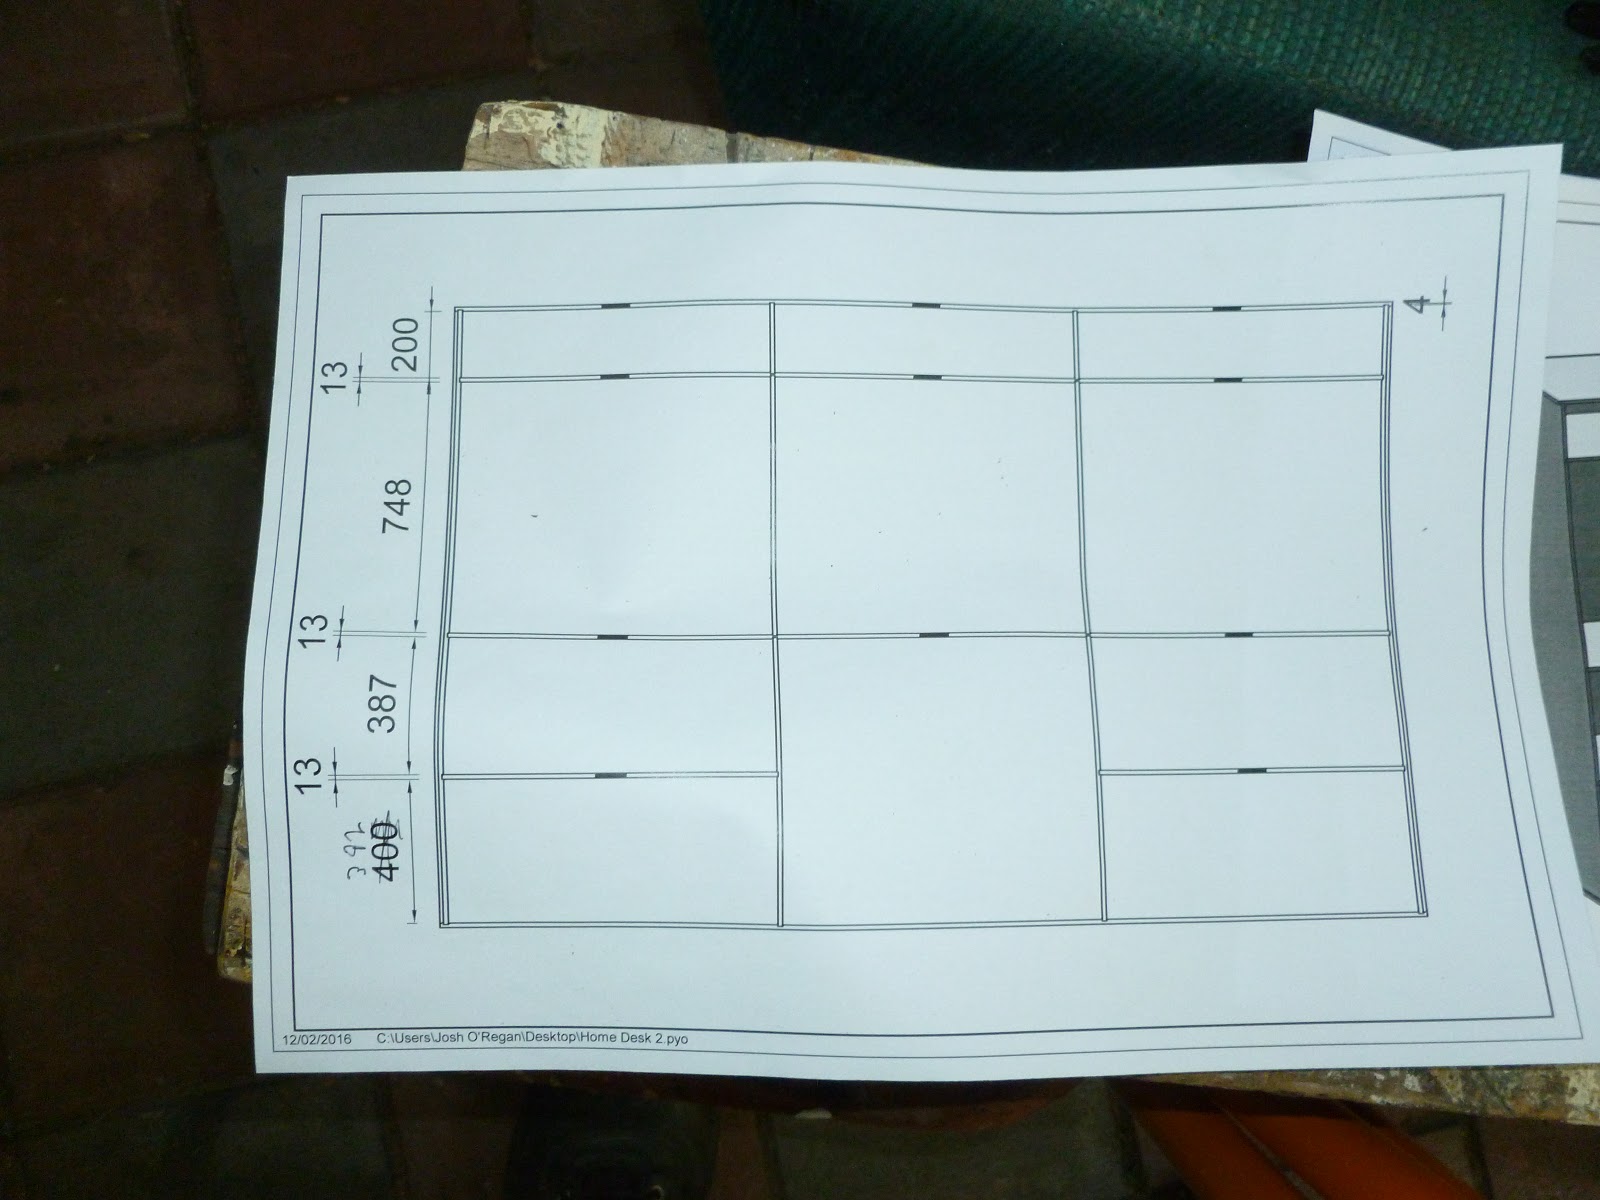
This is what it should look like. I sketched these up with the new CAD software at work over some lunch breaks to help familiarise myself with it.
I didn't get a picture of the stack of board before I started, but with a lot of help from +Ben O'Regan and +Nathan O'Regan we were able to rip down the sheets to a much more manageable size using a circular saw.
This was what we had after the first day. Unfortunately that had to be cut short as Nathan got caught by an offcut and we thought it prudent to stop there.
The evil piece that caught Nathan.
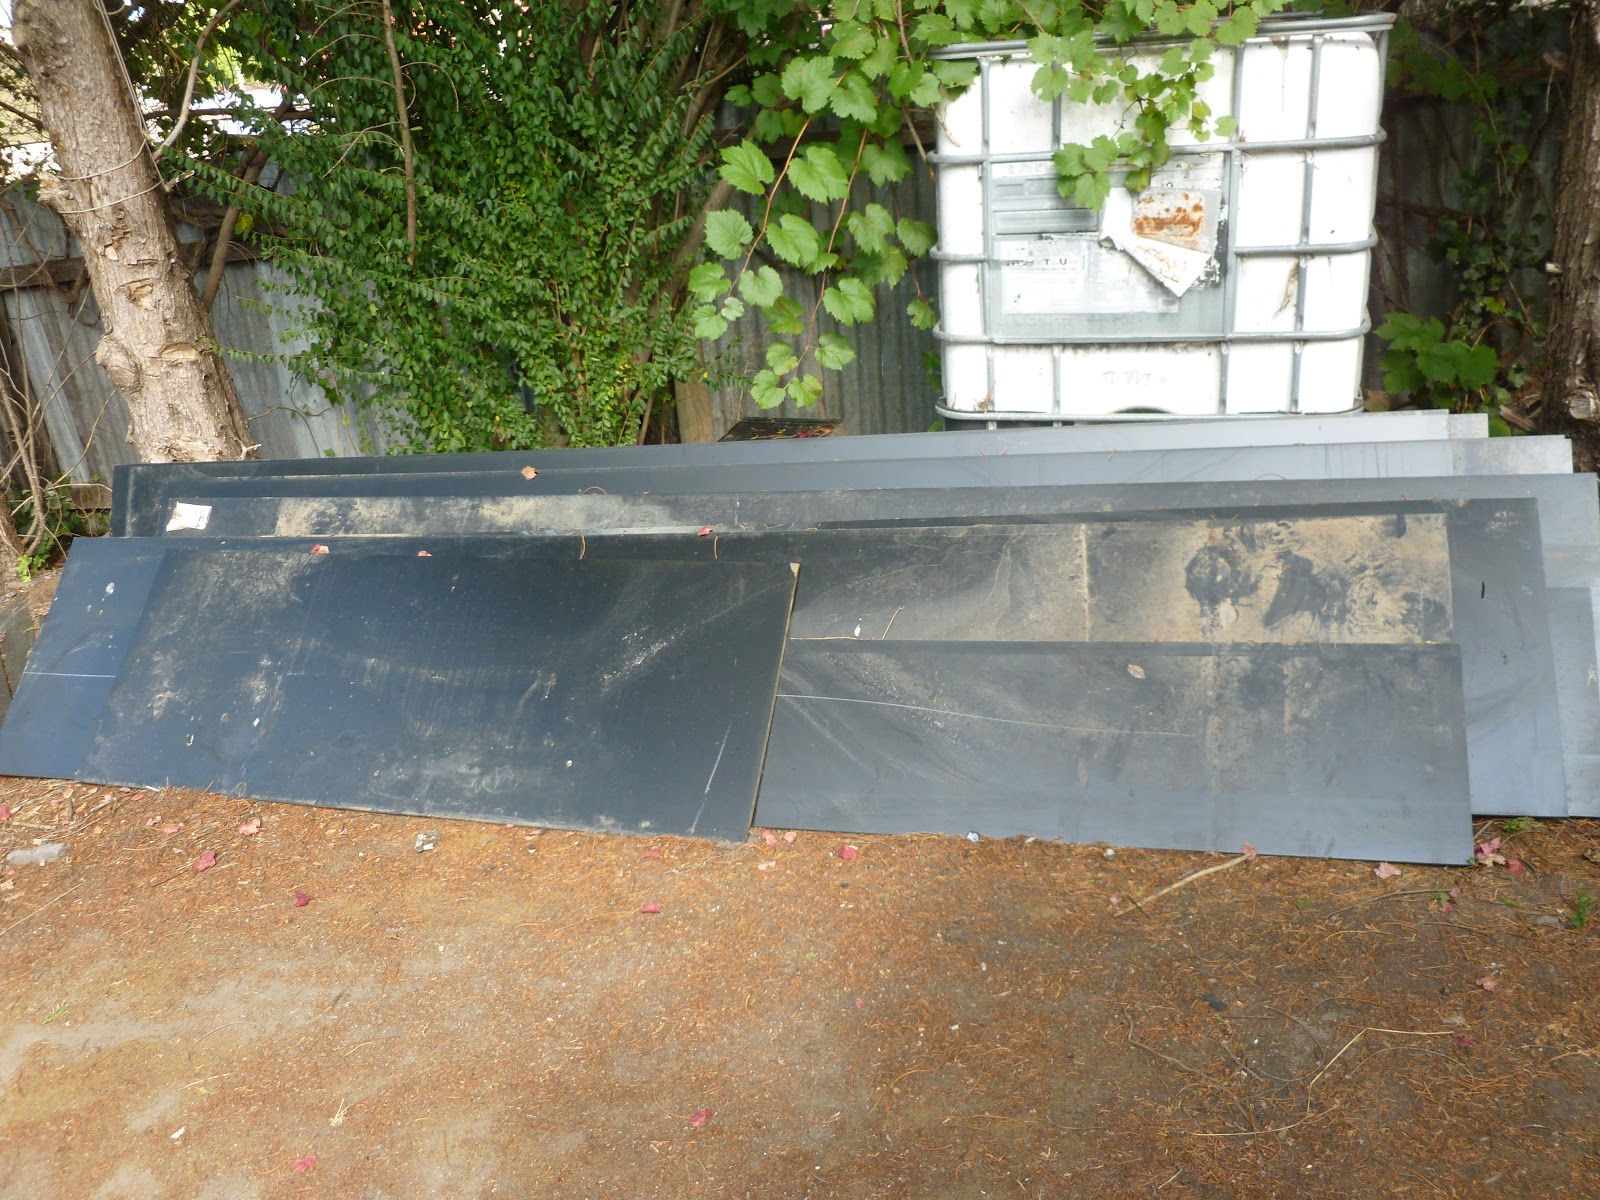
This is what is left of what we ripped down. We didn't fully optimize and allowed ourselves an extra length of 700mm wide just in case we made some mistakes cutting. Thankfully we didn't need this extra piece. However we do need a new saw blade. The one we had been using is pretty blunt now and wouldn't complain about being retired to use on soft pine.
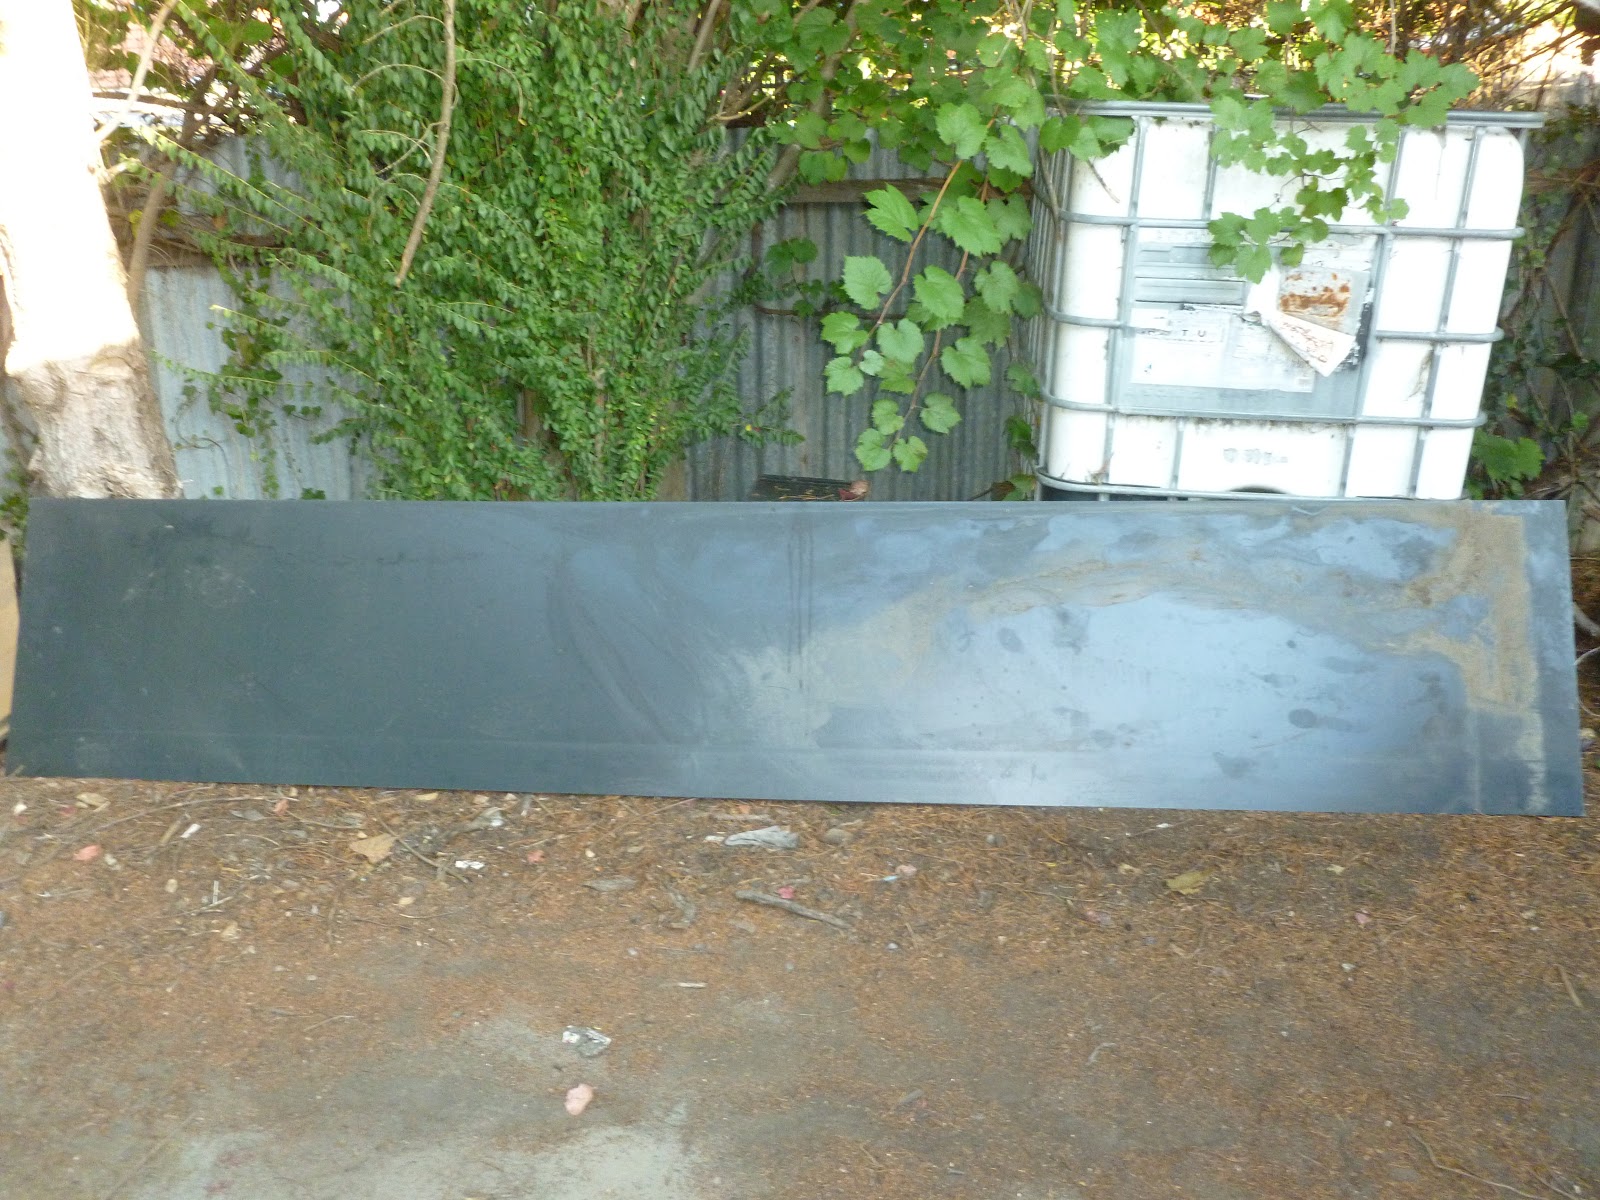
All these black pieces are what's going to make up the shelves. After getting a wash though I think. It doesn't look like much but it was a very hot sweaty afternoon to get to this point. However we are almost there. Just need to route the rebates on some of the shelves and then fit it together. Then look for more CNC updates because they will be inside and I won't have to fight the mosquitoes to stay out there.
If you have any tips on cabinetmaking or other furniture manufacture please let me know. I need all the help I can get on this one.
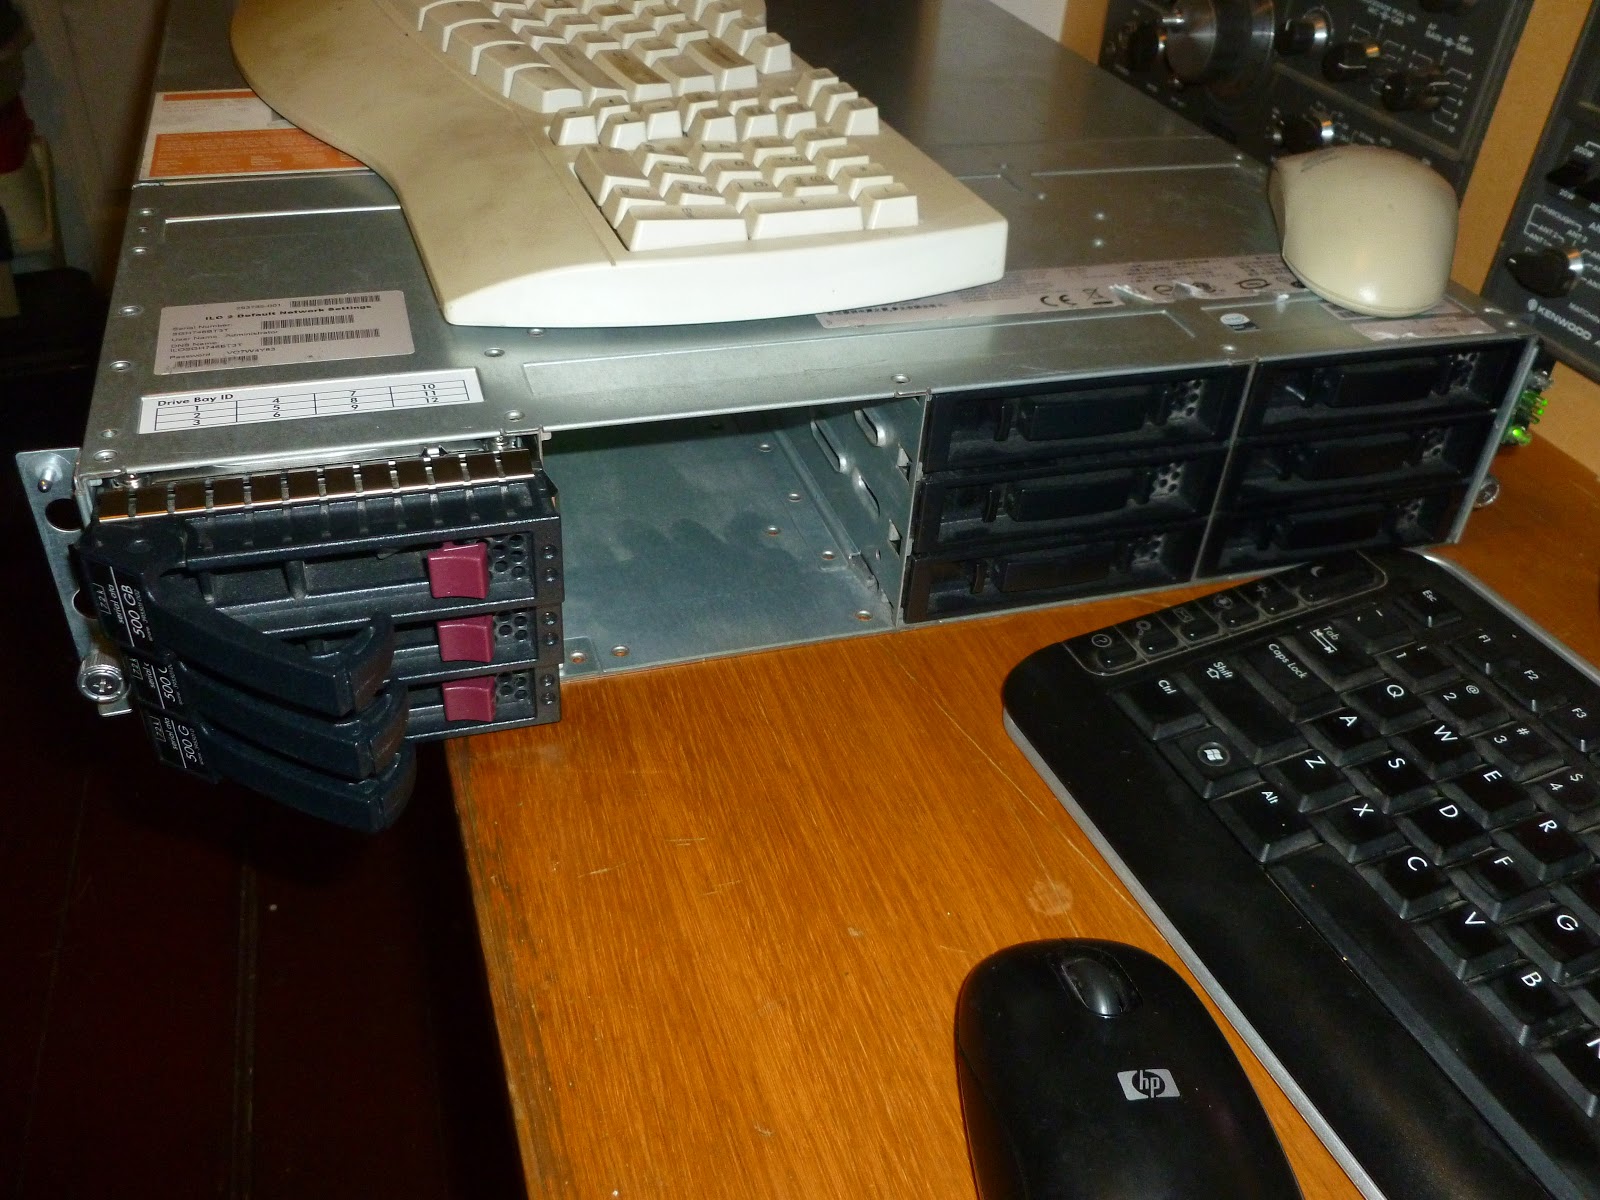
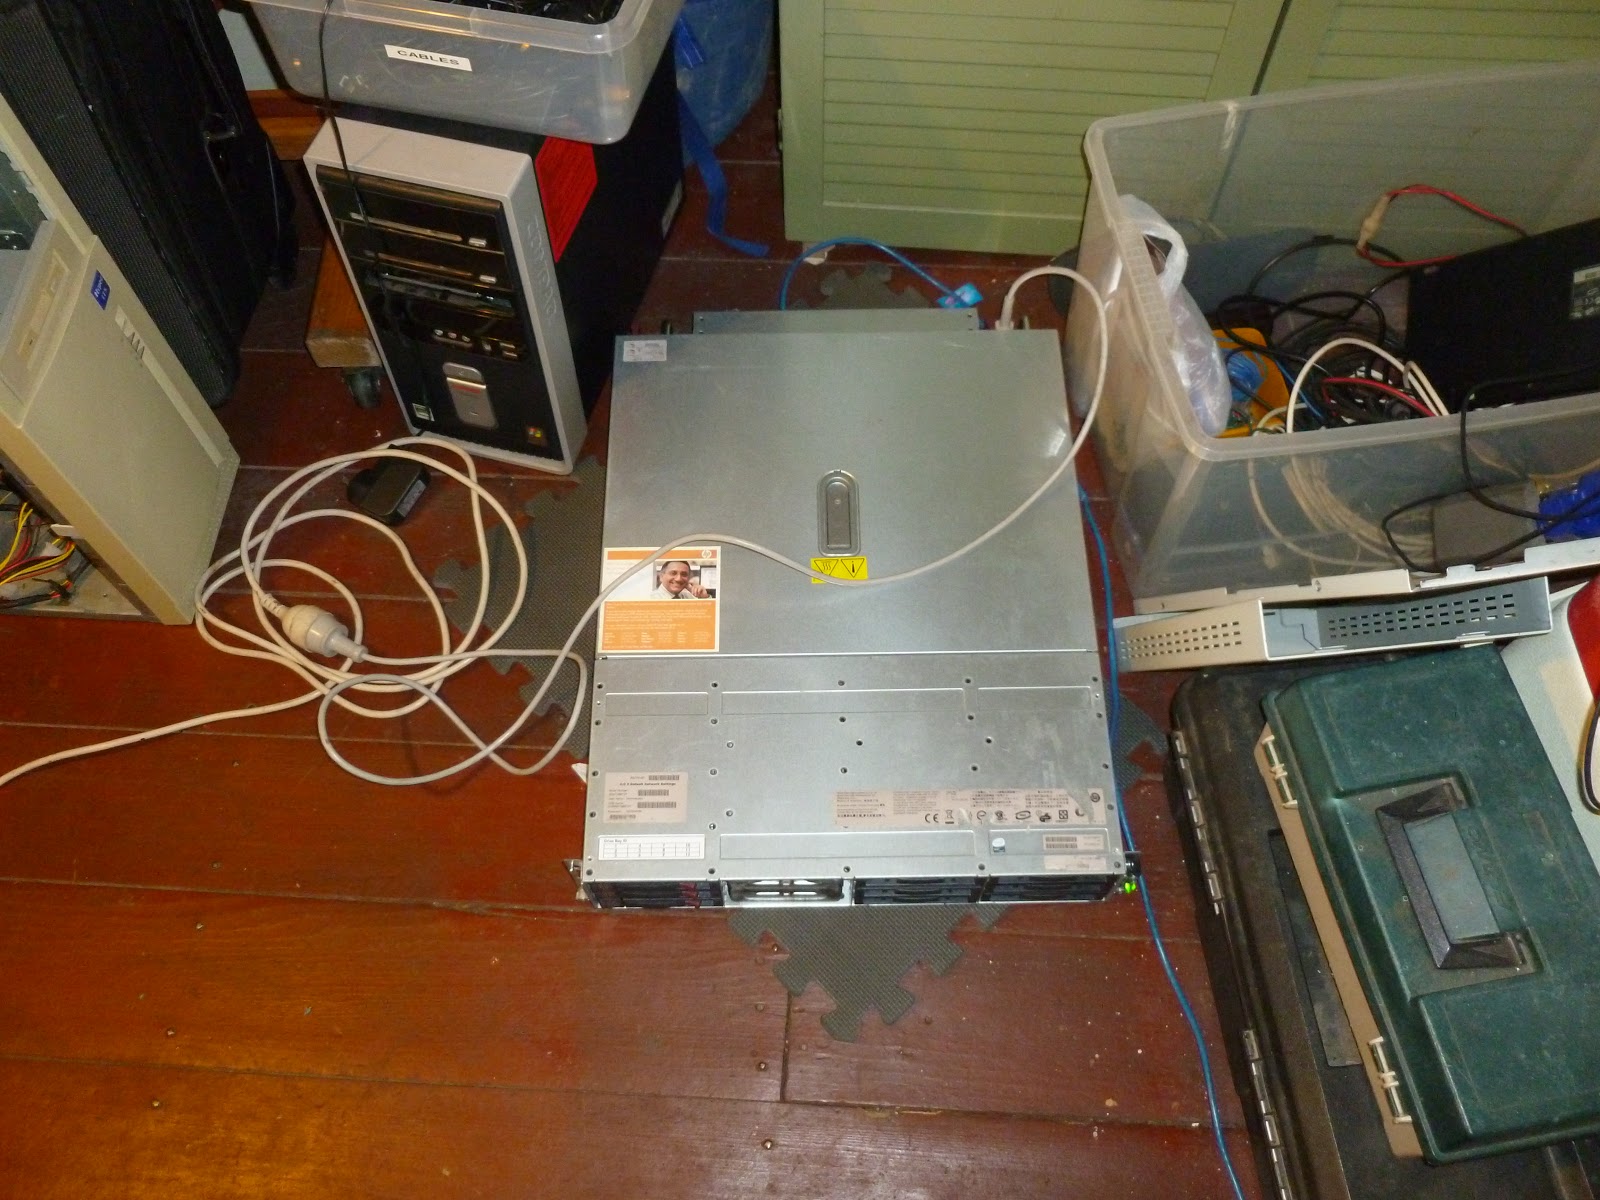
My new server arrived. It is a HP Prolient DL 320S and has 12 drive bays in the front.
Unfortunately it only came with 3 drive caddies that will hold drives. There are 3 open spaces and the other 6 spaces are filled with blank things. Presumably to maintain proper airflow across all of the drives all the time. Unfortunately because of that they cannot be used for putting drives in. This means that for RAID 6 I need at least 4 Drives. Particularly if I want to keep my 2TB drive in there that I have at the moment I will need at least 6 more spaces for drives. So I need to get at least 2 more bays.
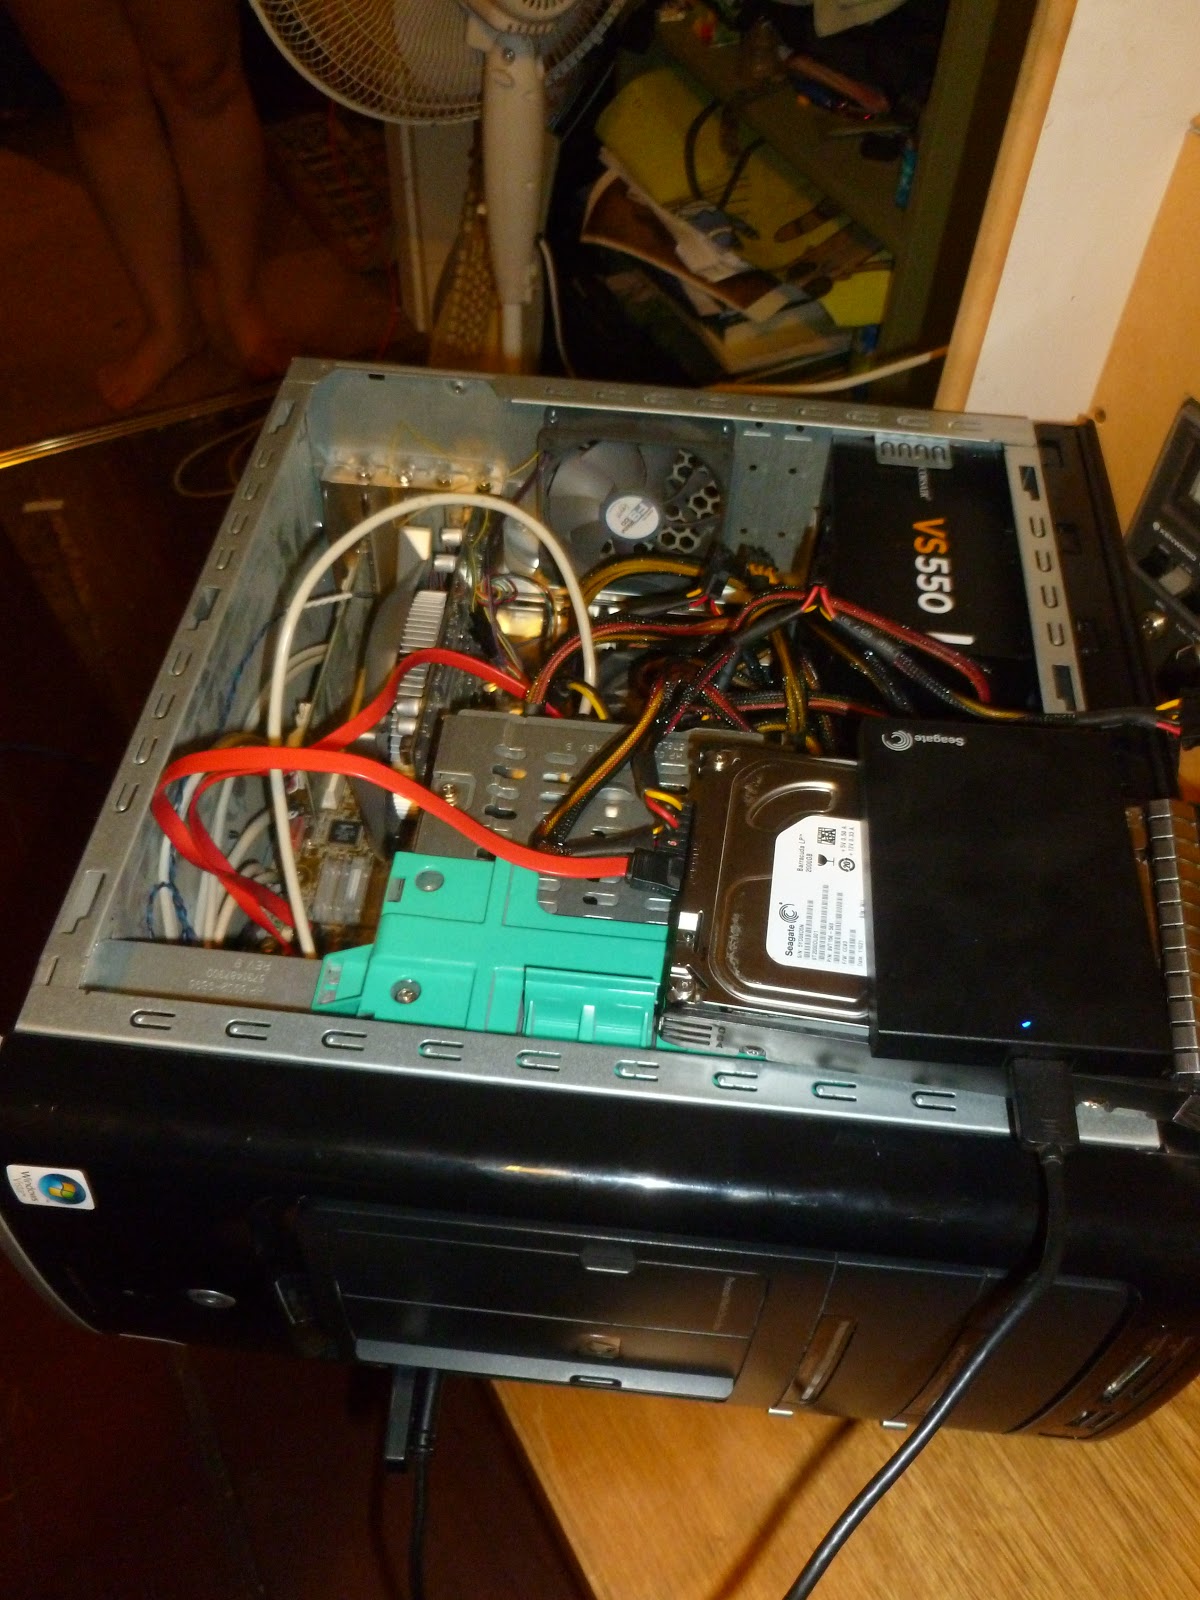
This is my precious. A 2TB SATA Hard Drive. This is really wat I have everything that I really don't want to lose on. As I said above I would like to move to a RAID 6 array for storage. However for now as long as I still have the space I can live with no redundency for now.
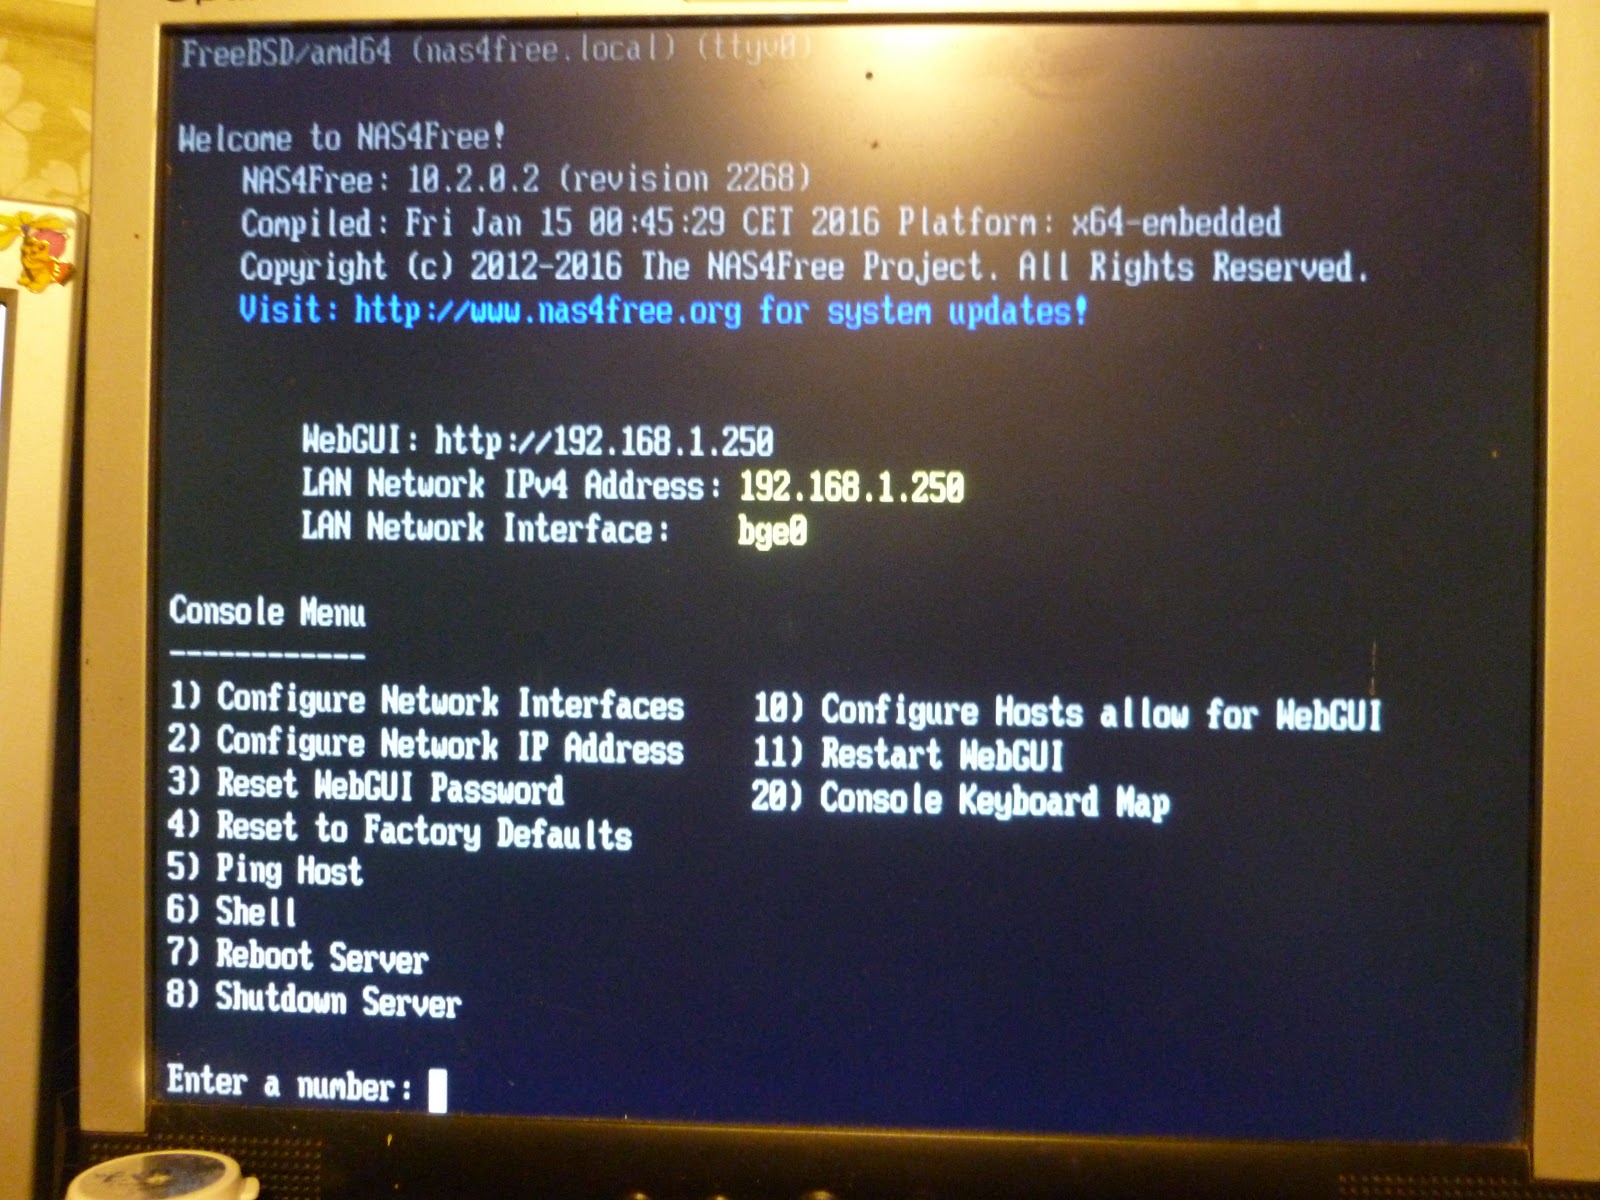
It boots !
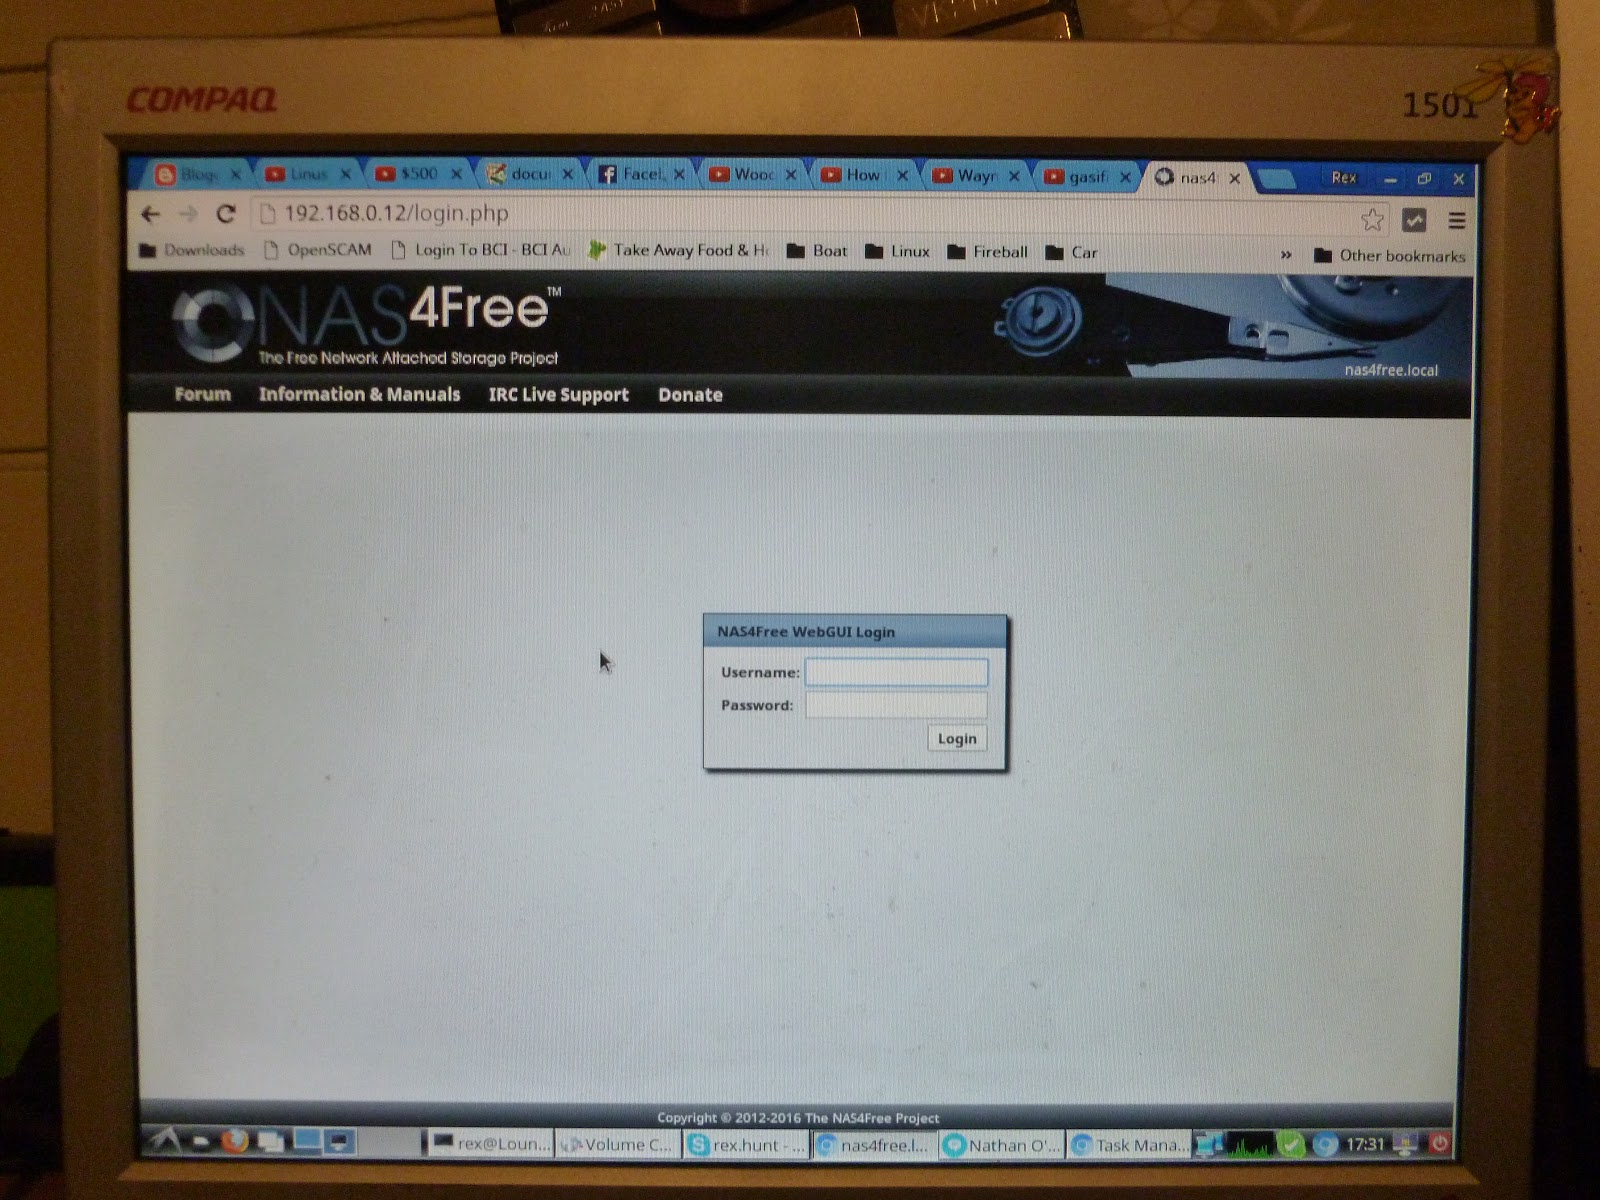
It even has a GUI. Surely the first thing I have used in a while that has a GUI for system management stuff.
However the first problem I have found with the software I'm using. The GUI only shows support for Ext2. The 2TB drive has my data on it in an Ext4 partition. This is my only drive this big. Thankfully there is less than 1TB of data on it which means that I can use my external Hard Drive. Unfortunately it is currently also formatted Ext4.
So with the 2TB drive plugged into my only other computer that can plug into it, I have also connected my external drive and am reformatting the external drive.
This would be only a little bit dodgy. However apparently formatting a drive in Windows Vista takes a long time. It's been a few hours but it is still only at 20% so this will be sitting until tomorrow afternoon. Such is life.
But I have found a new home for the NAS. For now anyway.
It is on the floor but I don't think it will be a problem. It will probably be moving a fair few times yet so this won't be the last place it lives I dare say.
So the beginning for a very exciting project. But still a little way to go before I am happy with the way it is set up.