

That is now fixed. Below is a few of the steps that I had to go through to get this finished. Unfortunately I didn't get all of the steps as this because one of those projects that just needs to get done and I forgot to take any photos.


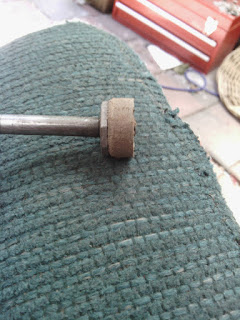
With all of the holes opened out there was only a little metal holding the centre of the hole in place. To punch through those I put a house brick underneath and used a chisel to punch through the holes in the brick. What I should've used is a cold chisel. However I only had an old half busted wood chisel that needs a fair bit of time on the grinder before it will cut anything. Anyway because it was no good I just used it to punch out the little tangs that are left.

Of course this took a bit of time which could have been avoided if I'd drilled the holes a little furthur out rather than right on the line. However I did get a good bit of practice doing this and next time I have to peen something over like this I'll probably be a bit better.


Next steps here is to get a thing to catch the leaves as they come out of the gutter, then connect this up to some kind of tank so I can water the grass here without worrying about how much water I'm using.
If you want more details, have any suggestions or questions please get in tough or leave a comment below.
Cheers,
Rex
- Details
- Written by Rex ORegan-2
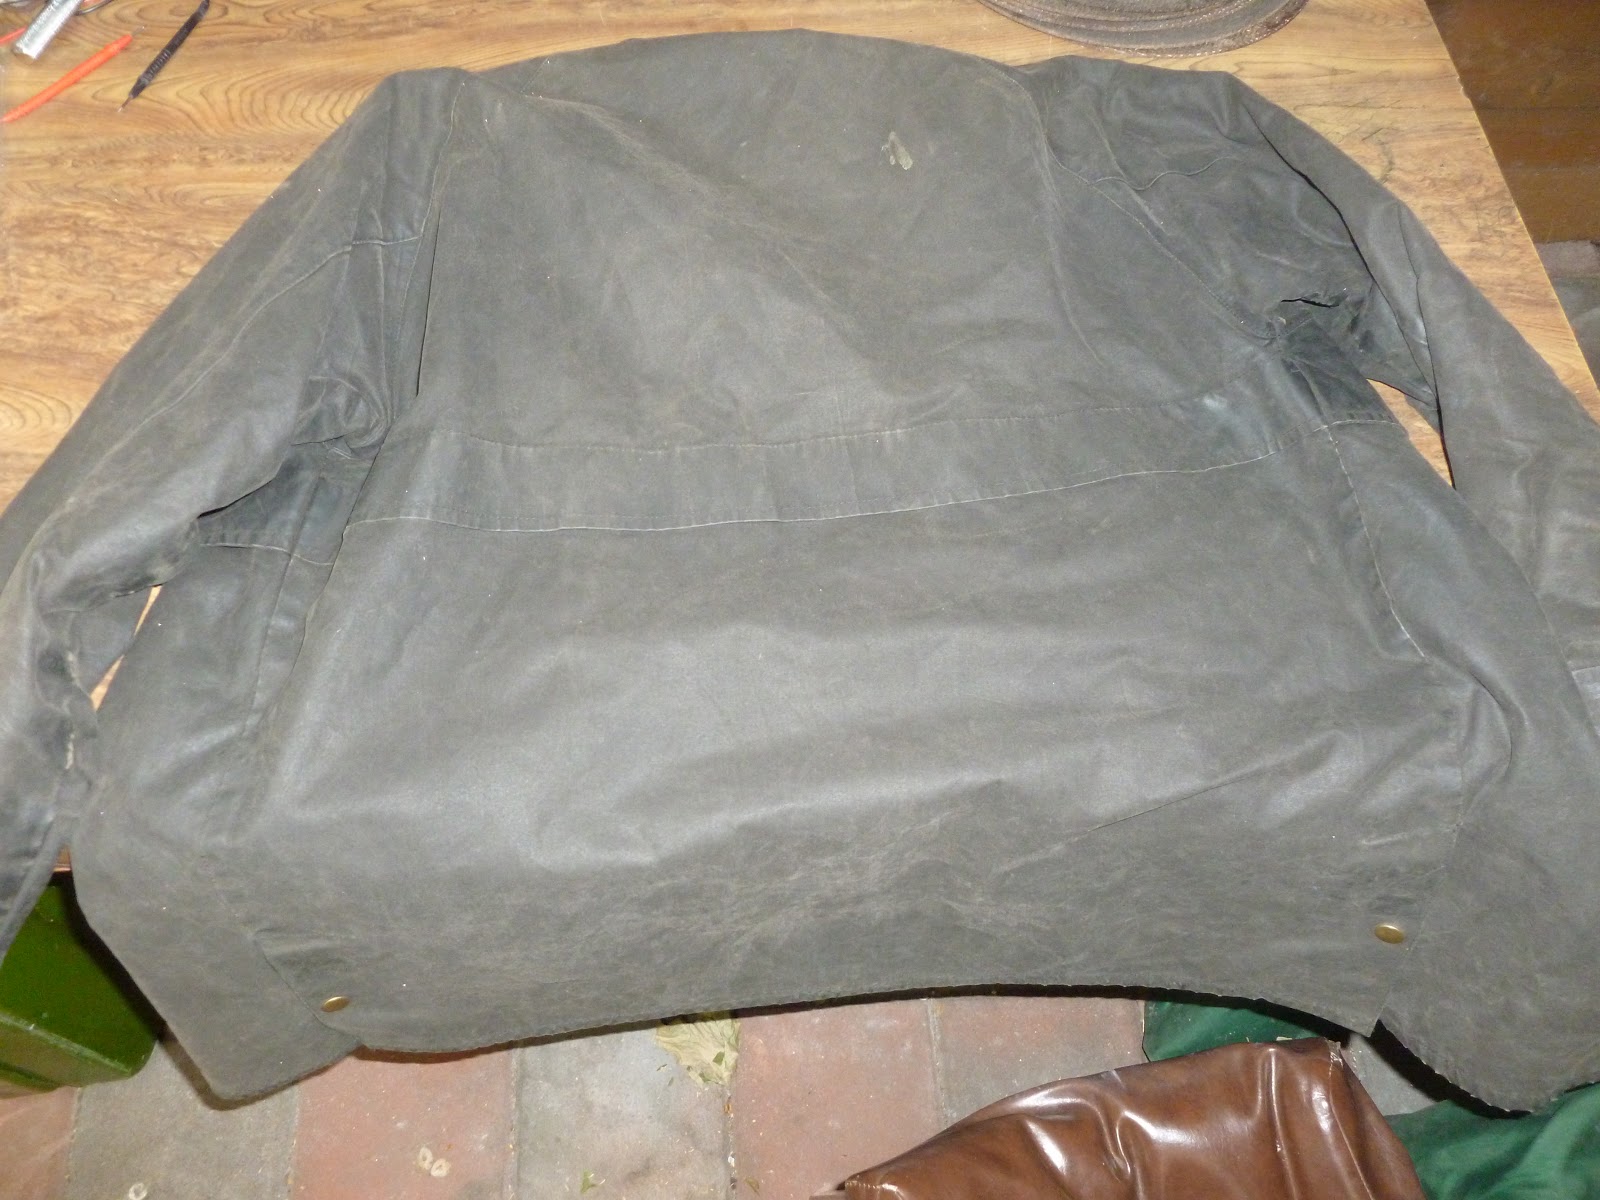
This is where I started, It's a bit difficult to tell but the jacket feels dry and without any waterproofing to it. To apply the waterproofing I let it cool fully overnight, then with a rag I rubbed it onto the jacket then went over it with a hair dryer on hot to soften the mixture and help it run into the fabric.

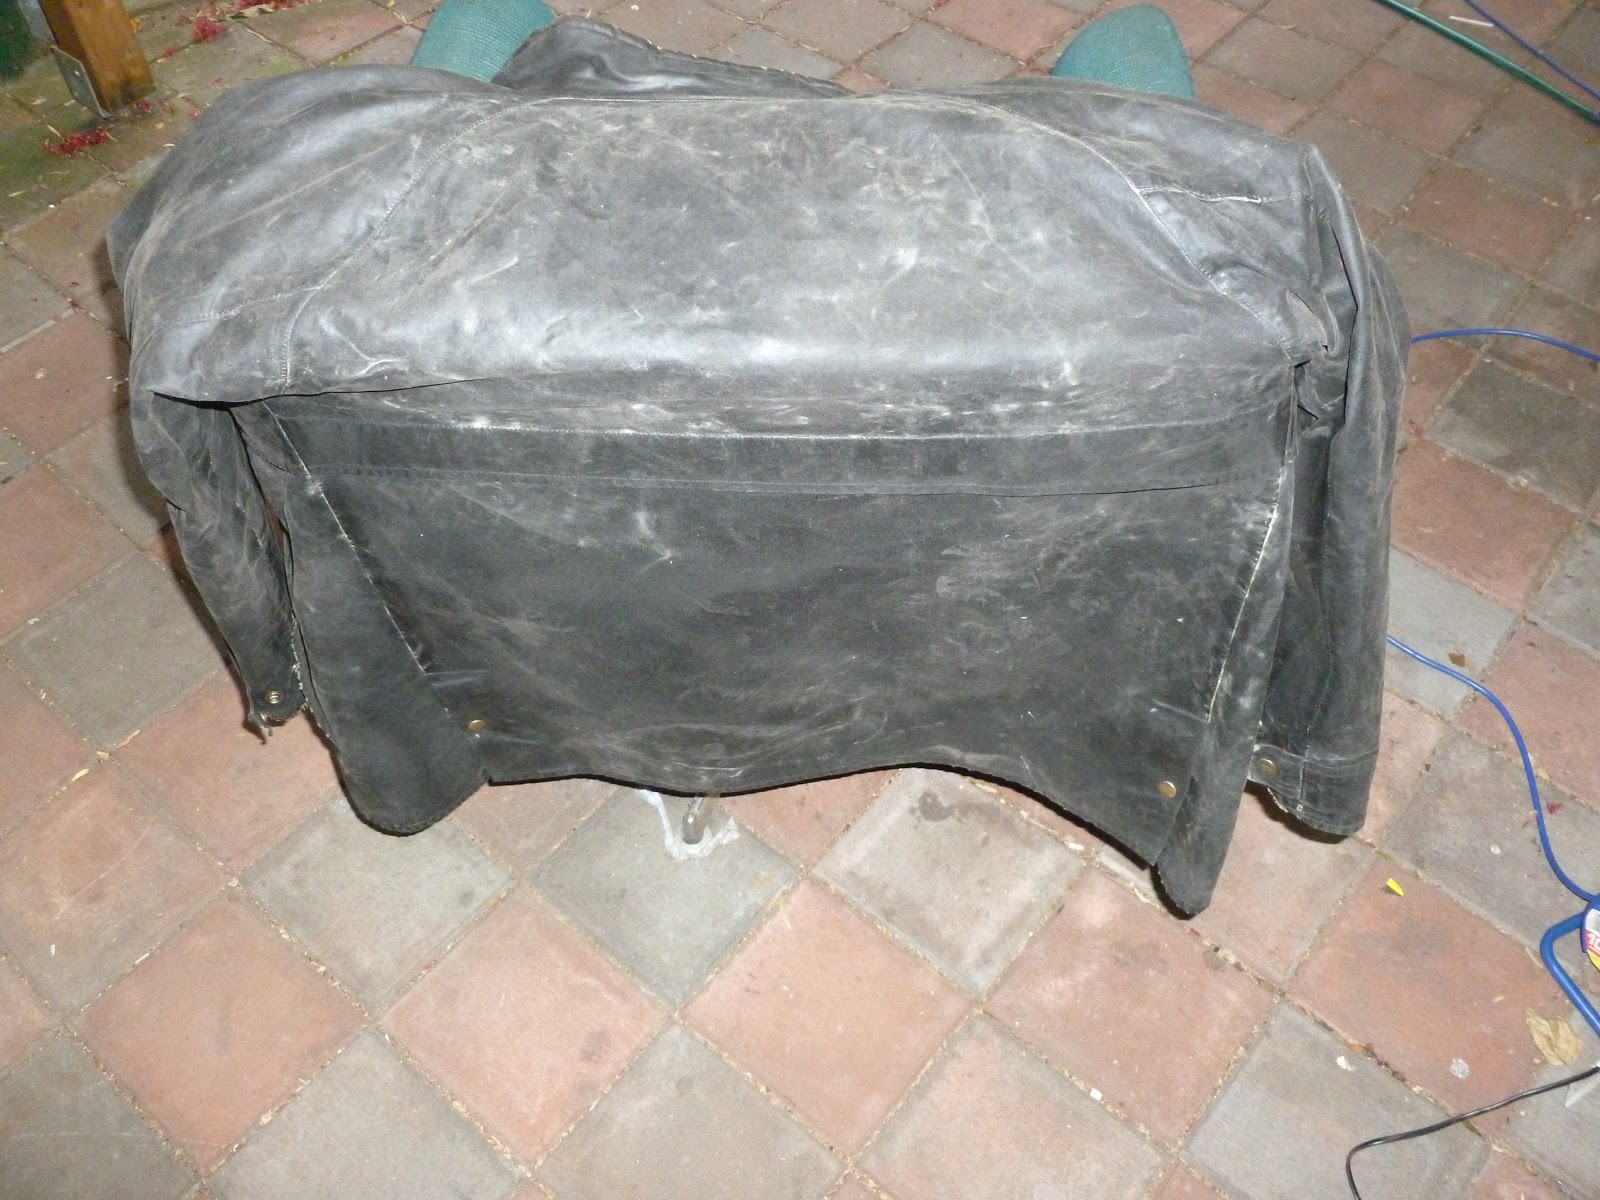
This is what it looked like after putting the mixture on, but before running the hair dryer over it.
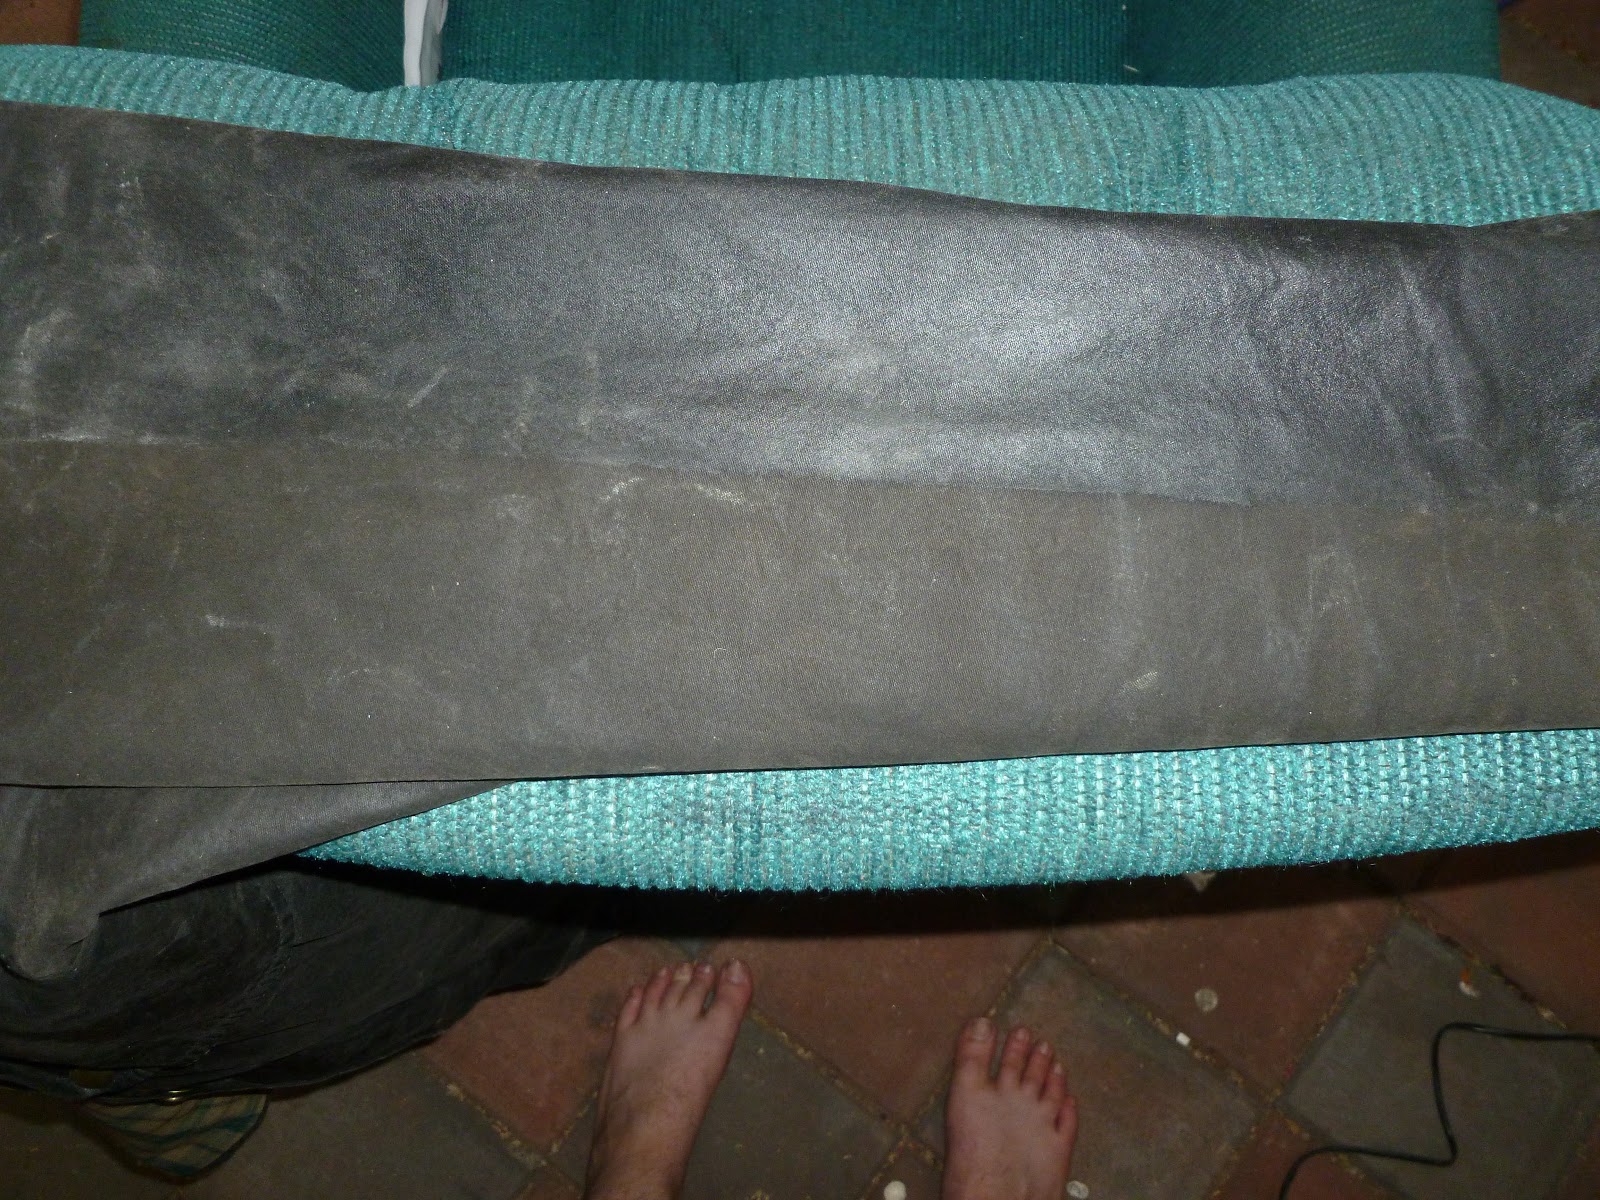
Here you can see the difference between treated (top) and untreated (bottom). It needed this pretty badly methinks.
When I was doing the seams I scooped up a small amount of wax with my finger and worked it into the seam by rubbing it against the seam so a small fillet built up along the whole seam. These took a little longer the melt in with the hair dryer, but I think it will help in the long run.
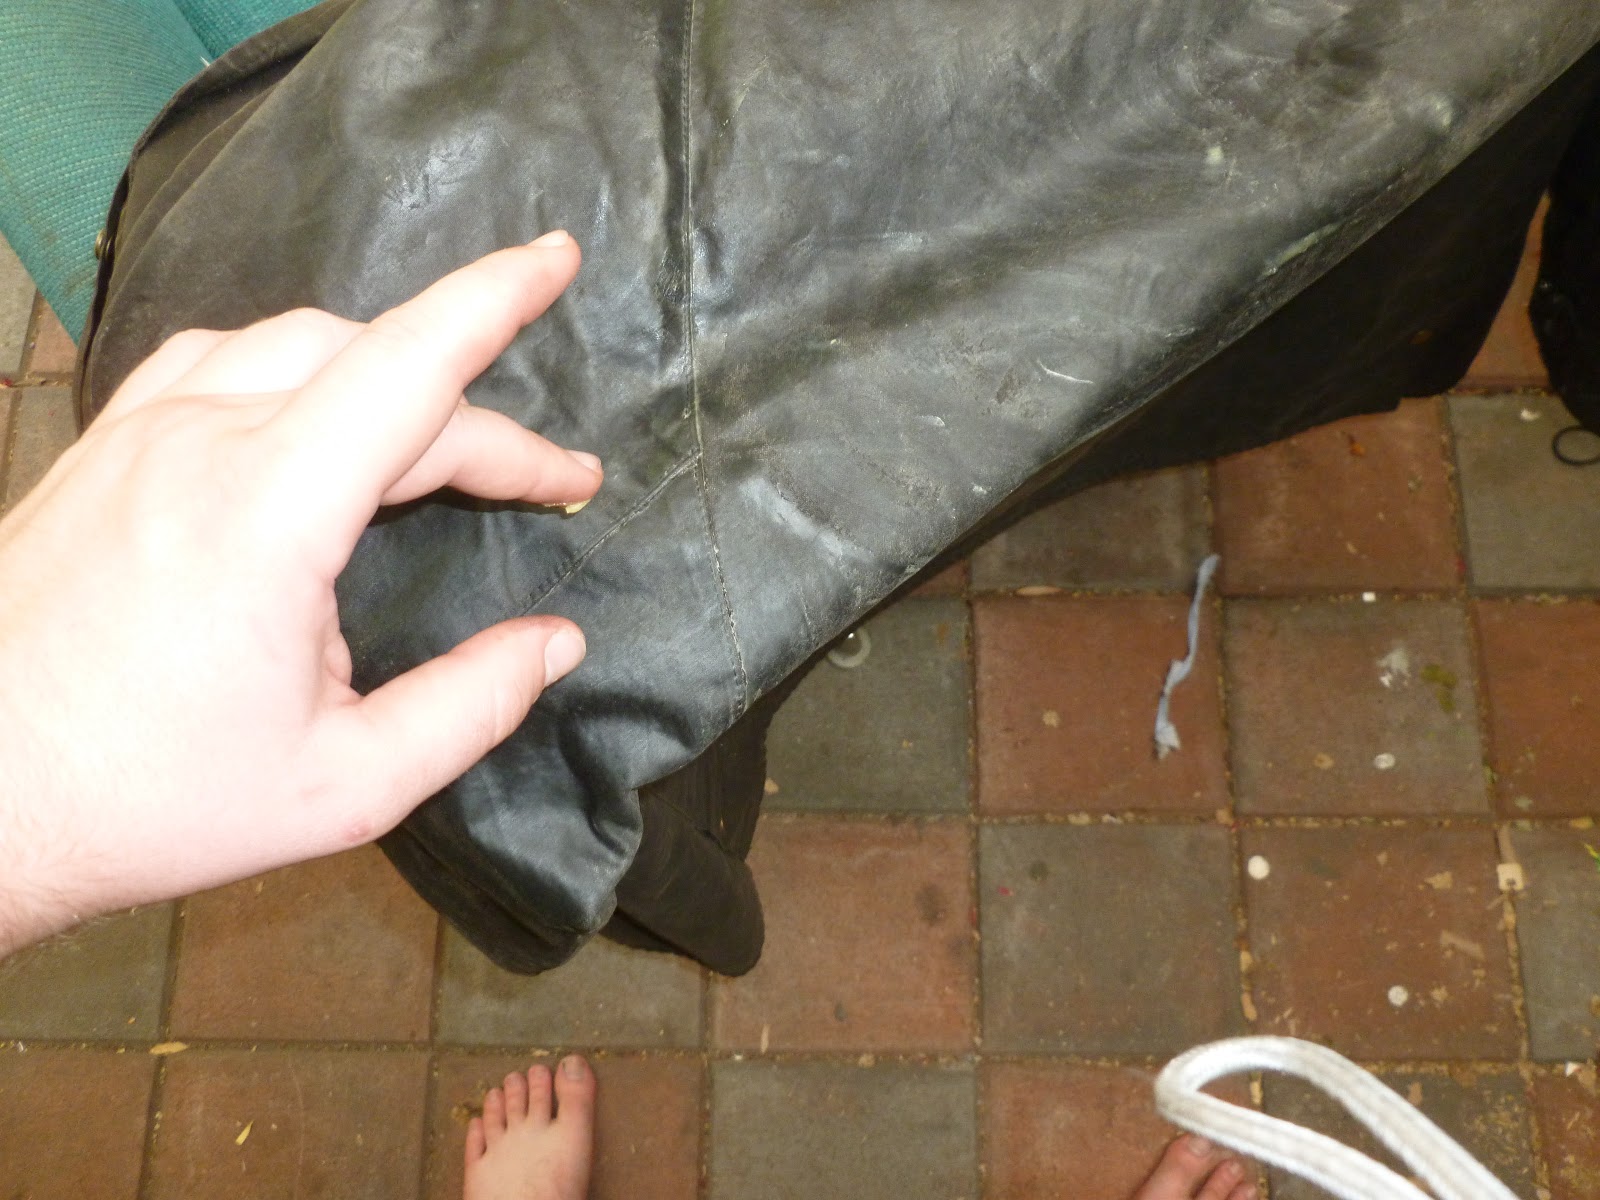
And here we are, finished. This took, probably 2 hours and the bucket of wax mix is still very full. As you can see from the last photo it looks like the wax is cracking where the material has bent. It isn't flaking off or anything, but it may reduce the waterproofness. To stop this happening I think I will add some more turpentine to thin it a little and see if that helps.
A quick word on turpentines. I used pure gum turpentine. This is the more traditional product made from the oil of trees. A cheaper alternative that most people are familiar with is mineral turpentine. This is a similar product however it is made from oil rather than trees. The mineral turpentine would probably work and if I had no choice I wouldn't hesitate to use it. However after standing over it for a few hours breathing in the fumes I am very glad I used the gum turpentine as it smells much nicer if the smell is going to be hanging around for a while.
So there you have it. For about $50 and a few hours of your time you can waterproof just about any porous material. The rag I used to apply the mix is a much looser cotton weave than the jacket and it is now waterproof as well.
If you have any questions or tips, please comment below so we can all learn something together.
Cheers,
Rex
- Details
- Written by Rex ORegan-2
I ordered 1Kg of beeswax as the other sizes available were considerably smaller. They were also much more expensive. This is what it looked like after the packaging was removed.

Because the wax was wider than the pot I melted it in I needed to make it narrower. To do this I split it down the middle. In order to split it I needed to cut it. I just used a knife that came with my toolbox and was close to hand.

The block was quite firm while I was doing this so I had to score it on both sides as deep as the knife I was using could go before I could separate the 2 halves. Here you can see how thick the block was.

At this stage I put the wax into the pot I got for this and put that on my bbq grill as that is the only burner I have that is outdoors and wasn't too hot.

What I should've done is also cut the halves down across the middle so they were short enough to fit into the bucket completely. What happened is that has the blocks touched the rim of the bucket it would melt and run down the outside of the bucket. Less than ideal. So I stood there holding them upright with a screwdriver until they melted enough to be below the rim of the bucket.

Here wed can see them melted down a bit more. I didn't need to hold them any more by this point.

Nearly finished melting. It took a while, not sure exactly how long but it felt like quite a while.

This is where I took it off the heat. If you look closely you can see graduations stamped into the side of the bucket. Rather than the 1L approx. that I assumed (With no real basis.). The wax actually melted to a little over 1.5L. This wasn't a problem really as I had 1.5L of Boiled Linseed Oil, however, I only had 1L of Turpentine. I will talk about that more down the track, but I think that is significant.

This is what it looked like after adding the Linseed Oil.

Then after adding the Turpentine.

I am going to put how it goes onto the jacket on another post. This one is getting a bit long I think.
As always, if you have any questions or suggestions please leave them below in the comments.
Cheers,
Rex
- Details
- Written by Rex ORegan-2

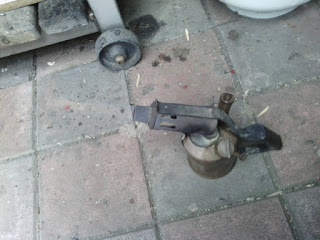
It's a little kerosene blow torch. I've been keeping an eye out for something like this as I like the idea of having tools that will work with a wider range of inputs than what we often see. Ie. a propane torch will only really run on propane without a lot of work. This will run on any liquid that has similar volatility to kero.
When I bought it my biggest concern was if the leather in the pump was going to be shot. I pulled out the pump and had a look, it was dry as a bone but there weren't any cracks and it seemed like a good fit.
After filling it up and pumping it a little, it fired up pretty much straight away without making to much of a mess or smoking too much. I think this was largely due to the fact that the nozzle had some spider webs in it which helped catch on fire before the kerosene started to really flow out the nozzle and did a sort of pre-heat. There is a little cup for putting pre-heating spirit into, but I don't have any and it did start without any today; however it did set most of the top of the thing on fire at the same time.

The beeswax I ordered hasn't been used yet. But keep an eye out and I'll be putting something up about that soonish.
Cheers,
Rex
- Details
- Written by Rex ORegan-2
Page 27 of 46
