

It's not just my cars that I spend time working on. My brother has been having problems with the car he's been driving recently too. So when I was up there I gave him a hand to test one theory we had as to what was causing it. While doing that I found a design "feature" that should never have made it into the finished product.
Step one. Make life easy for ourselves. We had to drop the fuel tank out so having some room to work makes the job much easier.
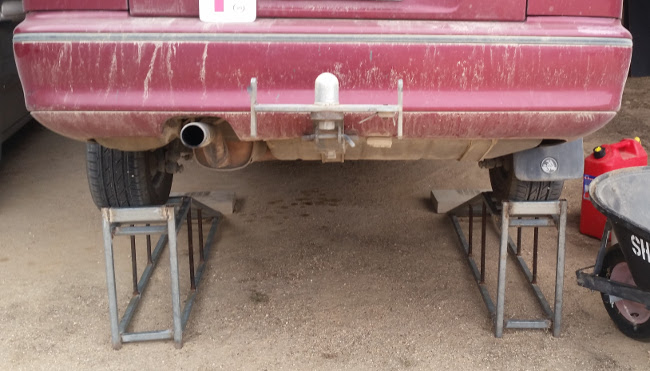
The tank on this car is held up with 2 straps that are bolted on at the back and allowed to pivot at the front. This means that after disconnecting all of the hoses, etc. all you need to do is undo 2 nuts and catch the tank.
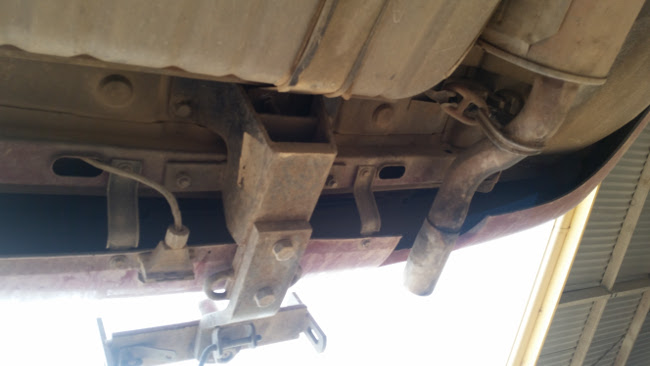
Can you see the problem in this photo yet?
How about here?
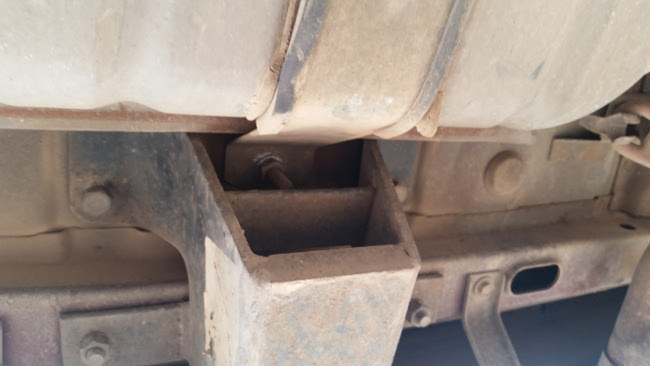
Whoever designed the towbar clearly did not expect anyone to be doing any maintenance on the fuel tank. And of course as the access decreases, the maintenance requirement goes up. So to drop the fuel tank you also need to remove the towbar now. If they'd cut a notch out of the thinner plate in the middle of the towbar then you could get a deep socket in and remove the nut that way. That shouldn't make a catastrophic weakness in the part.
It is what it is and we did get the tank out without too much hassle. But it is a good reminder to anyone who is modifying or building anything. Always think about how YOU will maintain it and get to all of the parts required during servicing.
Back to more Landrover stuff soon.
Cheers,
Rex
- Details
- Written by Rex ORegan
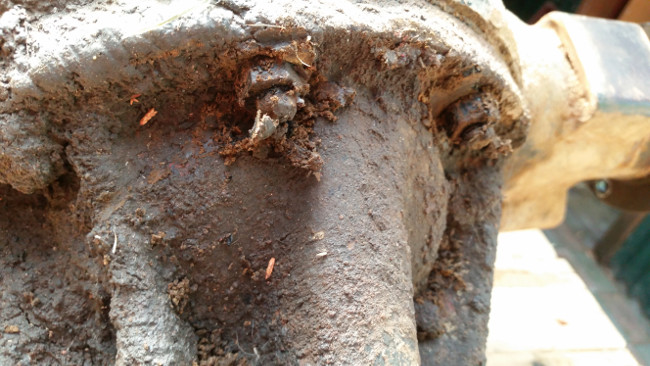
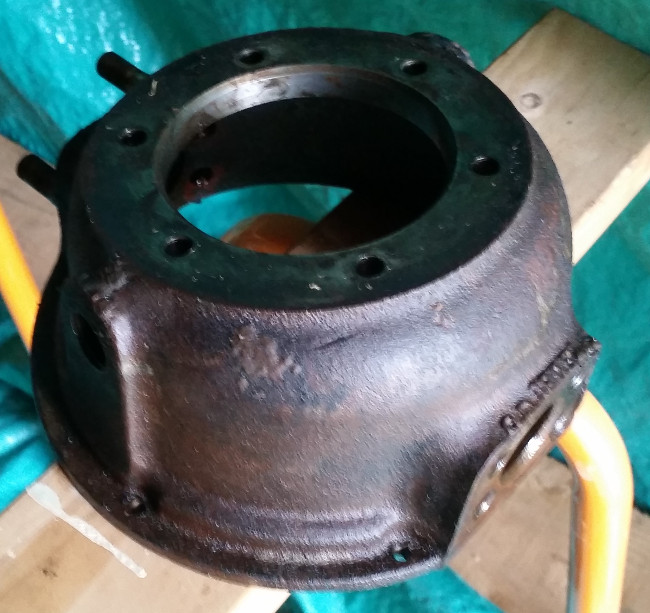
With the main axle tube getting cleaned up I wanted to get the diff housing cleaned up as well. Unfortunately it was very grotty before I started.
This is what the whole lot looked like before I started. The engine above this had leaked a little over the years since this was last done and when that oil has combined with dirt and dust it has made a nasty greasy mess that needs to be removed.
This is what the nuts looked like after I'd gotten a spanner onto them. Before getting them this clean I was wondering if there were even intact nuts under the crud.
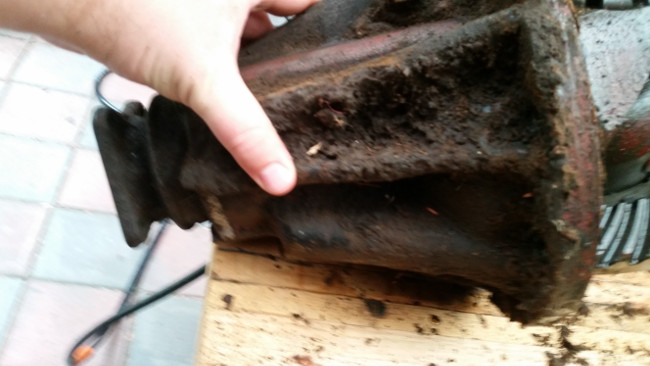
They were surprisingly good. And it will be easy enough to re-use them after cleaning them up a bit in some solvent.
Because of the aluminium looking bearing housing for the pinion I thought the entire diff housing was aluminium. Because of that I wanted to avoid using a steel wire wheel on it in order to avoid scratching it or anything too badly. I found in the hardware store a nylon wheel. Like a steel wirewheel but with grit impregnated nylon bristles instead. I figured that would be a better thing to use on the relatively soft aluminium housing. However this was the result.
After the nylon wheel not really removing the dirt I decided that it was time to just have at it. Shortly after I realised that it was a steel housing anyway so it didn't matter and using the nylon brush would have been a waste of time anyway.
Unfortunately I did make some discoveries while I had the housing apart. The gears are mostly in good shape, with no significant signs of wear. However there were a few spots that made me stop and think.
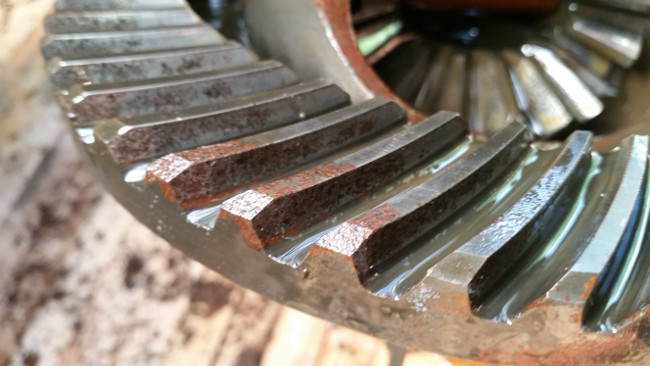
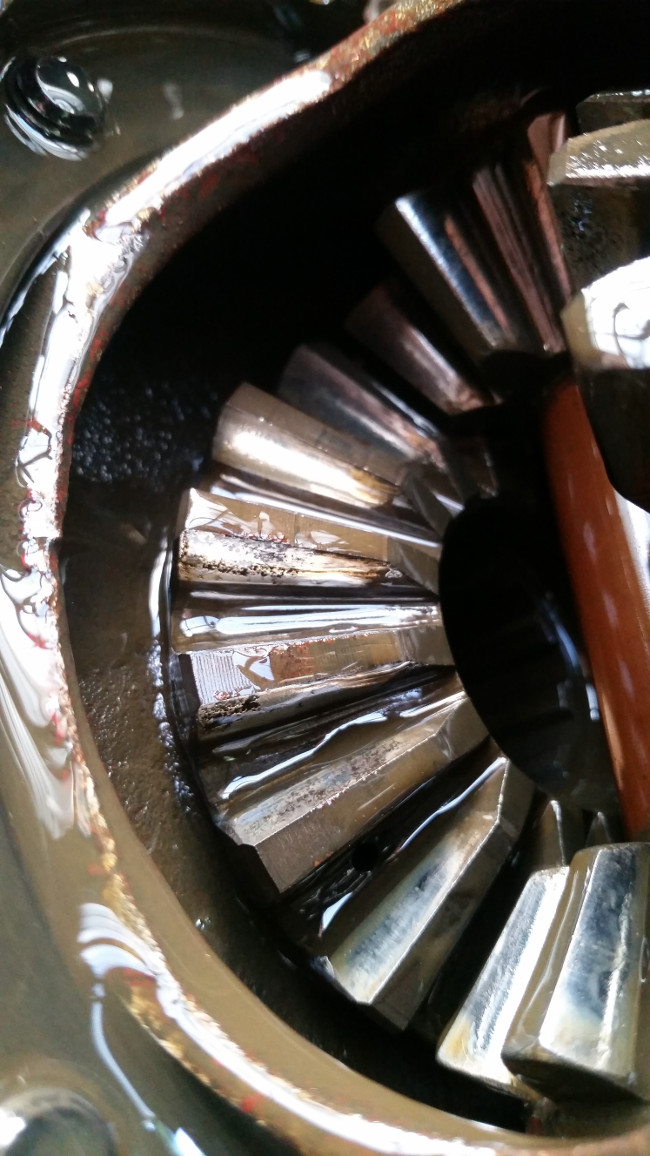
While there is no worrying wear patterns. There is a little rust and pitting. This was a difficult point in this project because I want to do this properly. However to get a new diff essentially would take some time of saving up. These savings will also be needed for new tires as well so putting this on hold until I could get the parts to replace these gears would be a significant delay. Delays like this are what has caused me to loose patience with a project in the past so I have decided that I will put this back together and see how it goes. If the diff grenades itself in 2 years then I will be in a better position to get the parts to fix it. Also being the front the car will still be usable until the parts come.
So the rust stays. For now.
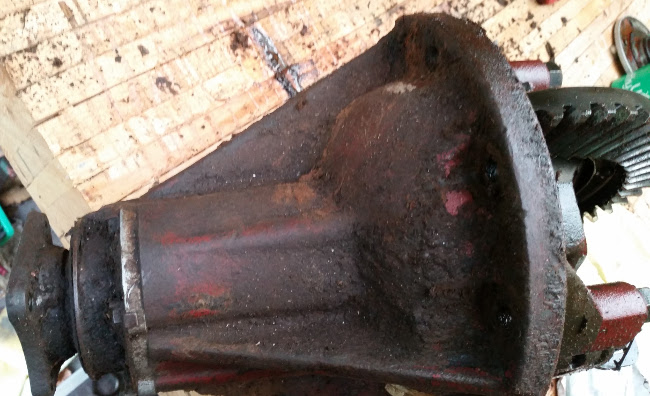
Forging ahead with that decision behind me I get the rest of the housing cleaned up.
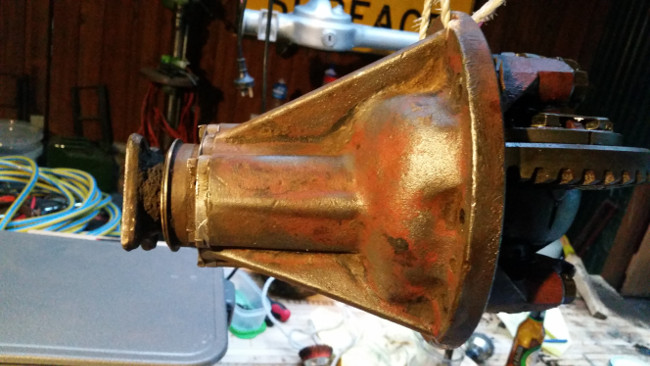
And then painted.
And so the diff became ready to be re-installed into the car.
Cheers,
Rex
- Details
- Written by Rex ORegan
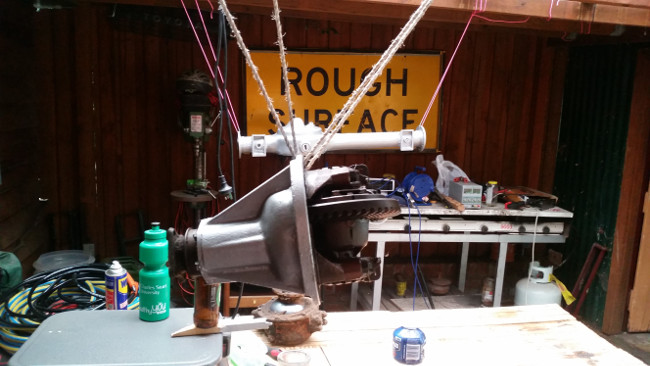
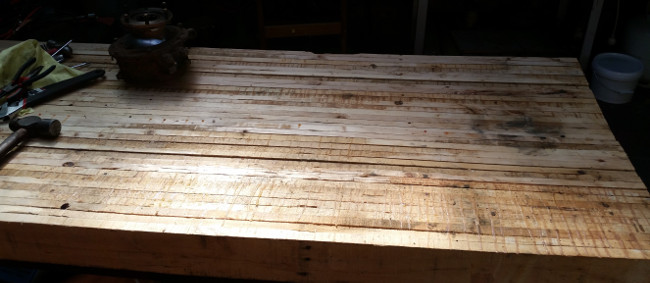
I've been needing to get this axle for the land rover finished. This has been one of my priorities after getting back from my voyage. The first thing to do was get the workbench cleared off:
With a space to actually it was time to go and test my media blaster. This is just a simple one with glass beads. Here is a sample of what I started with:
I was beyond unimpressed with this so I forgot to take a photo of it finished. I think that with steel parts that I should have just used sand, which being a more aggressive media would have had a bigger impact. In the end I finished off this part with a wire wheel in my pneumatic drill which has been working quite well for cleaning up these parts.
Unfortunately I didn't get any photos of these parts after cleaning them up with the wire wheel. You'll just have to take my word for it that they were much cleaner.
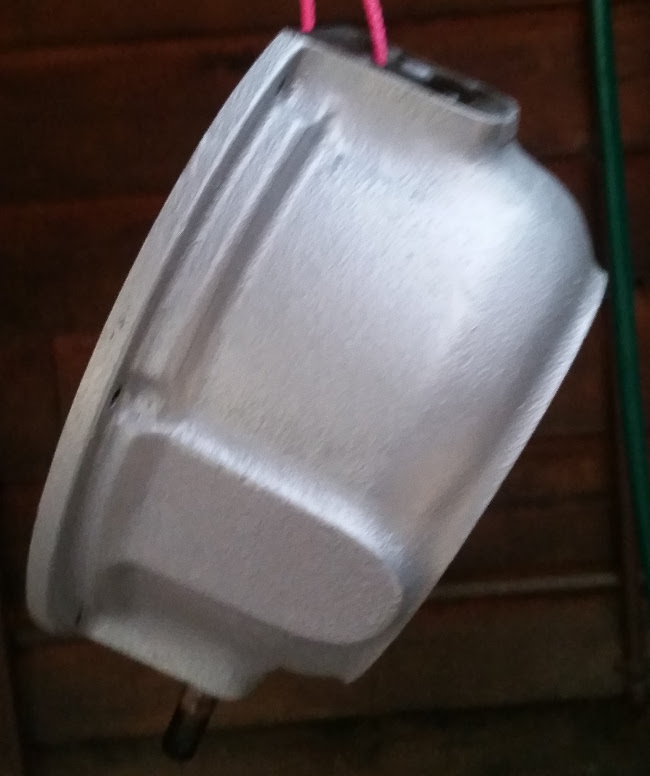
Here is that housing after getting a coat of paint.
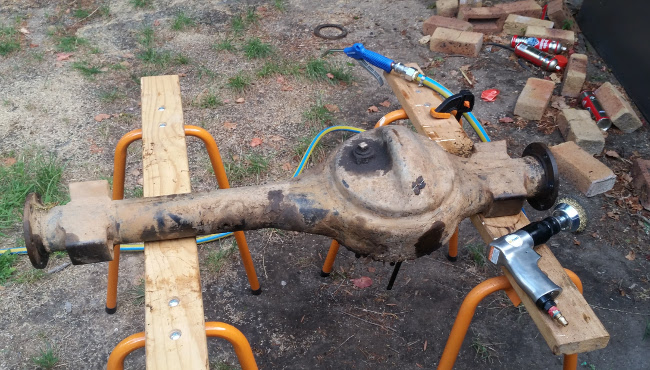
After getting this far with the housing I decided it would be best to get the next biggest piece cleaned up. This was the main axle tube. This is what it looked like before I started.
After about an hour I'd run out of puff for that day and decided to pack up. This is what it looked like by then.
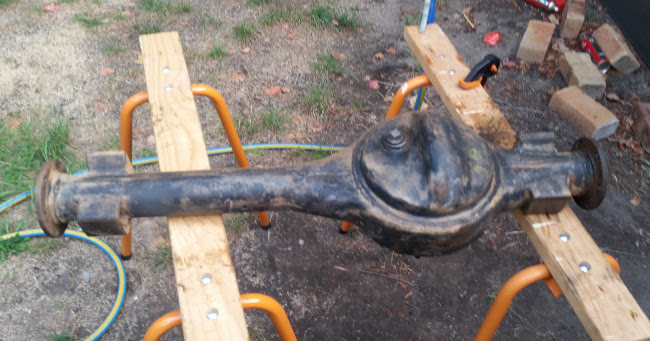
A marked, but nowhere near what I wanted it to be before I put any more paint on it.
That's all for now. I've been really pushing to get this finished before it gets too cold so I can enjoy it without freezing too badly so there will be a fair bit of progress coming up.
Cheers,
Rex
- Details
- Written by Rex ORegan
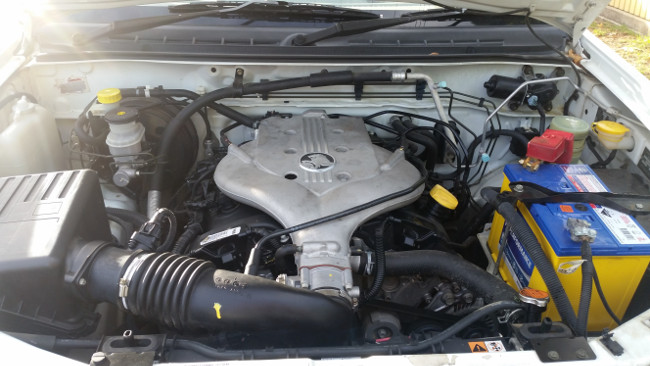
Continuing on from the last post changing the spark plugs in my Holden Rodeo.
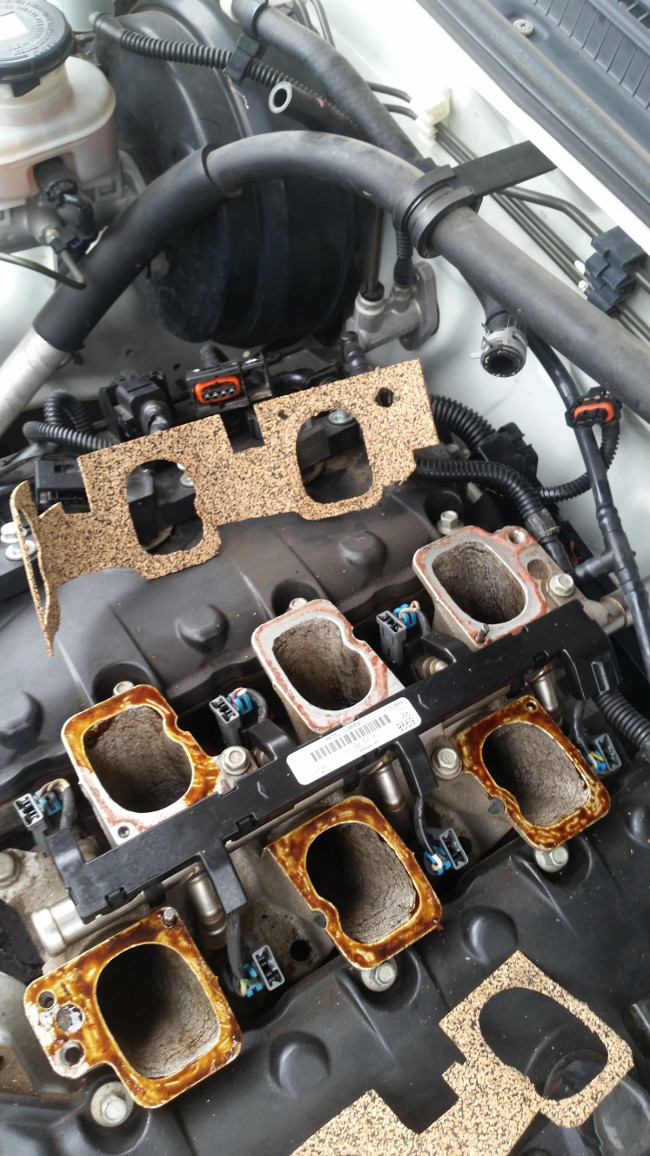
So what do the old plugs look like?
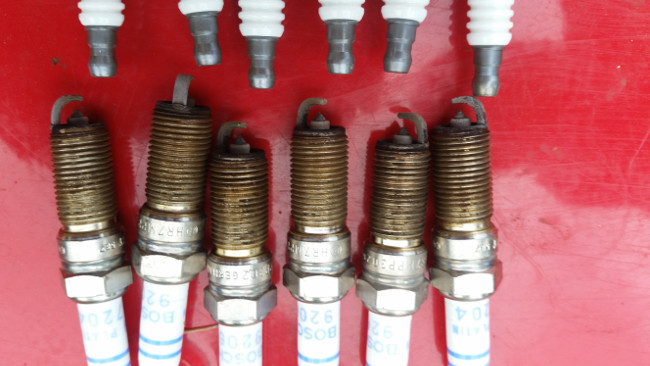
The old ones. You might not be able to see it in the photo, but all of these old ones have a little crack or 2 through the white insulator. That is no good.
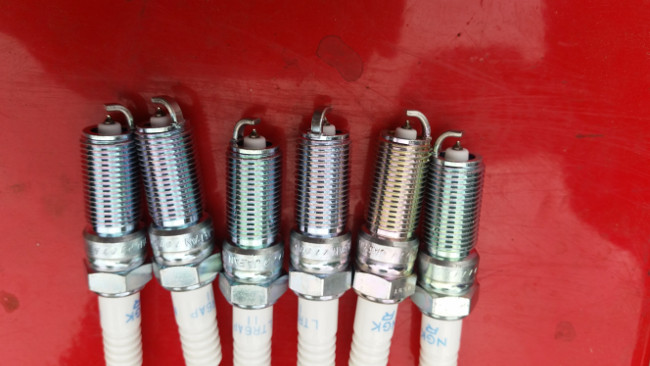
Aye, Shiny. These look much better.
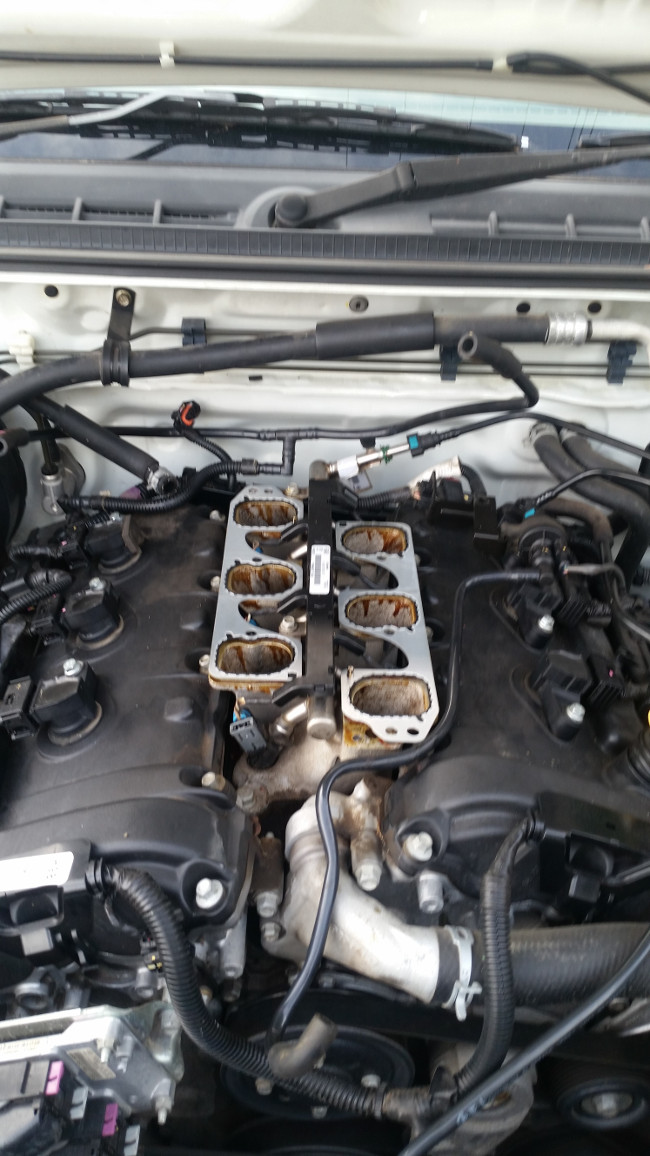
So I got the plugs swapped over and all sorted. Then it was time to put it back together. This meant making a new gasket because I wanted to get this finished that day. I had a roll of gasket cork on hand so everything I needed.
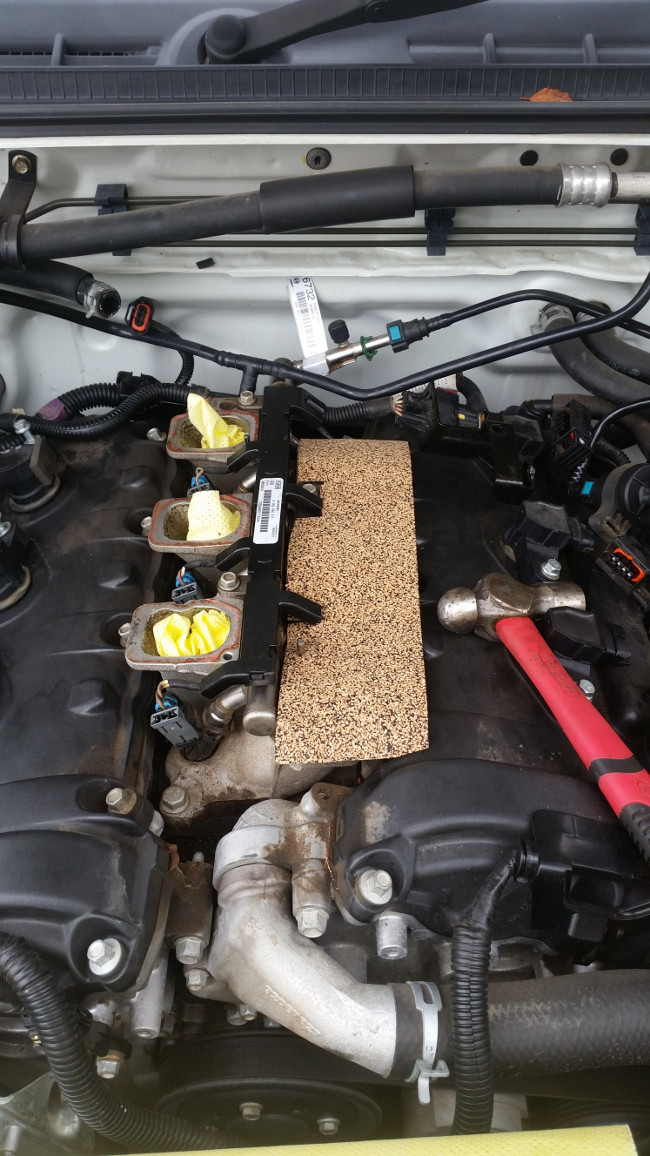
To make a gasket with this stuff you just need to trim to a close size of the face that you need to seal. Then you take a ball pein hammer and tap around the edge of the metal surface. This will trim the gasket material to the edge of the mating face. Do this around the outside and the inside of the surfaces.

Cutting out around bolt holes can be done with reasonably sharp scissors or if you have them using a hole punch set.
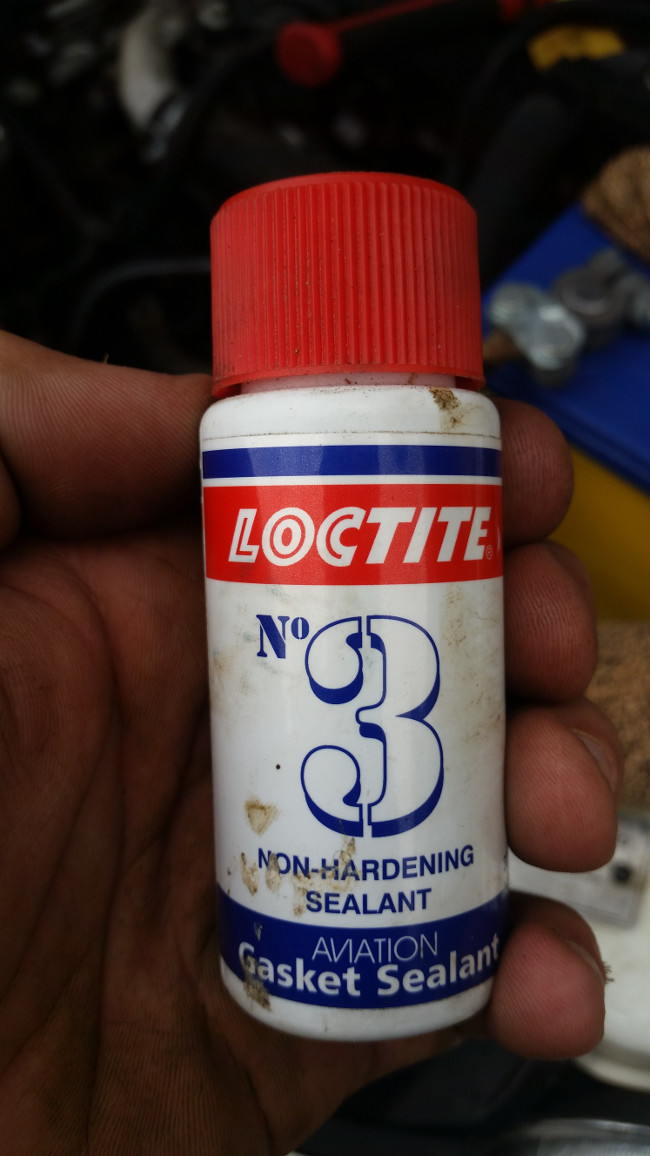
From what I understand when using a cork gasket it is ideal to have some kind of sealer to help it stick. This is the stuff to use. It does stick like the proverbial to a blanket. Particularly once it gets on your hands. But it will not harden so if the gasket flexes slightly then the sealant will keep it sealed.
The #3 comes with a brush. This makes it fairly easy to apply. But it is still very easy to get all over you. Paint it on the surface, wait a few minutes to get a bit tacky. Then apply gaskets.
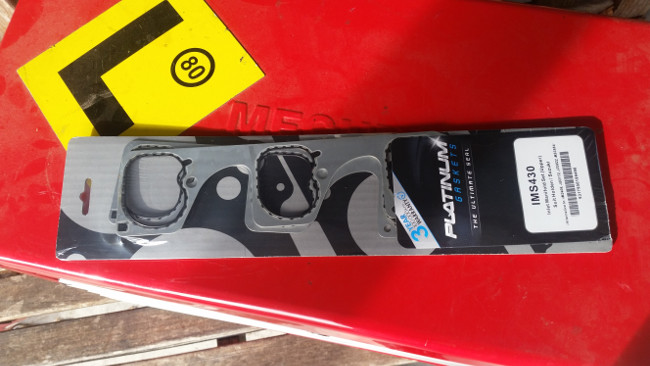
Put everything back together, get a vacuum hose routed wrong. Then try to start the car and it doesn't work. It ran but not properly. Lifted the manifold off and the cork gaskets are all mangled up. At this point it was time to call it quits for the day. Turns out the screw holes were not good enough. Letting them in enough for good clearance would not leave enough cork for a good seal. So it was time for buying the proper thing.
I ordered these new gaskets from Supercheap online. According to them it would be 5-11 working days to be delivered. Joy oh joy. Thankfully I was able to find plenty of alternate transport options.
Getting new parts in the mail is always a good feeling. Unfortunately this requires waiting for the parts.
Thankfully with the right parts it was really quick to put everything back together. Probably about 10-15 minutes from getting the tools out to car running. This time with the vacuum hose run correctly.
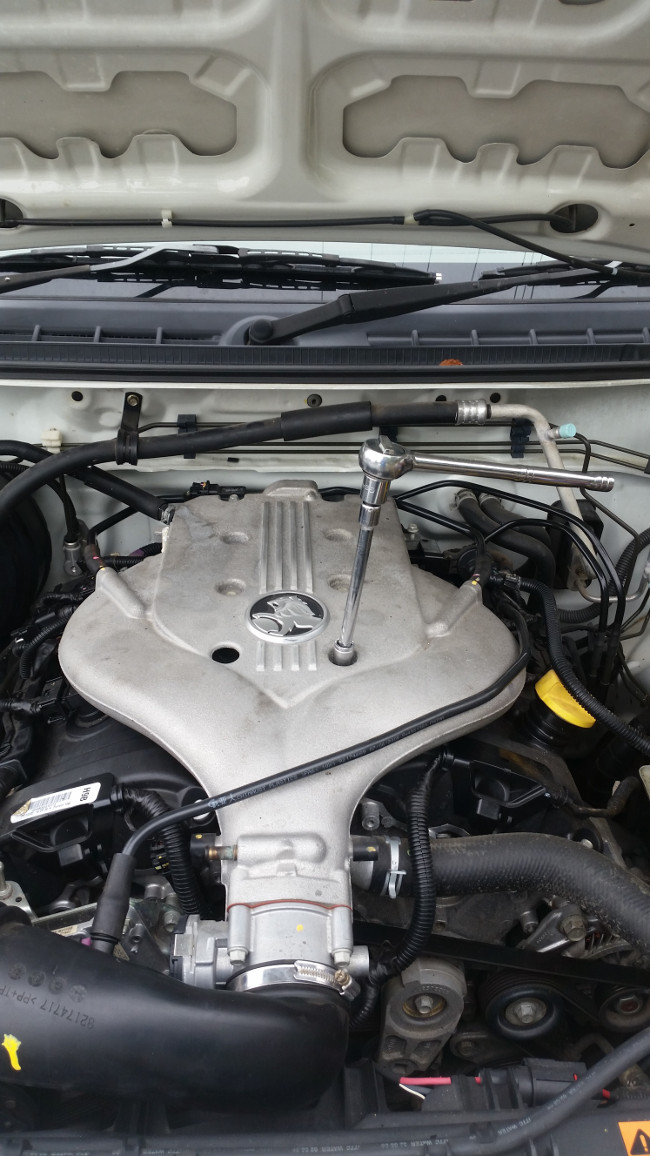
All buttoned up and running.
The results:
Thankfully after this saga I took the ute for a drive and the problem is gone. Loading up the engine past where it would normally start to misfire and noting. The engine is not behaving as it should all through now. Very happy with this and glad that I have replaced these. I am looking forward to doing this sort of work on the Land Rover where this sort of work is designed to be done in the field easily and getting to this stuff is easy.
Cheers,
Rex
- Details
- Written by Rex ORegan
Page 6 of 46
